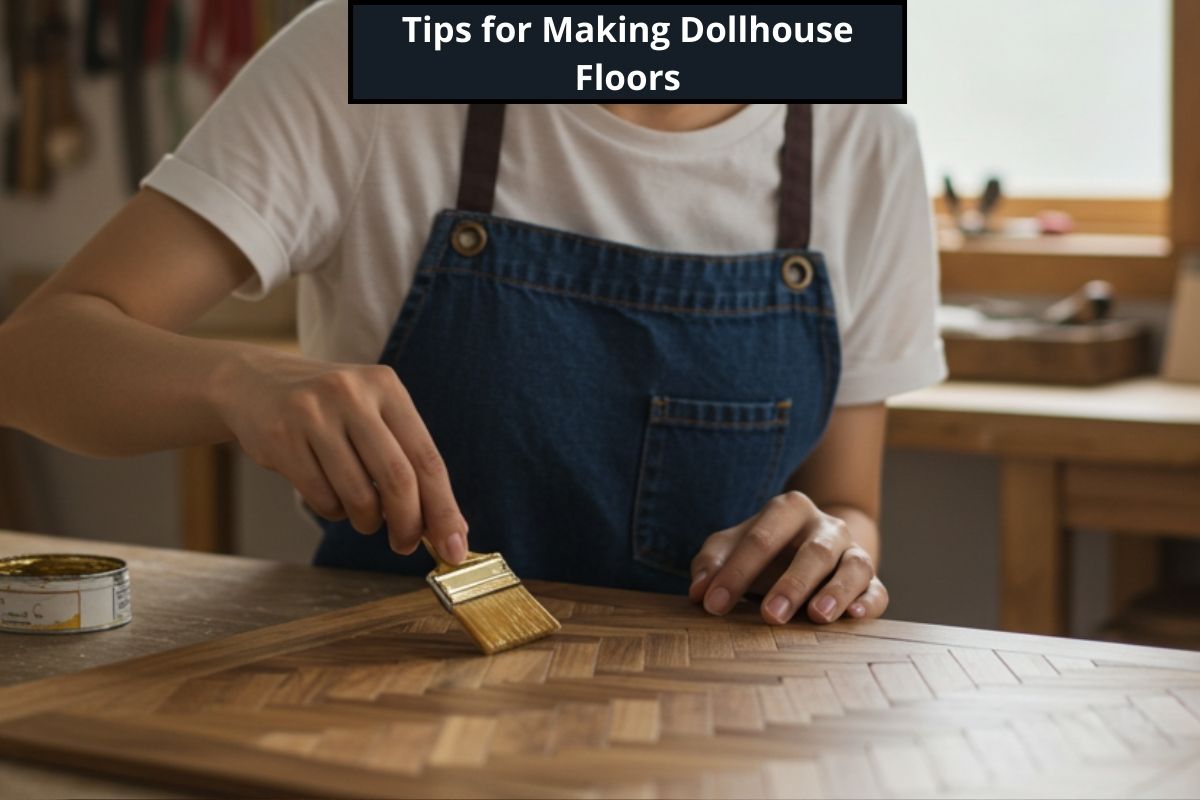
When building a dollhouse, one of the most important details that bring the entire miniature world to life is the floor. Dollhouse floors are not only a decorative element but also a foundation that reflects style, realism, and durability. Whether you are a beginner or an experienced miniaturist, knowing how to choose materials, cut them correctly, and finish them beautifully will make your dollhouse project truly stand out. In this article, we will share essential tips for making dollhouse floors with professional results.
1. Choosing the Right Materials for Dollhouse Floors
The first step in creating realistic dollhouse floors is selecting the right materials. Common options include:
- Wood veneer or thin plywood: Perfect for achieving a classic hardwood look.
- Cardstock or printed paper: A budget-friendly choice for beginners.
- Vinyl or laminate sheets: Great for modern-style dollhouses and easy to clean.
- Clay tiles or polymer clay: Ideal for kitchens and bathrooms.
Each material has its pros and cons, so always match your choice with the room’s theme and your skill level.
2. Preparing and Measuring Accurately
Accurate measurements are crucial when making dollhouse floors. Use a ruler or a mini measuring tape to mark dimensions carefully before cutting. For scale accuracy, most dollhouses use a 1:12 ratio, meaning one inch represents one foot in real life. To avoid mistakes, always create a paper template of the floor area before cutting the final material. This saves both time and resources.
3. Techniques for Installing Dollhouse Floors
The installation process varies depending on the material:
- Wood flooring: Lay strips side by side, glue them, and press firmly until dry.
- Tiles: Place them on cardboard backing, then fix them inside the room.
- Paper or vinyl sheets: Use double-sided tape or spray adhesive for a smooth finish.
To achieve realism, mix shades of wood or tile patterns instead of using uniform colors. This creates a natural effect just like real flooring.
4. Finishing Touches for Realism
After installation, it’s time to add finishing details:
- Sanding: Smooth wooden floors for a polished look.
- Varnish or linseed oil: Protects wood and enhances color.
- Matte or glossy sealant: Keeps tiles and vinyl floors durable and resistant.
- Weathering techniques: Light sanding or painting effects to give an antique appearance.
Small details like skirting boards or rugs can elevate the realism of your dollhouse floors even further.
5. Maintenance and Long-Term Care
Well-maintained dollhouse floors can last for years. Keep them dust-free using a soft brush or microfiber cloth. Avoid exposing wood floors to moisture, and always reapply a protective coat of oil or varnish when needed. Regular care ensures that your miniature world stays beautiful for a long time.
You can watch this video; it will help you understand the steps more clearly.
Making dollhouse floors requires patience, precision, and creativity. By selecting the right materials, measuring carefully, and finishing with protective coatings, you can achieve stunning results that make your miniature home look like a real one. Whether you choose wood, tiles, or modern vinyl, these tips will help you bring your dollhouse to life with professional detail.