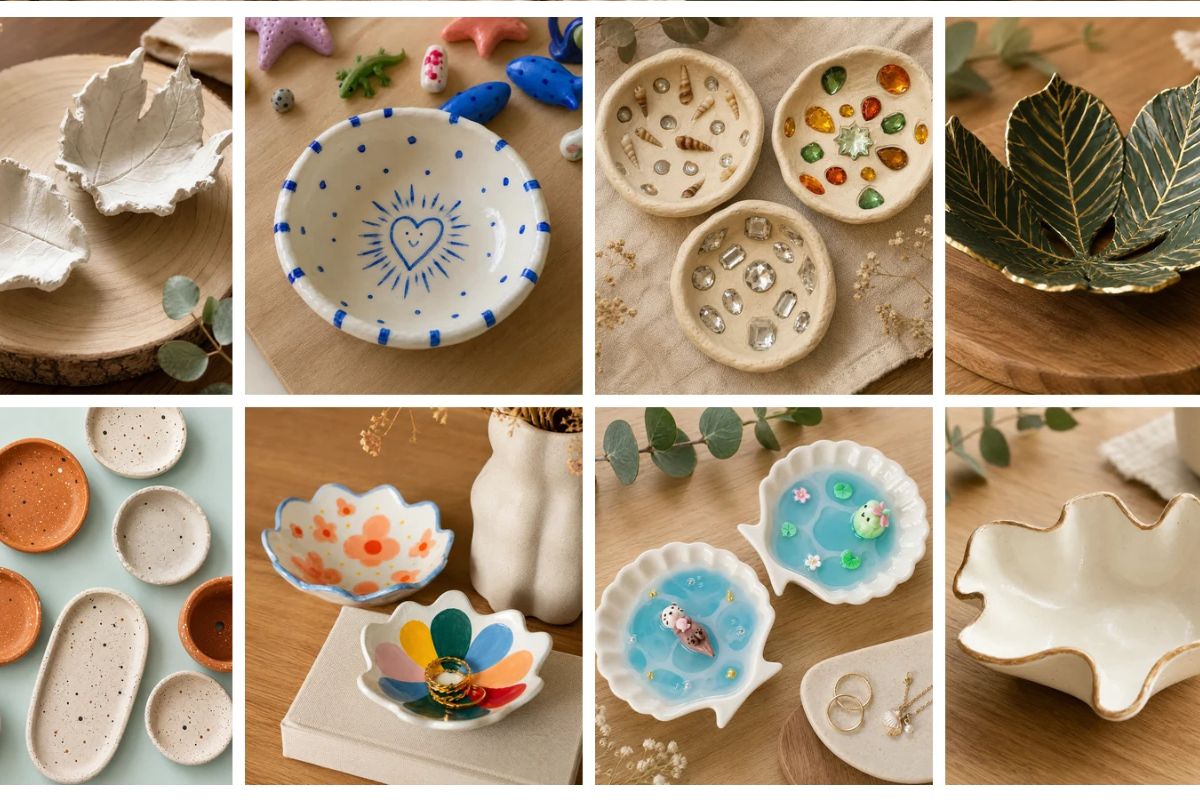
Clay bowls are one of the most rewarding beginner-friendly crafts you can try. With just a few basic materials and a little patience, you can turn a lump of clay into a beautiful little dish for rings, jewelry, keys, or trinkets.
Whether you love natural leaf shapes, playful painted designs, or elegant terrazzo textures, there’s a clay bowl style for everyone. Below are 8 gorgeous ideas to spark your creativity.
Materials Used
- Air-dry clay or oven-bake polymer clay
- A rolling pin (or a smooth glass/bottle)
- Real leaves (for texture imprinting)
- A small bowl, cup, or mold to shape the clay over
- Acrylic paint and fine paintbrushes
- Gold leaf or metallic paint (for edge detailing)
- Clear resin and small decorative items (shells, rhinestones, mini figurines)
- Sandpaper (for smoothing edges once dry)
- Clear glaze or varnish for a glossy finish
1. White Leaf-Shaped Trinket Bowls
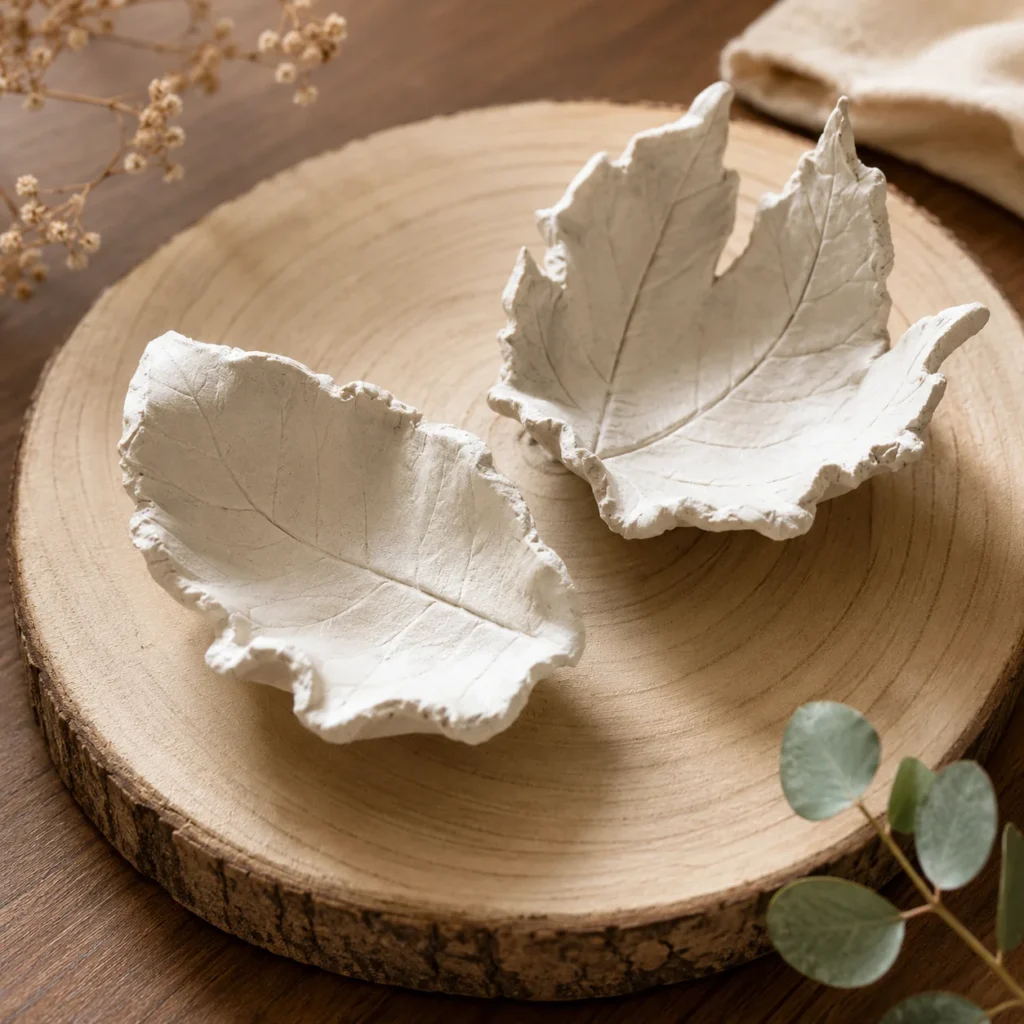
Two soft white dishes molded from real leaves, showing every vein and edge detail. This is achieved by pressing clay directly onto a leaf before letting it dry, creating a completely natural, organic shape.
2. Blue and White Heart Bowl
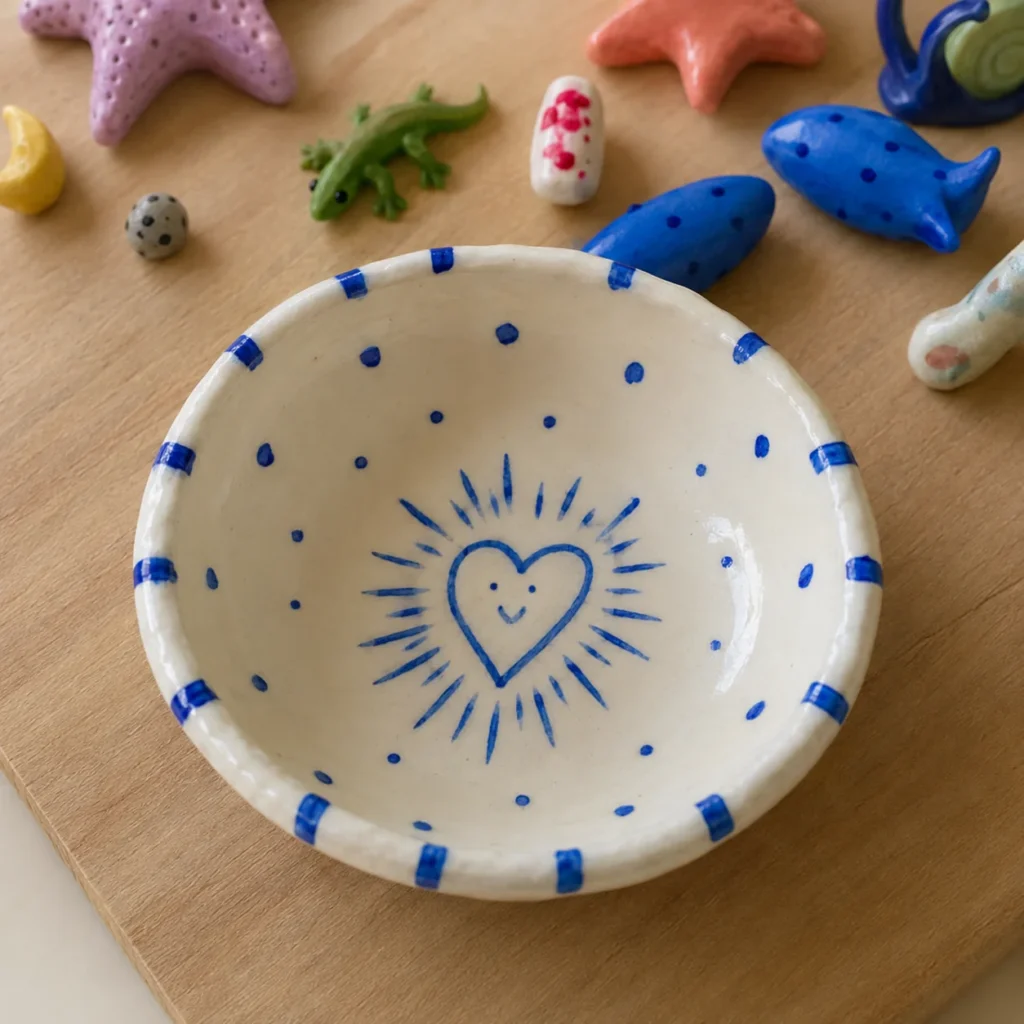
A cheerful ceramic-style bowl painted with a hand-drawn smiling heart surrounded by dotted rays, finished with a striped blue rim. A fun example of how simple hand-painted details can transform a plain bowl into a statement piece.
3. Shell, Gem, and Rhinestone Trio Bowls
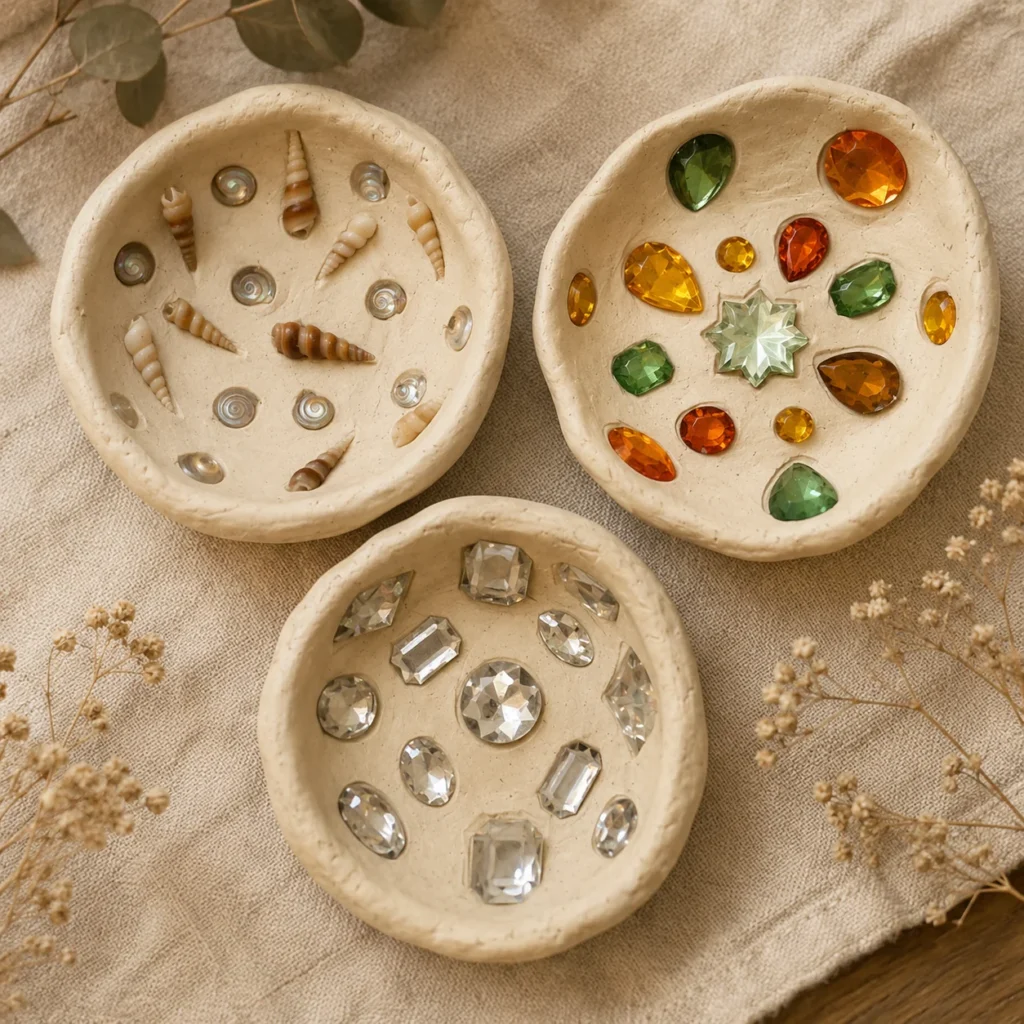
Three rustic beige bowls, each filled with a different embedded decoration: tiny seashells, colorful glass gems, and sparkling clear rhinestones. The decorations are pressed into the clay while it’s still soft, so they stay firmly set once dried.
4. Green and Gold Leaf Bowl
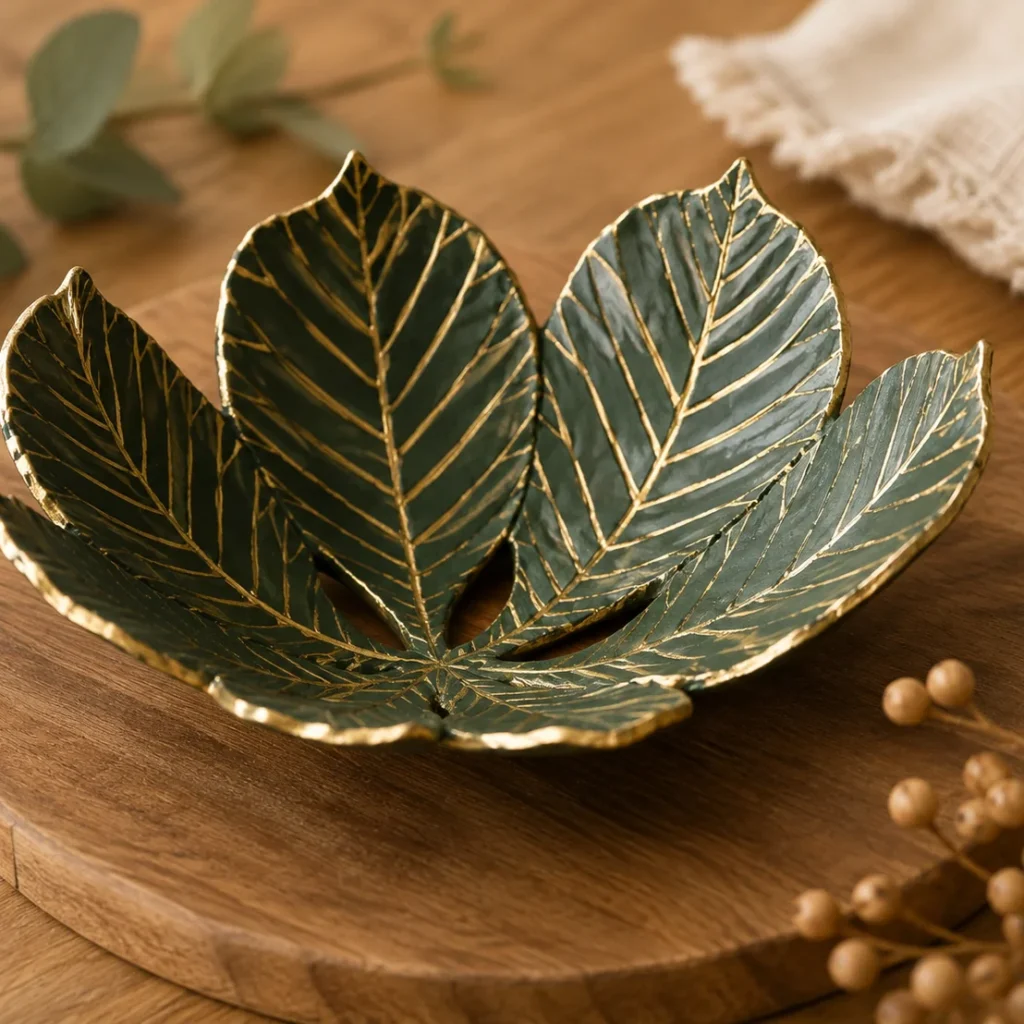
A dramatic layered leaf bowl in deep green with hand-painted gold veins and edges. This design uses several leaf shapes overlapping to form one large, elegant bowl-like dish.
5. Terrazzo-Style Speckled Dishes
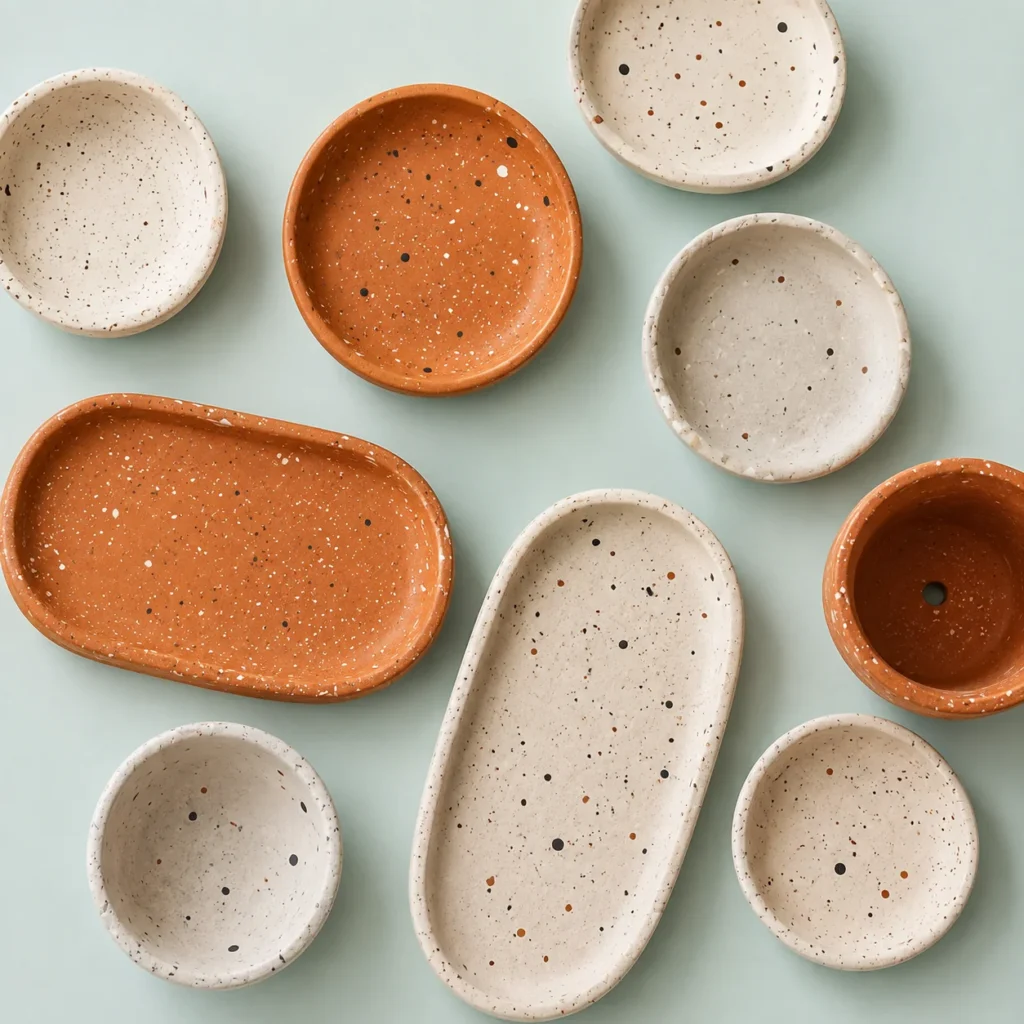
A collection of small bowls and trays in cream and terracotta tones, each speckled with tiny colored flecks for a modern terrazzo look. This effect is created by mixing tiny bits of colored clay into the base clay before shaping.
6. Scalloped Floral Bowls
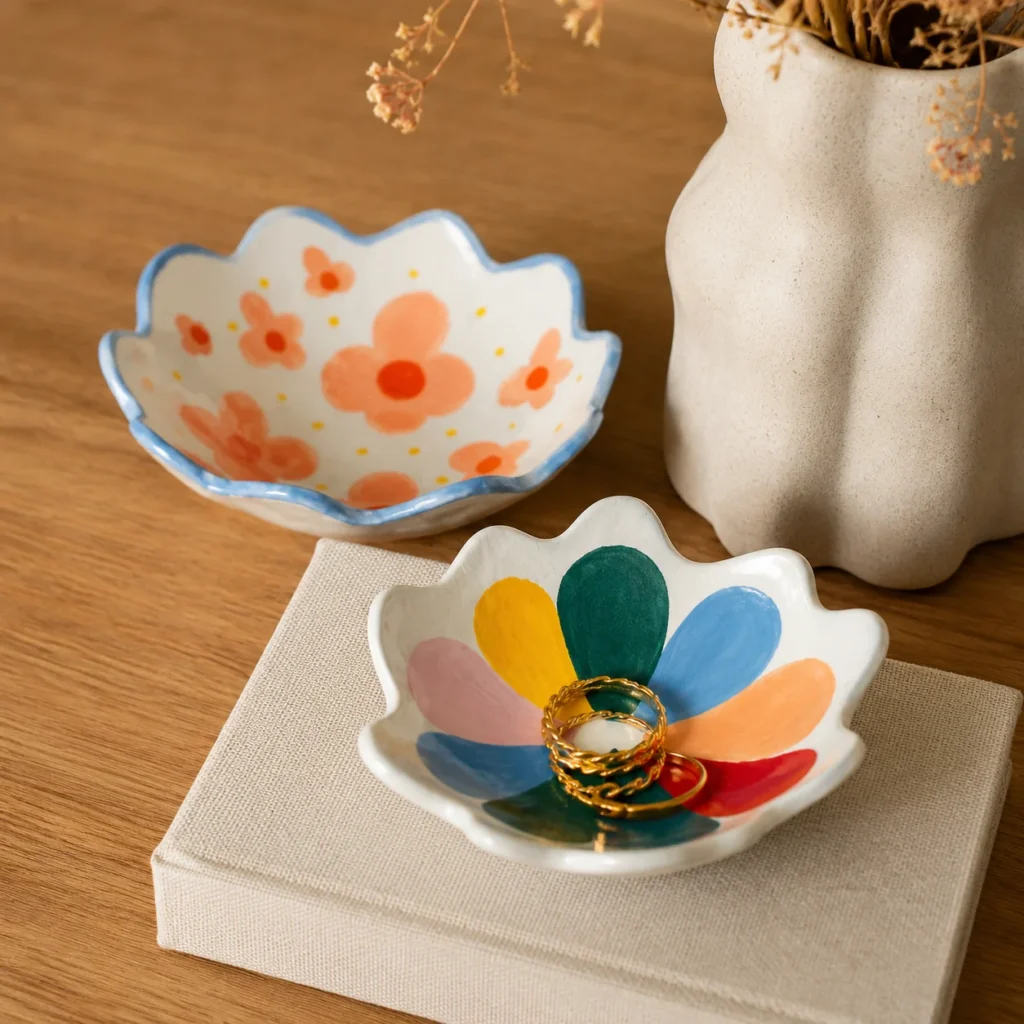
Two wavy-edged bowls painted with bold, cheerful flower patterns — one soft and floral, one bright and rainbow-colored. The scalloped edges give these bowls a whimsical, flower-petal silhouette.
7. Seashell Bowls with Mini Animal Figures
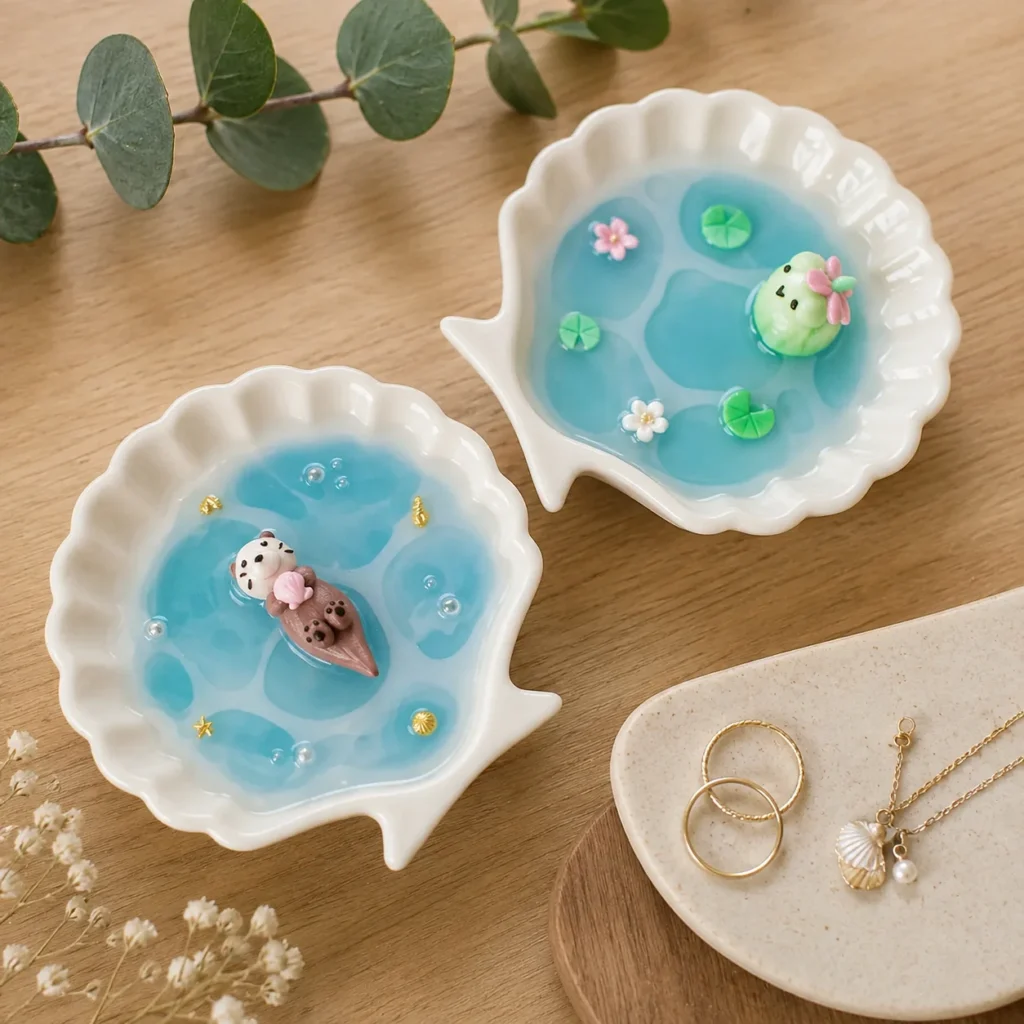
Two shell-shaped dishes filled with tinted blue resin, water lilies, and adorable miniature animal figures (an otter and a duck) floating on top. This design combines clay shaping with a resin “water” pour for a magical, scene-like effect.
8. Wavy White Bowl with Golden Edge
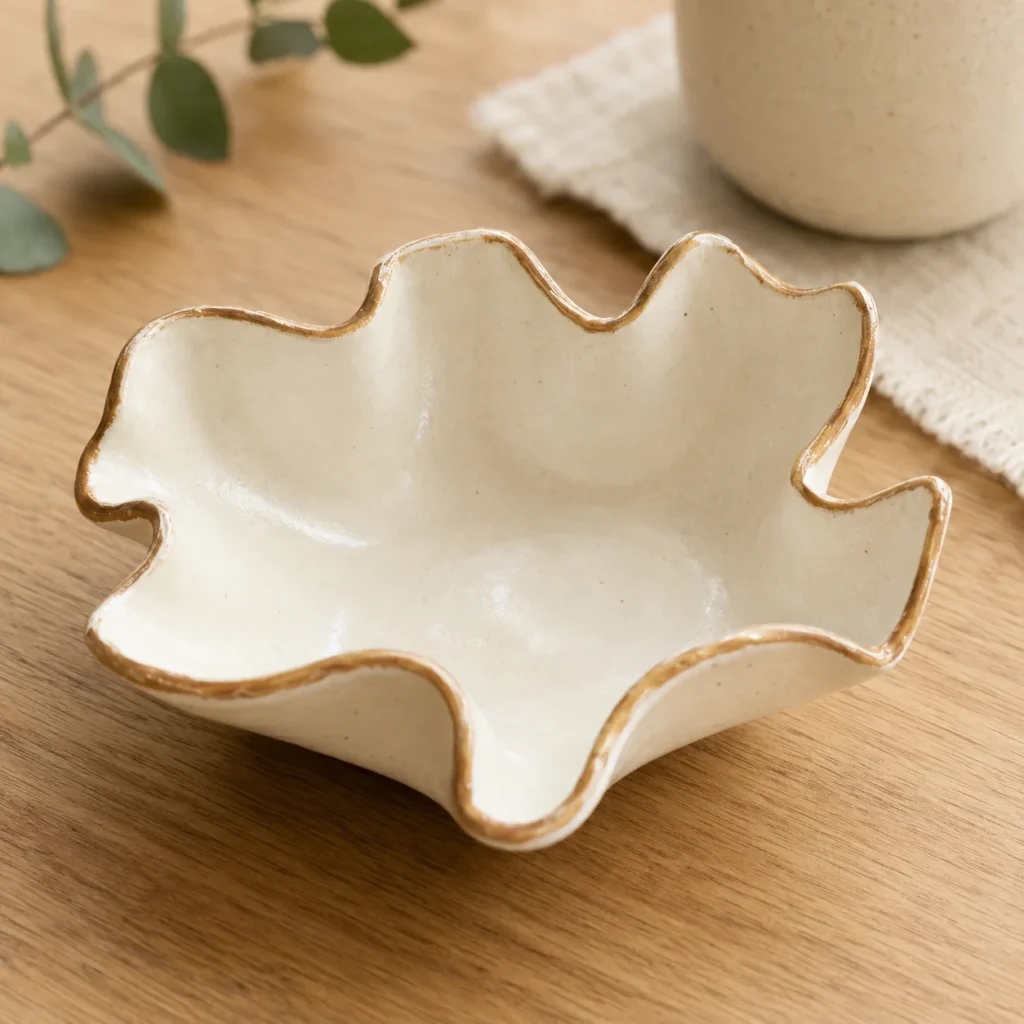
A simple, elegant ivory bowl with a naturally wavy rim outlined in gold. Its understated design proves that even minimal detailing can look luxurious.
Conclusion & Tips
Making your own clay bowls is a wonderfully flexible craft — you can keep it simple with plain painted shapes, or go all out with resin, gems, and texture imprinting. A few tips to help your bowls turn out beautifully:
- Always work on a smooth, non-stick surface, and keep clay lightly moistened while shaping to avoid cracks.
- When imprinting leaves or textures, press firmly but gently to capture fine detail without tearing the clay.
- Let pieces dry fully and evenly before painting or pouring resin — rushing this step is the most common cause of warping.
- Start decorations simple; you can always add more layers, gems, or paint once you’re comfortable with the basics.
- Seal finished bowls with a clear varnish or glaze to protect the paint and give them a professional shine.