Creating clay magnets is a fun and creative DIY project that both beginners and experienced crafters enjoy. These small decorative magnets are perfect for personalizing refrigerators, lockers, or office boards. They are also popular handmade items for gifts or small craft businesses.
| Product | Buy |
|---|---|
| Air Dry Clay |

|
| Clay Tools |
|
| Clay Shaper Tool |
|
| Magnets |
|
| Jewellery Materials |
|
| Acrylic Colours |
|
| Paint Brushes |
|
Because clay magnets are relatively simple to make, many people assume the process is effortless. However, beginners often encounter common mistakes that affect the durability, appearance, and overall quality of their magnets. Cracks in the clay, weak magnets, uneven shapes, or faded colors are some of the problems that can occur.
In this article, we will explore the most common mistakes when making clay magnets and provide practical tips to help you avoid them. By understanding these issues and applying the right techniques, you can create professional-looking magnets that last for years.
1. Choosing the Wrong Type of Clay
One of the first mistakes people make when creating clay magnets is selecting the wrong type of clay. Not all clays behave the same way, and choosing an unsuitable material can lead to fragile or poorly finished magnets.
For example, some air-dry clays shrink too much while drying, which may cause cracks or deformation. On the other hand, polymer clay requires baking in an oven to harden properly.
How to avoid this mistake
Choose the clay based on your project needs:
- Polymer clay: durable and great for detailed designs
- Air-dry clay: easier for beginners and does not require baking
- Epoxy clay: strong and ideal for long-lasting magnets
Testing a small sample before starting a large batch of clay magnets can help you understand how the clay behaves.
2. Making the Clay Too Thick or Too Thin
Another common problem when making clay magnets is incorrect thickness. Pieces that are too thick may become heavy and difficult for the magnet to hold. Pieces that are too thin may break easily.
How to avoid this mistake
The ideal thickness for most clay magnets is around 3–5 mm. This thickness ensures the magnet remains lightweight while still being strong enough to maintain its shape.
Using a rolling tool or small guide sticks can help you maintain consistent thickness when shaping the clay.
3. Not Smoothing the Surface Properly
Rough surfaces, fingerprints, and small cracks are common issues in handmade clay magnets. These imperfections can make the finished product look unprofessional.
How to avoid this mistake
Before drying or baking your clay:
- Smooth the surface with a slightly damp finger or sponge
- Use sculpting tools for fine details
- Remove fingerprints gently
Taking a few extra minutes to refine the surface will significantly improve the final appearance of your clay magnets.
4. Improper Drying or Baking
Drying or baking is one of the most important steps when creating clay magnets. Many beginners rush this process, which can result in cracks, warping, or weak pieces.
Air-dry clay must dry slowly and evenly, while polymer clay requires the correct oven temperature.
How to avoid this mistake
Follow these guidelines:
- Allow air-dry clay to dry for 24–48 hours depending on thickness
- Bake polymer clay according to the manufacturer’s instructions
- Avoid placing clay directly under strong heat
Proper drying ensures that your clay magnets become durable and long-lasting.
5. Using Weak Magnets
Sometimes the clay piece looks beautiful, but the magnet cannot hold even a small note on the fridge. This usually happens when weak magnets are used.
How to avoid this mistake
Choose strong neodymium magnets rather than standard craft magnets. These small magnets provide much stronger holding power, making your clay magnets both decorative and functional.
Also, make sure the magnet size matches the weight of the clay piece.
6. Attaching the Magnet Incorrectly
Another mistake in DIY clay magnets is attaching the magnet poorly. If the magnet is not secured properly, it may fall off after a short time.
How to avoid this mistake
You can attach magnets in two effective ways:
- Embedding the magnet inside the clay before drying
- Gluing the magnet after the clay hardens
If you use glue, choose a strong adhesive such as epoxy or industrial craft glue. Allow the glue to dry completely before using the magnet.
7. Skipping the Sealing Step
Many crafters forget to seal their finished clay magnets. Without a protective coating, paint can fade, and the surface may become damaged over time.
How to avoid this mistake
After painting or decorating your clay piece, apply a protective sealant such as:
- Acrylic varnish
- Gloss or matte craft sealer
- Resin coating for a shiny finish
Sealing improves durability and gives clay magnets a professional appearance.
8. Overcomplicating the Design
When starting with clay magnets, beginners sometimes attempt very complex designs. This can lead to frustration, uneven shapes, and wasted materials.
How to avoid this mistake
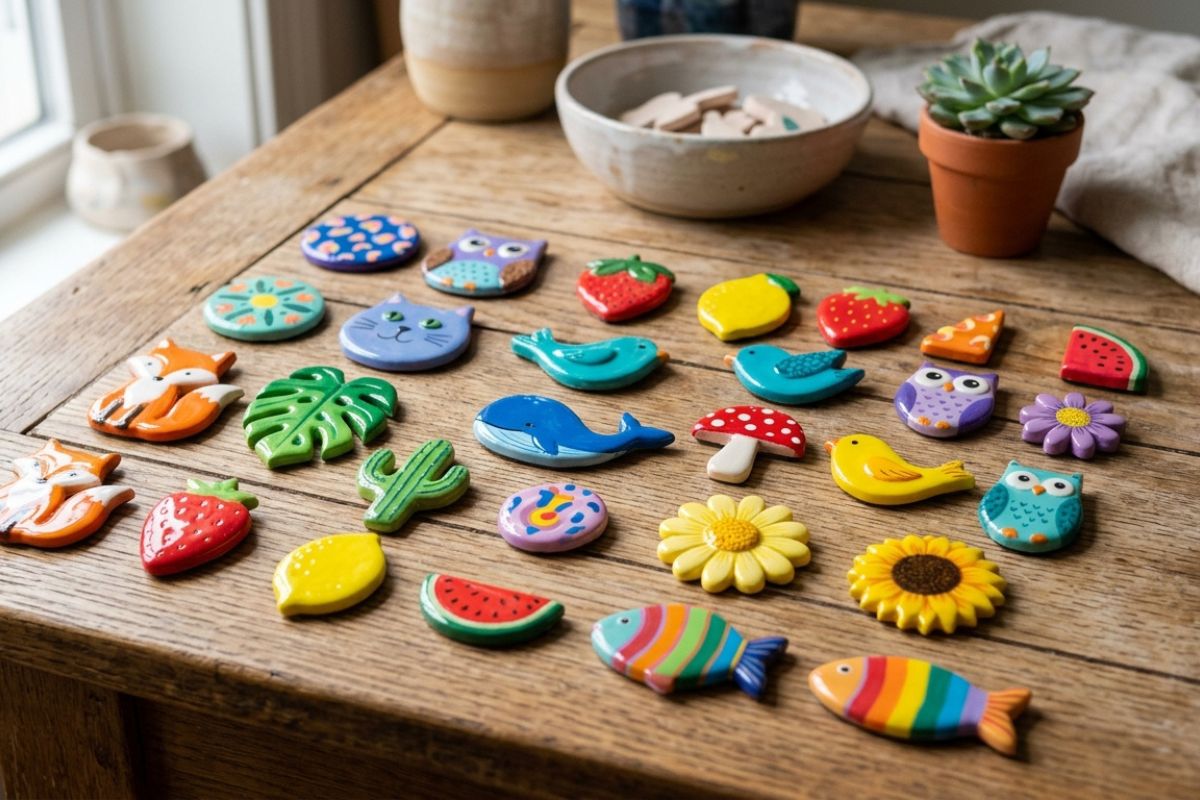
Start with simple shapes such as:
- Hearts
- Fruits
- Flowers
- Animals
- Letters
Once you gain experience making clay magnets, you can gradually experiment with more detailed and creative designs.
9. Not Planning Color Combinations
Color plays an important role in the visual appeal of clay magnets. Random color choices can make designs look messy or unbalanced.
How to avoid this mistake
Plan your color palette before starting. Some helpful tips include:
- Use complementary colors
- Keep a consistent theme
- Limit the design to 3–4 colors
A well-planned color scheme makes your clay magnets look more attractive and professional.
10. Ignoring Finishing Details
The difference between a basic craft and a professional product often lies in the finishing details. Many people rush the final steps when making clay magnets.
How to avoid this mistake
Before considering your magnet finished:
- Check edges and smooth them
- Clean any paint marks
- Ensure the magnet is securely attached
- Add small decorative details if needed
These small adjustments can elevate your clay magnets from simple crafts to high-quality handmade pieces.
Final Thoughts
Making clay magnets is a rewarding DIY activity that combines creativity with practicality. Whether you are crafting for fun, decorating your home, or selling handmade products, understanding the common mistakes can help you improve your results.
By choosing the right clay, maintaining proper thickness, using strong magnets, and paying attention to finishing details, you can create beautiful and durable clay magnets. With practice, your magnets will not only look more professional but also last much longer.
The key to success is patience and experimentation. Each project teaches new techniques and ideas, helping you refine your skills over time. So gather your materials, start creating, and enjoy the process of making unique and charming clay magnets that brighten any space.