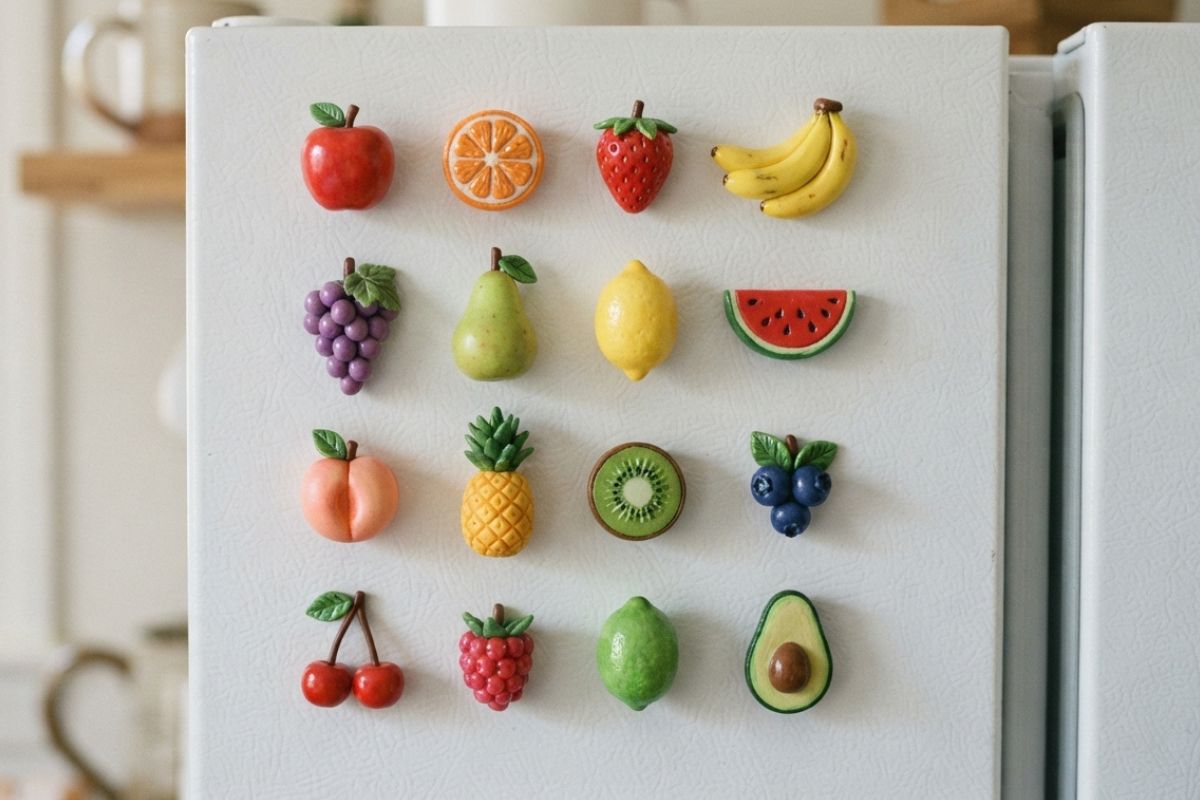
Polymer clay magnets have become one of the most popular DIY crafts on Pinterest, and it’s easy to see why. They’re small, colorful, endlessly customizable, and don’t require much space or equipment to make. Whether you’re picturing a row of tiny fruit magnets lining your fridge or a set of custom-designed pieces to gift to friends, this project is surprisingly approachable — even for someone who has never worked with oven-baked clay before.
Here’s a complete breakdown of the process, along with a few lessons that only become obvious once you’ve actually tried it.
What You’ll Need
- Oven-bake polymer clay (a multi-color pack works well since you can mix or paint over colors later)
- A rolling tool or straws (to roll the clay to an even thickness)
- Clay stamps or textured paper napkins (for adding patterns)
- Scissors or a small craft knife
- A baking sheet and access to an oven
- Acrylic paint and small brushes
- A gloss sealant or varnish
- Strong magnets (more on why strength matters below)
- Strong glue for attaching the magnets
Step 1: Choose Simple Shapes to Start
Before touching the clay, it helps to have a few reference images ready — Pinterest is a great source of inspiration. For a first attempt, simple, rounded shapes tend to work best. Fruits like blueberries, kiwis, or tomatoes are popular choices because their forms are forgiving and don’t require intricate detail work.
A helpful rule of thumb: don’t make the pieces too small. Since the magnet itself takes up a certain amount of space, a miniature that’s too tiny will look disproportionate once the magnet is attached to the back.
Step 2: Get to Know Your Clay
Oven-bake clay can feel quite firm straight out of the package, which sometimes surprises first-timers expecting something closer to soft dough. A bit of kneading warms it up and makes it far more workable. Treating the first few pieces as a “trial run” — rather than aiming for perfection right away — takes the pressure off and makes the learning curve much smoother.
If you’re working with brightly colored clay, keep in mind that some pigments can temporarily tint your hands, so having a damp cloth nearby is a good idea.
Step 3: Add Texture with Stamps — or Napkins
Clay stamps are a fun way to add texture and detail, but there’s a clever low-cost alternative: patterned paper napkins. The technique works like this:
- Roll out a base layer of white (or light-colored) clay.
- Cut a small square from a patterned paper napkin, choosing a motif you like.
- Press or adhere the napkin square onto the clay surface before baking.
This method effectively turns any napkin design — florals, fruit, abstract patterns — into a custom clay “stamp,” and since napkin packs usually come with dozens of sheets, a single pack can supply patterns for a huge number of pieces. It’s worth planning out a rough layout for cutting multiple uniform squares at once, rather than cutting one at a time, to keep the pieces consistent in size.
Rolling the clay evenly is also easier with a simple trick: placing straws on either side of the clay as guides while rolling keeps the thickness consistent across the entire piece.
Step 4: Bake Carefully
Baking times can vary depending on the clay brand and the thickness of your pieces, so it’s worth checking the manufacturer’s guidelines rather than guessing. A common beginner mistake is pulling pieces out too early — freshly baked clay is often still soft to the touch straight out of the oven and firms up as it cools, so resist the urge to judge doneness while it’s still hot. If a piece still feels too soft once cooled, a few extra minutes in the oven usually solves it.
Step 5: Paint and Seal
Once the pieces have cooled completely, painting is where the design really comes to life. Even clay that looks a little plain or uneven straight out of the oven can be transformed with a coat of acrylic paint — shading and small details add depth that the raw clay color alone can’t achieve. Many crafters consider this the trickiest part of the process, simply because it requires a steadier hand than shaping the clay itself.
After the paint has dried, a layer of gloss varnish gives the piece a polished, finished look and helps protect the paint underneath.
Step 6: Choose the Right Magnets
This step is more important than it might seem, and it’s the one detail that trips up a lot of beginners. Not all magnets are created equal:
- Small or weak magnets may hold onto a fridge, but only just — they often can’t support anything additional, like a photo or piece of paper.
- Larger or heavier clay pieces need a proportionally stronger magnet, or they risk sliding off the fridge entirely.
- Heavy-duty magnets are worth the extra cost, especially for bigger designs, since the difference in holding strength is noticeable immediately.
It’s a good idea to test a magnet’s strength on the fridge before gluing it permanently to a finished piece — swapping out a weak magnet after the fact means waiting for new glue to set, which can add days to the project timeline.
Step 7: Attach and Finish
Once you’re confident in the magnet strength, glue the magnet to the back of each piece and let the glue cure fully before use. And that’s it — a finished set of custom polymer clay magnets, ready for the fridge or as a handmade gift.
Final Tips
- Keep pieces simple for your first batch; you can experiment with more detailed shapes as you get comfortable with the clay.
- Buy magnets a size stronger than you think you need, especially for larger pieces.
- Napkin patterns are a budget-friendly way to add professional-looking texture without specialty stamp tools.
- Painting after baking (rather than relying on clay color alone) gives the most polished, dimensional result.
Watch the full process in action below: