Want a realistic rustic roof for your dollhouse, diorama, or model building without spending money on special materials? An empty aluminum soda can is all the metal you need. In just four simple steps, you can turn one into a miniature corrugated metal roof that looks like weathered tin on an old barn or cabin.
This tutorial is beginner-friendly, budget-friendly, and a great way to recycle. Let’s get started.
What You’ll Need
- 1 empty aluminum soda can
- Scissors (sturdy ones you don’t mind dulling) or tin snips
- A corrugation tool (a small crimping or paper-corrugating tool works)
- A miniature building or roof base
- Craft glue or strong tacky glue
- Optional: acrylic paints for a rusty, weathered finish
Step 1: Cut the Aluminum Can into Flat Sheets
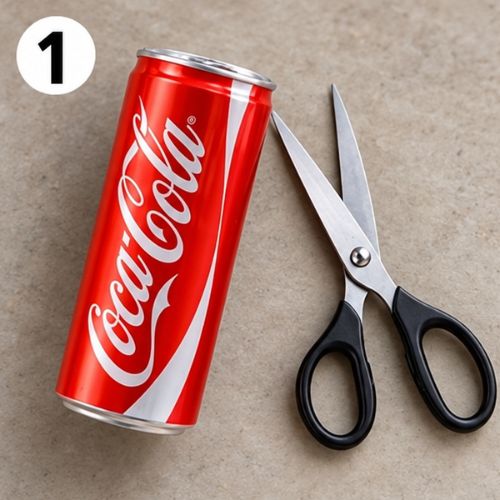
Start by cutting the top and bottom off the can, then cut down the side so it opens into one flat piece. Smooth it out with your fingers or a flat object until it lies as flat as possible.
Safety tip: Cut aluminum edges are very sharp. Wear gloves, handle the pieces carefully, and fold or sand any rough edges before you continue.
Step 2: Create the Wavy Texture with a Corrugation Tool
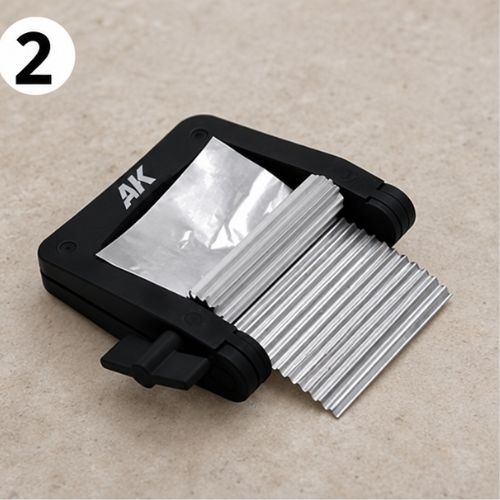
Feed the flat aluminum sheet through a corrugation tool. As it passes through the rollers, the metal takes on the ridged pattern of real corrugated roofing. Take your time and keep the sheet straight so the ridges come out even and parallel.
The result is a thin, flexible sheet of miniature corrugated metal with a convincing, realistic texture.
Step 3: Cut the Corrugated Sheets into Small Panels
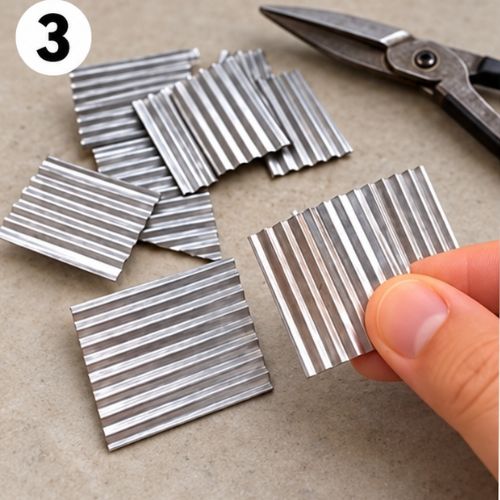
Once your sheet is corrugated, cut it into small rectangular panels with scissors or tin snips. Panel size depends on your project. For 1/12 scale buildings, smaller panels look more natural, while larger structures can take bigger pieces.
Cut more panels than you think you need. Having extras makes it easier to fill gaps and keep the pattern consistent.
Step 4: Arrange and Attach the Panels to Your Miniature Roof
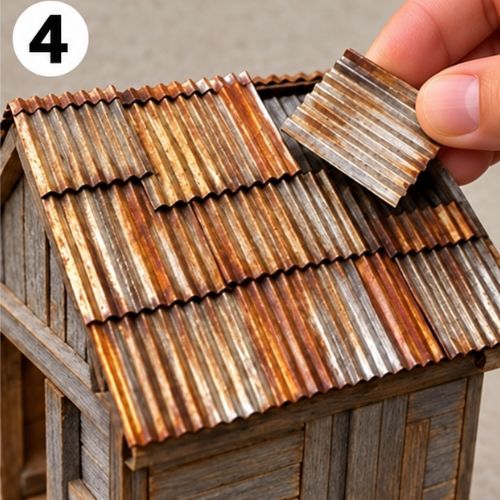
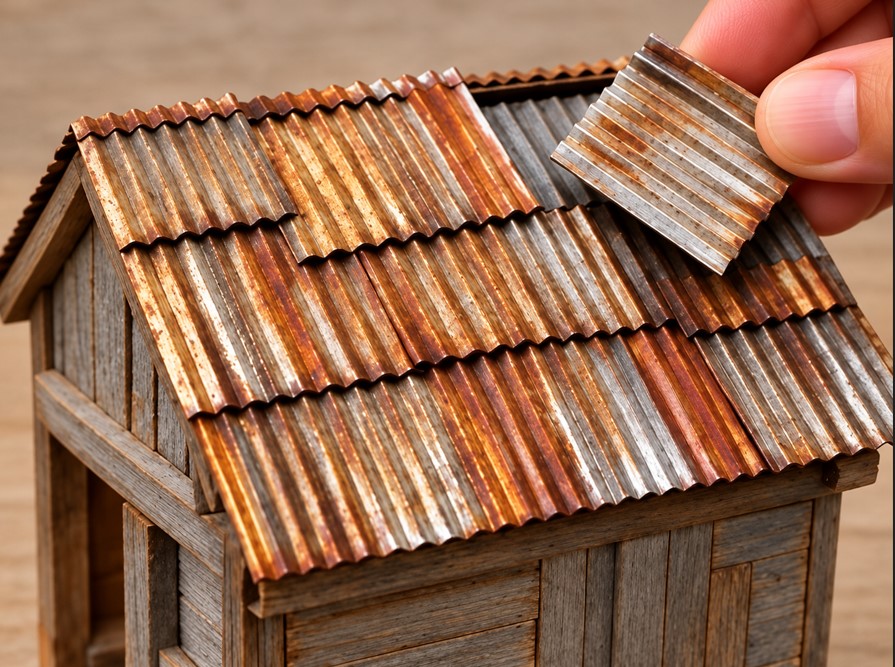
Begin at the bottom edge of the roof and work upward, gluing each row so it overlaps the one below, just like real roofing. Overlapping the panels also hides the seams and gives the roof depth.
For an extra rustic look, you can weather the metal with a little rust-colored paint or a wash. The mix of silver, orange, and brown tones gives the roof an aged, lived-in character that suits barns, sheds, cabins, and fairy houses.
Why Soda Can Metal Works So Well for Miniatures
- It’s real metal. It catches light like true roofing material, which plastic or paper can’t match.
- It’s thin and easy to cut. No heavy tools are required.
- It’s free. You’re upcycling something you’d normally throw away.
- It holds the corrugated shape well. The ridges stay crisp once pressed.
Where to Use Your Miniature Corrugated Roof
- Dollhouses and miniature rooms
- Model railroad scenery
- Fairy gardens
- Dioramas and tabletop gaming terrain
- Rustic sheds, barns, and cabins
Final Thoughts
With a single soda can and a few basic tools, you can create a miniature corrugated metal roof that looks authentic and weathered. Once you’ve mastered the technique, try it on fences, walls, and lean-to structures too.
Give it a try, and share your finished project in the comments.