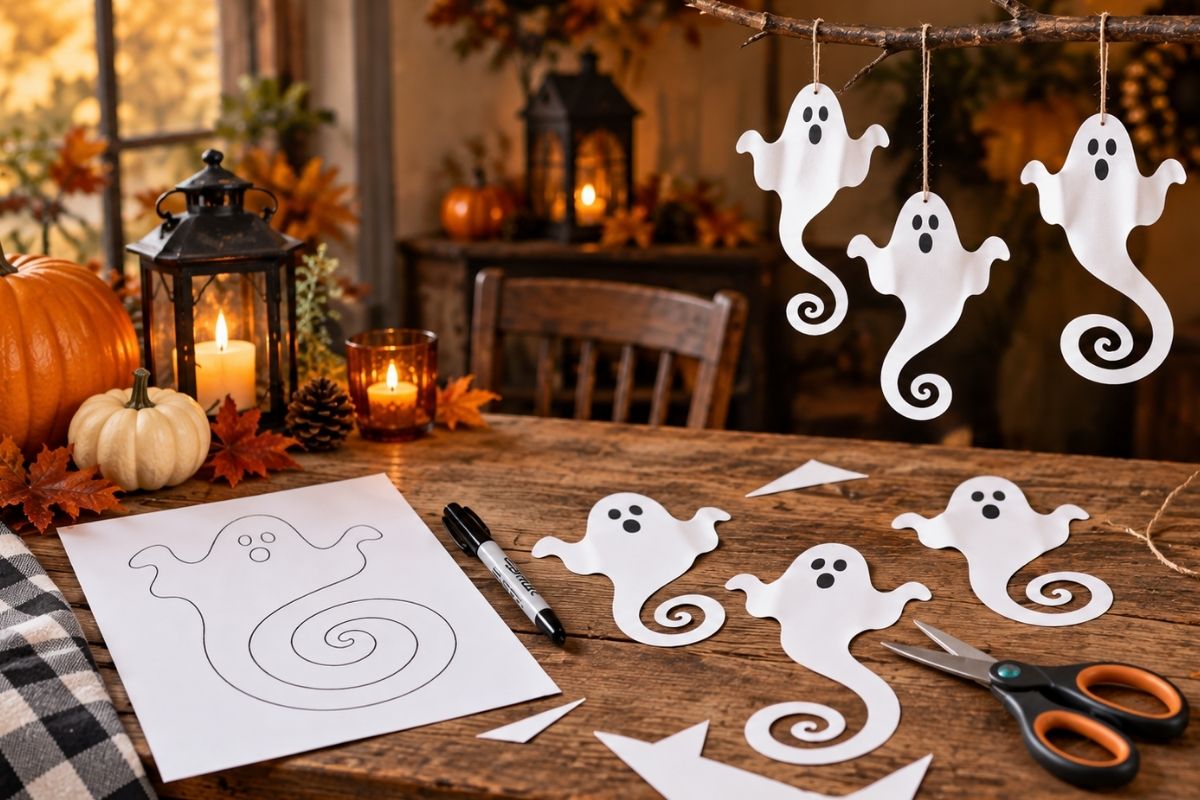
If you’re looking for an easy, budget-friendly homemade Halloween decoration idea, spiral paper ghosts are one of the simplest and most charming crafts you can put together in just a few minutes, using tools almost every home already has. This project is perfect for families, kids who love hands-on activities, and anyone who enjoys simple, stylish seasonal decor.
Why Choose This Craft for Your Halloween Decor?
This idea stands out for several reasons that make it a favorite among craft lovers:
- Very budget-friendly: all you need is white paper, string, a marker, and basic cutting tools.
- Quick to make: a single ghost can be finished in under ten minutes.
- Kid-friendly: a safe, fun activity you can do together with children under light supervision.
- Strong visual impact: the spiral shape gives the ghost a gentle swaying motion when hung, creating a look that’s both spooky and playful.
- Easy to customize: you can scale the size up or down, or add colors and extra details to match your personal style.
Tools and Materials You’ll Need
To complete this project, you’ll only need:
- Fairly sturdy white paper (light cardstock or drawing paper).
- A thick black marker for drawing.
- Sharp scissors.
- Clear or thin string for hanging.
- A needle or small hole-punching tool.
Steps to Make a Spiral Paper Halloween Ghost
Step 1: Draw the Ghost Shape with a Spiral
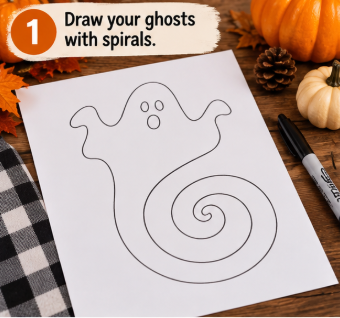
Start by drawing the classic ghost shape (a rounded head with wavy, cloak-like edges), then add a spiral shape connected to the bottom of the ghost’s body. This spiral is what gives the design its signature motion once it’s hung. Don’t forget to draw two eyes and a small oval mouth for that classic spooky-cute ghost expression.
Step 2: Cut the Shape Carefully
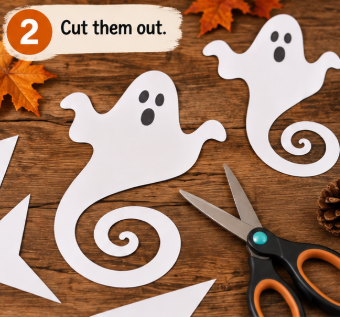
Using sharp scissors, cut all the way around the ghost’s outline, including the spiral tail at the bottom. Go slowly and carefully around the curves of the spiral to keep the shape intact and avoid accidentally cutting through it.
Step 3: Add the Hanging String
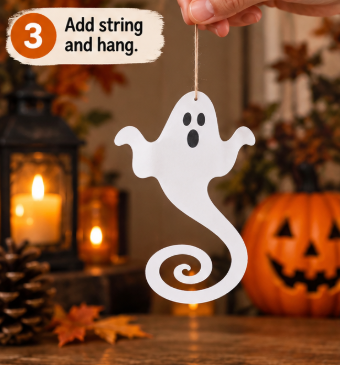
Punch a small hole at the top of the ghost’s head, then thread a piece of clear or thin string through it and tie it securely. This string is what you’ll use to hang the ghost from the ceiling or any other suitable high point.
Step 4: Hang Your Decorations and Enjoy
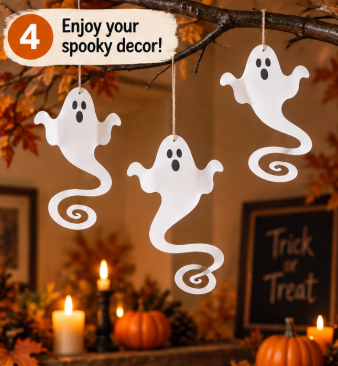
Once you’ve made several ghosts in different sizes, hang them around different spots in your home, like the entryway, living room, or dining table. The gentle spinning motion created by the spiral as air moves past it gives the decor a lively, playful feel that’s perfect for the Halloween season.
Tips for a Better Finished Look
- Use different sizes and spiral widths to create visual variety when hanging the ghosts together.
- Combine these ghosts with other decor elements like pumpkins, candles, and fall wreaths to boost the overall atmosphere.
- For extra sparkle, add a bit of glitter along the ghost’s edges after cutting.
- To make the ghosts last longer outdoors, use moisture-resistant paper if you plan to hang them in an open space.
Conclusion
Spiral paper ghosts are one of the easiest and most charming DIY Halloween decoration ideas, combining simple execution with a striking visual effect. Whether you’re looking for a fun activity to do with your kids or a budget-friendly way to decorate your home, this project is well worth trying this season.