Miniature bowls made from polymer clay are charming, versatile, and perfect for dollhouses, dioramas, and decorative displays.
These tools and materials help you enjoy hands-on crafting and create your own miniature food designs with ease.
Pottery Tool Set:
Essential double-sided tools for shaping, carving, and smoothing clay with ease.
Clay Conditioning Machine:
Helps soften and prepare clay quickly for smoother, more consistent work.
Mini Shape Cutters:
Small stainless steel cutters for clean, precise shapes in clay and crafts.
Air Dry Clay:
Natural drying clay ideal for easy modeling and creative projects.
Polymer Clay Kit:
A colorful starter kit with tools and accessories for creative DIY ideas.
White Polymer Clay:
Smooth oven-bake clay perfect for sculpting and detailed designs.
Whether you create miniatures for your shop or share them on social media, mastering the small details will make your work stand out. Here are practical and professional tips to help you craft beautiful and realistic miniature bowls.
1. Choose the Right Polymer Clay
Not all polymer clays behave the same way. Some are softer and easier to shape, while others are firmer and hold details better.
For miniature bowls, choose a high-quality brand that:
- Holds its shape after baking
- Does not crack easily
- Has a smooth texture for clean finishes
Condition the clay well before starting. Knead it until it becomes soft and flexible. Proper conditioning prevents cracks and air bubbles in your miniature bowls.
2. Use Molds or Create Simple Forms
If you want perfectly round bowls, use small silicone molds or shape the clay over:
- Beads
- Metal measuring spoons
- Small round buttons
- Mini bottle caps
Lightly dust the surface with cornstarch to prevent sticking. If you prefer handmade shapes, gently press the clay with your thumbs while rotating it to keep the bowl even.
Consistency in thickness is important. The walls should not be too thick, or the bowl will look unrealistic.
3. Keep the Scale Accurate
Scale is everything in miniature art. A bowl that is slightly too large can break the illusion.
If you work with 1:12 scale (very common for dollhouses):
- A standard bowl should be about 1–1.5 cm wide
- Depth should look proportional to the width
Place your bowl next to miniature furniture or add a hand in photos to show scale clearly. This helps buyers and viewers understand the size instantly.
4. Refine the Edges for a Professional Finish
After shaping your bowl:
- Smooth edges with a silicone tool
- Use a soft brush to remove dust
- Gently refine the rim to make it symmetrical
You can dip a finger lightly in water or use a tiny amount of rubbing alcohol to smooth the surface before baking. This removes fingerprints and gives a clean, ceramic-like appearance.
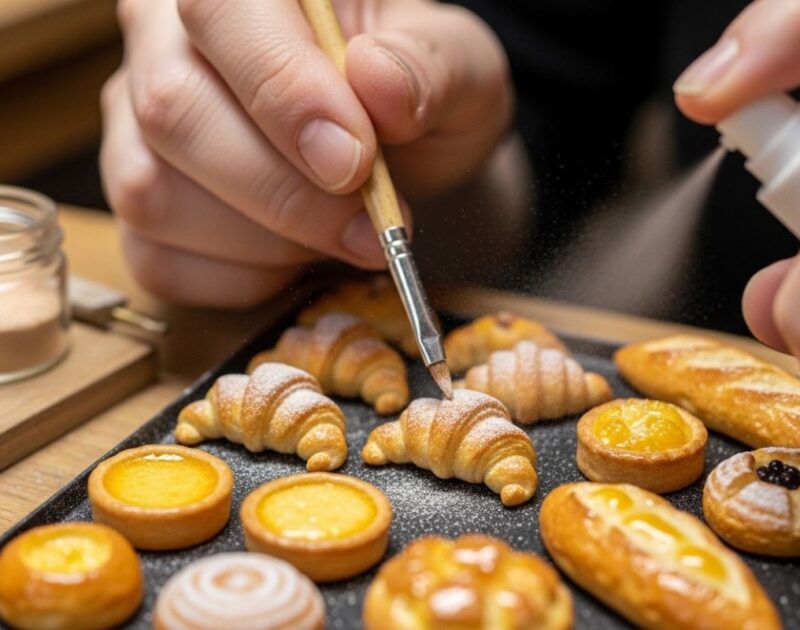
5. Add Realistic Texture and Details
To make your miniature bowls look more realistic, add subtle textures:
- Light wood grain (for wooden bowls)
- Speckled effect (for ceramic bowls)
- Tiny imperfections for a handmade look
Use a needle tool or toothpick to create delicate details. Avoid over-texturing — subtlety makes miniatures look more believable.
6. Bake Carefully and Evenly
Follow the baking instructions on your polymer clay package. Usually:
- Bake at the recommended temperature
- Do not overbake
- Use an oven thermometer for accuracy
Place your bowls on a ceramic tile or baking paper to keep the base flat. Overbaking may cause darkening or brittleness.
7. Paint and Finish for a Ceramic Effect
After baking and cooling, you can:
- Paint with acrylic paints
- Add shading inside the bowl for depth
- Apply a gloss varnish for a glazed ceramic effect
For wooden bowls, use matte varnish instead of gloss. Thin layers give the best result. Let each layer dry completely before applying the next.
8. Learn from Professional Miniature Artists
I found a miniature artist who looks very professional in this field. You can watch their video tutorial where they demonstrate advanced shaping techniques, realistic glazing effects, and clever tricks for achieving perfectly thin bowl edges.
9. Create Miniature Food Compositions
Miniature bowls look even better when filled. Consider adding:
- Tiny fruits
- Mini salads
- Rice or soup effects
- Mini desserts
This makes your bowls more attractive for social media, Etsy listings, or Pinterest posts. Styled compositions increase engagement and sales potential.
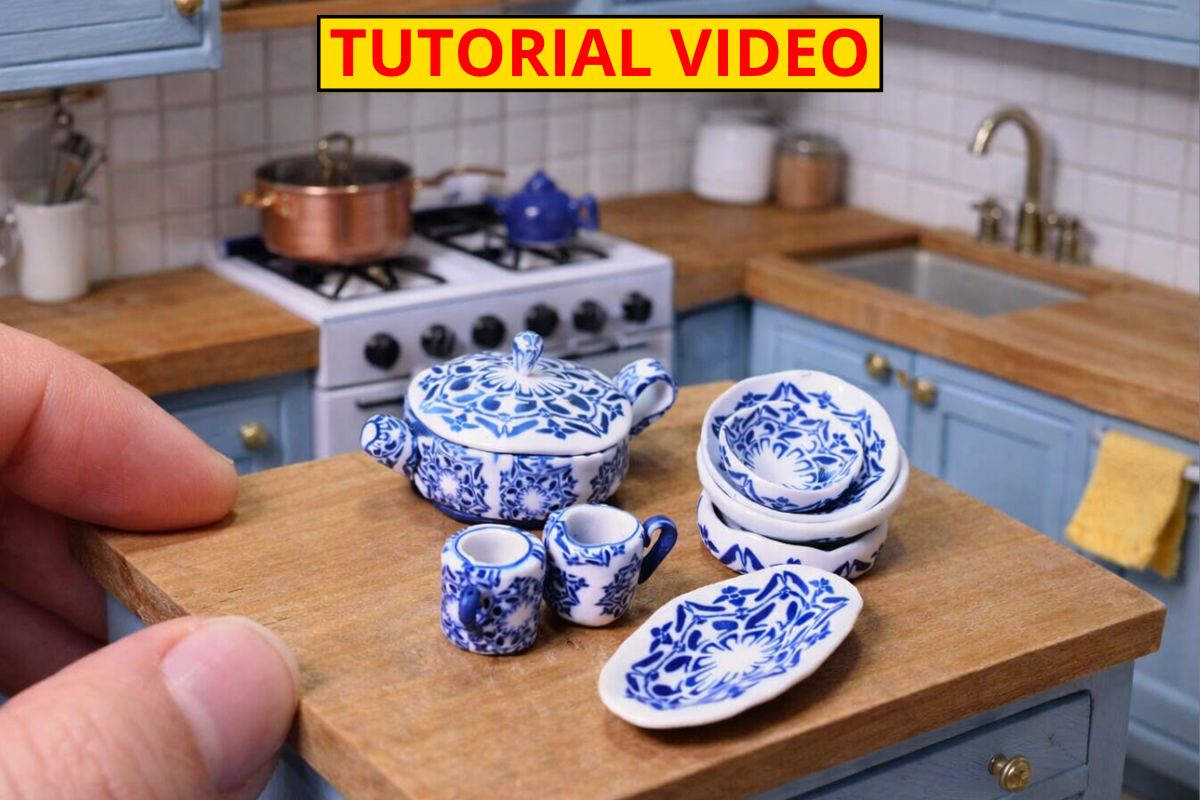
10. Photograph Them Professionally
Presentation matters. Use:
- Soft natural lighting
- Neutral backgrounds
- Miniature kitchen scenes
Adding a human hand in the photo helps emphasize scale and makes the miniature more impressive.
Final Thoughts
Creating miniature bowls with polymer clay is a rewarding and creative process. By focusing on scale, smooth finishing, realistic textures, and thoughtful presentation, you can transform simple clay into stunning miniature pieces.
With patience and practice, your miniature bowls will look so realistic that people will need a second look to realize they are not full-sized.