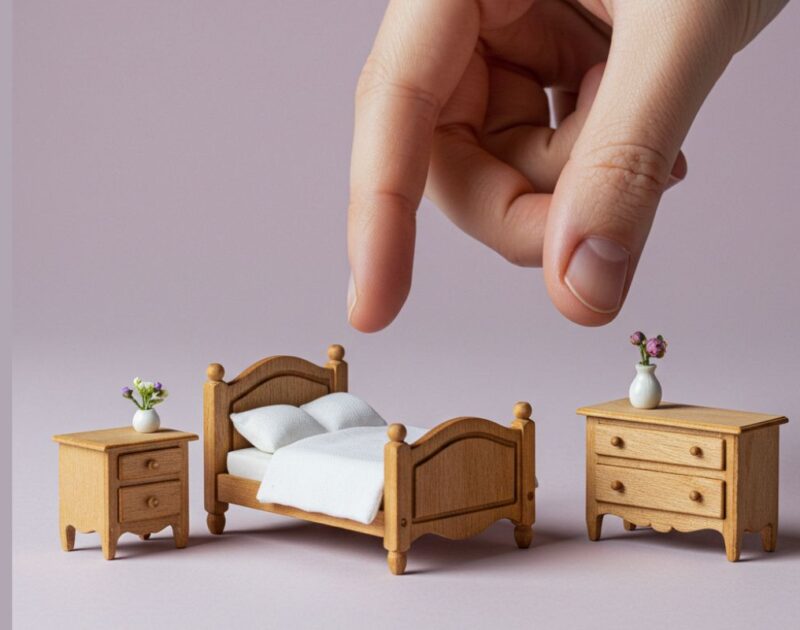
Creating miniature furniture is one of the most enjoyable parts of the dollhouse hobby. In this project, I decided to make a miniature wardrobe with drawers and a single door, designed especially for beginners who want to learn step by step without feeling overwhelmed.
This miniature wardrobe is simple, elegant, and practical. It is perfect for dollhouses, dioramas, or miniature room scenes, and it can easily be customized with different colors or details.
You will also find special sections such as DIY Furniture and PDF Plan, where you can access ready-made furniture projects and downloadable plans to help you build your miniatures with precision and confidence.
Whether you are a beginner or an experienced creator, these resources make cutting, assembling and detailing much easier. The content is well organized and regularly updated, giving you fresh ideas and practical techniques to transform your creative ideas into beautiful, lifelike miniatures.
I rely on a set of trusted tools that help achieve professional-looking results in miniature woodworking:
- Sandpaper – to smooth edges and prepare surfaces.
- Transparent brown stain – to bring out the natural beauty of the wood grain.
- Wood oil – to protect and enhance the finish.
- Jeweler’s saw – for delicate and precise cuts.
- Small table saw – to speed up straight cuts.
- 12V mini sander – for quick, clean smoothing.
A Beginner-Friendly Design
For this project, I intentionally designed the wardrobe so that the door and drawers do not open. This choice was made to keep the build process simple and stress-free, especially for beginners.
Many people feel discouraged when they first start making miniatures because moving parts can be challenging. By fixing the door and drawers in place, beginners can focus on learning clean cuts, proper assembly, and neat finishing without frustration.
Educational Video at the End of the Article
I have uploaded a full step-by-step tutorial video, which you will find at the end of this article. The video shows the complete process, from cutting the wood to assembling and painting the wardrobe.
Watching the video alongside reading this article will help you better understand the techniques used and follow along at your own pace.
More Tutorials for Doors and Drawers
Although this wardrobe does not include opening parts, I offer many other detailed tutorials where I explain how to make functional drawers and working doors.
In those lessons, I cover measurements, hinge techniques, drawer rails, and tips to make moving parts look realistic at a miniature scale. These tutorials are ideal for anyone who wants to advance their skills after mastering the basics.
Materials Used in This Project
For this miniature wardrobe, I used 3 mm plywood, which is strong, easy to cut, and widely available. Thin plywood is an excellent choice for miniature furniture because it holds its shape well and creates clean edges.
This thickness is especially suitable for beginners, as it is forgiving and works well with simple hand tools.
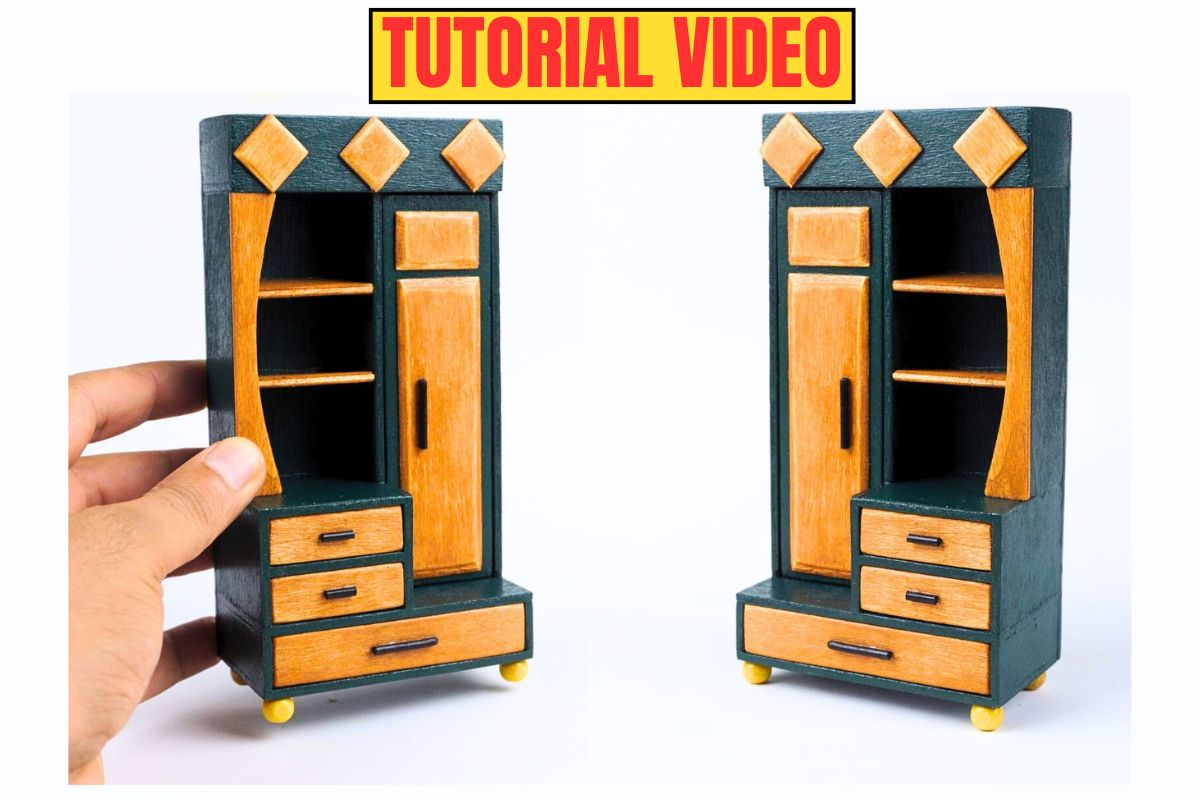
Color Choice and Visual Appeal
The final look of the wardrobe was enhanced by combining green and orange colors. This color combination gave the piece a fresh, lively, and artistic appearance.
Green adds calmness and balance, while orange brings warmth and energy. Together, they create a unique contrast that makes the miniature wardrobe stand out beautifully in any dollhouse room.
Safety Comes First
Working with miniature tools still involves sharp blades and cutting instruments, so safety is very important. Always cut slowly, use a stable surface, and keep your fingers away from the blade.
Wearing protective gloves when needed and keeping tools organized can prevent accidents. Never rush the process—precision and safety go hand in hand in miniature crafting.
Thank You for Your Support
I would like to sincerely thank all my followers and website visitors for your continuous support and encouragement. Your comments, shares, and feedback motivate me to keep creating and sharing new miniature projects.
If you enjoy this tutorial, don’t forget to watch the video at the end of the article and explore the other educational lessons available on the site. Your support helps this creative journey grow, one miniature at a time.