A small table saw is one of the most essential tools for woodworking enthusiasts, especially those working on detailed projects like miniatures or DIY crafts. Despite its compact size, it offers precision, efficiency, and versatility. However, using a table saw—no matter how small—requires a solid understanding of its basics and potential hazards.
In this guide, you’ll learn how to use a small table saw safely, along with the most common challenges and how to overcome them.
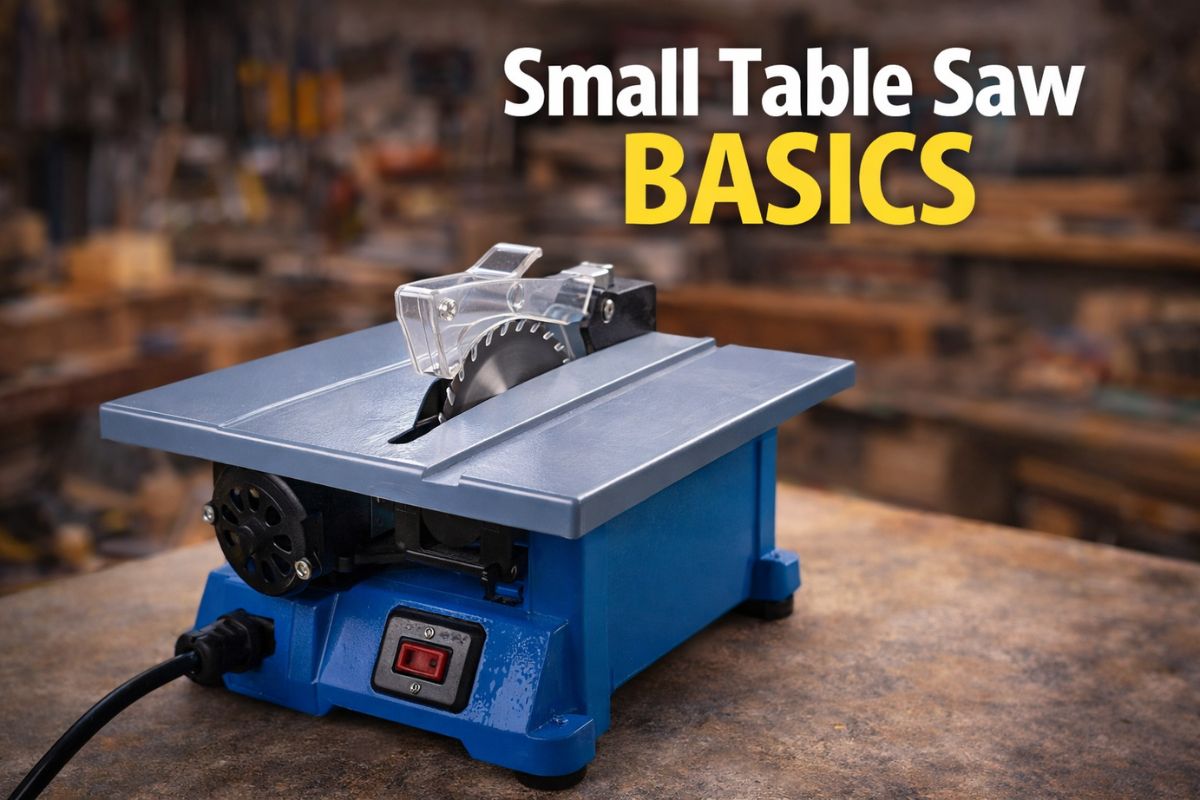
What Is a Small Table Saw?
A small table saw is a compact version of a standard table saw, designed for lighter tasks and limited workspace environments. It is perfect for hobbyists, miniature makers, and small workshop owners.
Key Features:
- Compact and portable design
- High precision cutting
- Adjustable blade height and angle
- Ideal for small wood pieces and fine work
Basic Components of a Small Table Saw
Understanding the parts of your table saw is crucial before using it:
- Blade: The cutting tool that rotates at high speed
- Fence: Guides the material for straight cuts
- Miter Gauge: Helps make angled cuts
- Table Surface: Provides support for the material
- Blade Guard: Protects your hands from direct contact
Essential Safety Tips
Safety should always be your top priority when using a table saw.
1. Wear Protective Gear
- Safety glasses
- Hearing protection
- Avoid loose clothing
2. Keep Hands Away from the Blade
Use push sticks or push blocks when cutting small pieces.
3. Check the Blade Before Use
Ensure the blade is sharp, clean, and properly installed.
4. Maintain a Stable Work Area
Make sure your table saw is on a flat, stable surface to avoid vibrations.
5. Never Rush Your Cuts
Take your time to maintain accuracy and avoid accidents.
How to Use a Small Table Saw (Step-by-Step)
- Set the Blade Height
Adjust the blade so it rises slightly above the material. - Adjust the Fence
Position it according to the width of your cut. - Mark Your Material
Use a pencil for clear cutting guidelines. - Start the Saw
Allow the blade to reach full speed before cutting. - Feed the Material Slowly
Push the wood steadily using both hands or a push stick. - Turn Off the Saw
Wait for the blade to stop completely before removing scraps.
Common Challenges and How to Overcome Them
1. Kickback
Problem: The wood suddenly moves backward toward the user.
Solution:
- Use a riving knife or splitter
- Keep the fence aligned
- Avoid cutting warped wood
2. Inaccurate Cuts
Problem: Cuts are not straight or precise.
Solution:
- Calibrate the fence regularly
- Use a sharp blade
- Ensure proper material alignment
3. Burning Marks on Wood
Problem: The wood gets burned during cutting.
Solution:
- Clean or replace the blade
- Feed the material at a steady pace
4. Difficulty Cutting Small Pieces
Problem: Small parts are hard to control.
Solution:
- Use push sticks
- Consider using a jig for better control
Maintenance Tips for Long-Term Use
- Clean sawdust regularly
- Lubricate moving parts
- Replace dull blades
- Check alignment frequently
Conclusion
A small table saw is a powerful tool that can significantly improve your woodworking projects when used correctly. By understanding its basic components, following safety guidelines, and addressing common challenges, you can achieve precise and professional results.
Whether you’re crafting miniature furniture or working on DIY projects, mastering the use of a small table saw will elevate your skills and confidence.