Polymer clay earrings have become one of the most popular handmade accessories thanks to their versatility, affordability, and endless design possibilities. If you are a beginner, getting started might feel overwhelming at first.
However, with the right tools, materials, and basic techniques, you can quickly create beautiful and unique earrings. This guide will walk you through everything you need to know to begin your journey in polymer clay jewelry making.
What Is Polymer Clay?
Polymer clay is a type of modeling clay that hardens when baked in a conventional oven. Unlike air-dry clay, it remains soft and workable until it is cured with heat. This makes it ideal for beginners because you can take your time shaping and designing your pieces without worrying about the clay drying out too quickly.
One of the biggest advantages of polymer clay is its versatility. It can mimic textures like stone, marble, terrazzo, and even fabric, allowing you to create a wide variety of styles and designs.
Choosing the Right Type of Clay
Not all polymer clay brands are created equal, especially when it comes to making earrings. Choosing the right type of clay is crucial for durability and comfort.
For beginners, Sculpey Premo and Soufflé are highly recommended. These types of clay are easy to work with and remain flexible after baking, which helps prevent breakage. Flexible clay is especially important for earrings since they are thin and need to withstand regular movement.
On the other hand, Sculpey III should be avoided for jewelry making. Although it is soft and easy to shape, it becomes brittle after baking and can easily break.
Another excellent option is Cernit, which is known for its strength and wide range of finishes. It offers different lines such as Number One, Nature, and Opaline, giving you more creative freedom when designing your earrings.
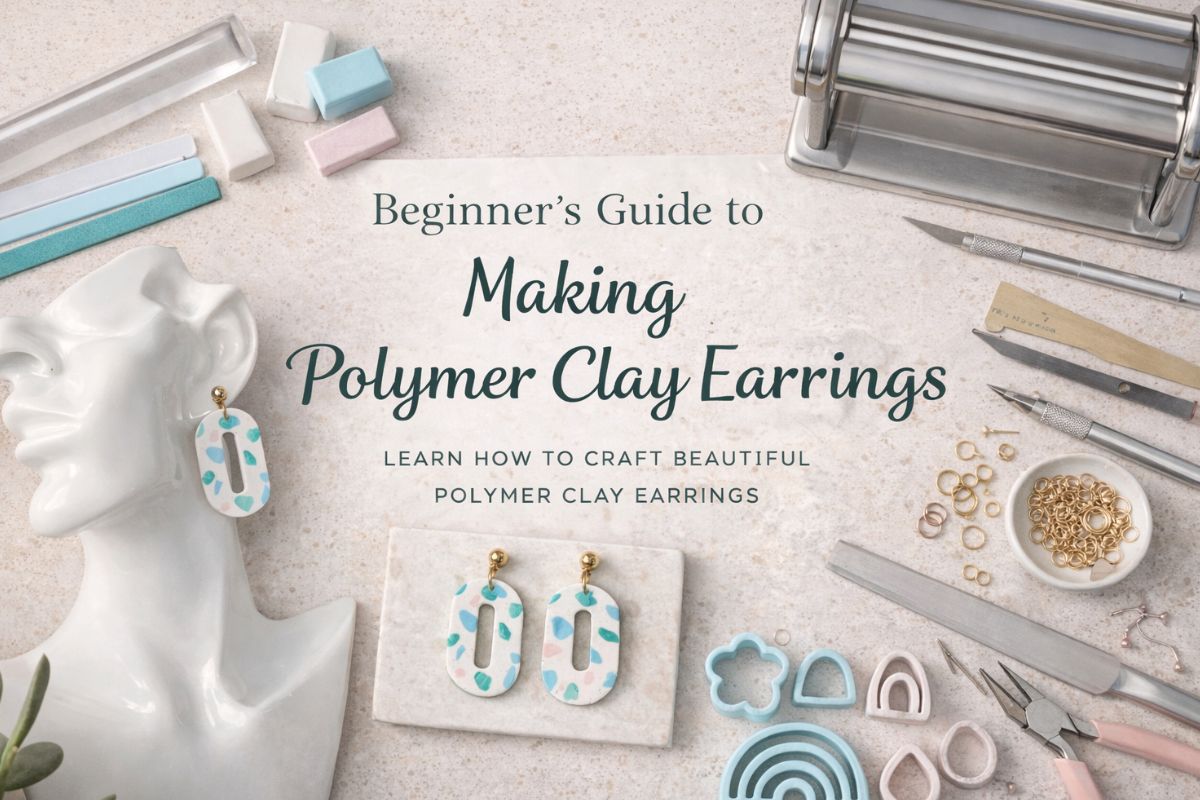
Essential Tools and Materials
To start making polymer clay earrings, you don’t need a lot of expensive tools. A few basic items are enough to get started:
- Acrylic roller: Used to flatten the clay evenly
- Depth guides: Help maintain consistent thickness
- Clay machine (optional): Speeds up conditioning and flattening
- Precision knife and long blade: For clean cuts
- Clay cutters: Available in metal or 3D printed shapes
- Ceramic tile: Ideal working surface and safe for oven use
- Oven: Required for baking the clay
- Jewelry findings: Earring posts, hooks, and jump rings
- Drill and pliers: For assembling the final piece
Having the right tools will make the process smoother and improve the quality of your final product.
Conditioning the Clay
Before you start shaping your earrings, you need to condition the clay. Fresh polymer clay is usually stiff and needs to be softened to become workable.
There are two main ways to condition clay:
- Using an acrylic roller: Roll the clay repeatedly until it becomes soft and smooth.
- Using a clay machine: Feed the clay through the machine several times. This is the fastest and most efficient method, especially if you are working on multiple pieces.
You will know your clay is properly conditioned when it folds without cracking. This step is very important because poorly conditioned clay can lead to weak and fragile earrings.
Creating and Designing Your Earrings
Once your clay is conditioned, you can start designing your earrings. Begin by placing the clay between depth guides and flattening it with your roller to achieve an even thickness.
Next, use cutters or blades to create your desired shapes. You can experiment with different styles such as geometric shapes, organic forms, or layered designs.
One popular technique for beginners is the terrazzo style, which involves using a base color (usually white) and adding small pieces of different colored clay to create a speckled effect. This style is simple yet visually appealing.
Polymer clay also allows you to mix colors easily. For example, combining a small amount of red clay with white clay will create a soft pink shade. By experimenting with color blending, you can create endless variations and unique designs.
Baking the Clay Properly
Baking is a crucial step in the process. Most polymer clays are baked at 130°C for about 30 minutes per 6 mm thickness.
Before placing your clay in the oven, make sure to preheat it. You can bake your pieces directly on a ceramic tile, which helps maintain their shape.
If you are not using a tile, place your pieces on a baking tray and cover them with aluminum foil. This protects the clay from direct heat and prevents burning if the oven temperature fluctuates.
Proper baking ensures that your earrings are strong, durable, and long-lasting.
Finishing and Assembling the Earrings
After baking, allow the clay to cool completely before handling it. Once cooled, you can refine your pieces by removing any rough edges or imperfections.
Next, use a drill to create small holes for attaching jewelry findings. Then, assemble your earrings using jump rings, hooks, or posts. The most commonly used jump ring sizes are 6 mm and 7 mm.
This final step transforms your clay pieces into wearable accessories.
Watch this creator—they appear highly professional, and the final result is truly impressive. Their work demonstrates how dedication and creativity can elevate simple materials into something remarkable.
Final Thoughts
Making polymer clay earrings is a fun and rewarding craft that combines creativity with practical skills. With just a few tools and the right techniques, beginners can quickly start producing beautiful handmade jewelry.
As you gain experience, you can explore more advanced techniques and develop your own unique style. Whether you are creating for personal use or planning to sell your designs, polymer clay offers endless opportunities for creativity and expression.
Start simple, practice consistently, and most importantly, enjoy the process of bringing your ideas to life.