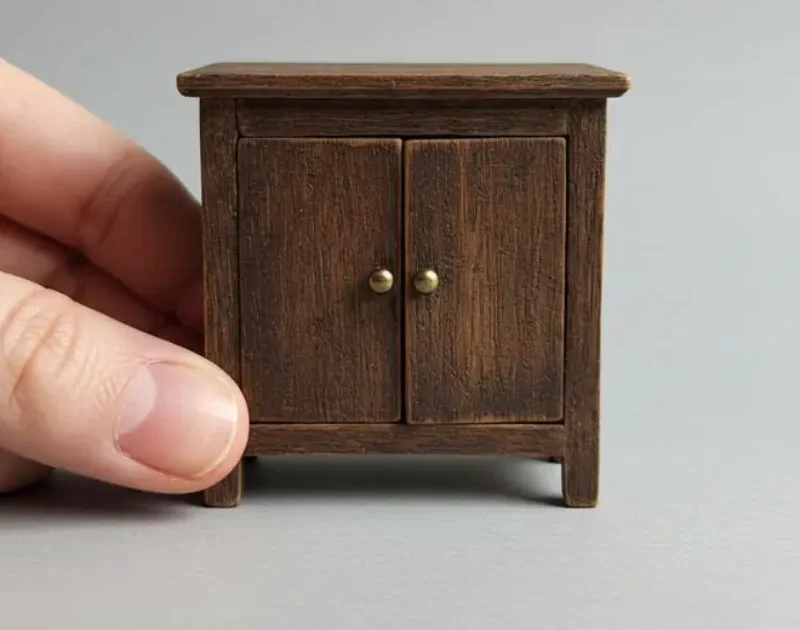
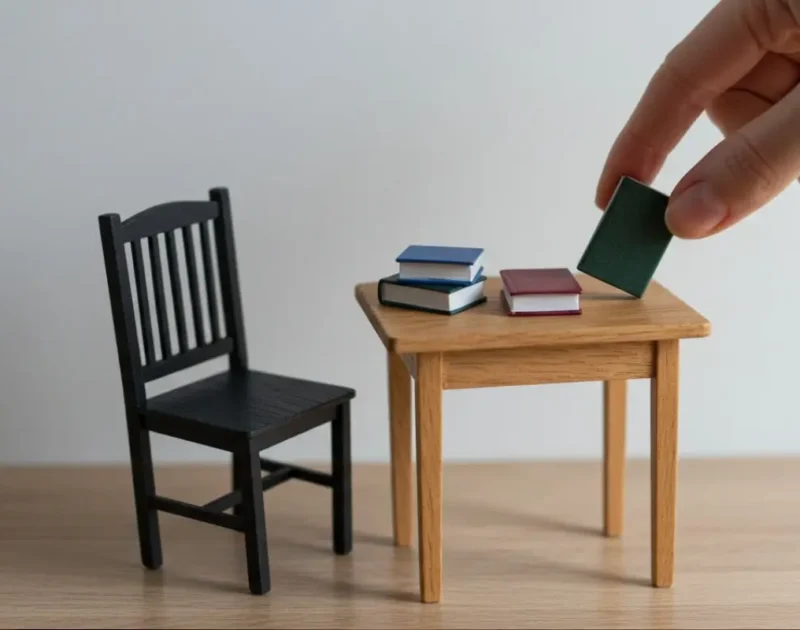
When you create wooden miniatures, small cracks or gaps often appear between pieces of wood. These imperfections can make your work look unfinished and less realistic. Fortunately, there are simple and effective methods to close cracks between wood and give your miniature a smooth, flawless finish.
1. Sand Before Painting or Varnishing
Before applying any paint or varnish, sanding is a must. It removes rough edges and evens out the surface, helping you see where the cracks actually are. Start with coarse sandpaper to smooth the joints, then move to finer grits for a polished look. Proper sanding ensures better adhesion for paint, glue, or filler.
2. Use Sawdust and White Glue for Clear Varnish Finishes
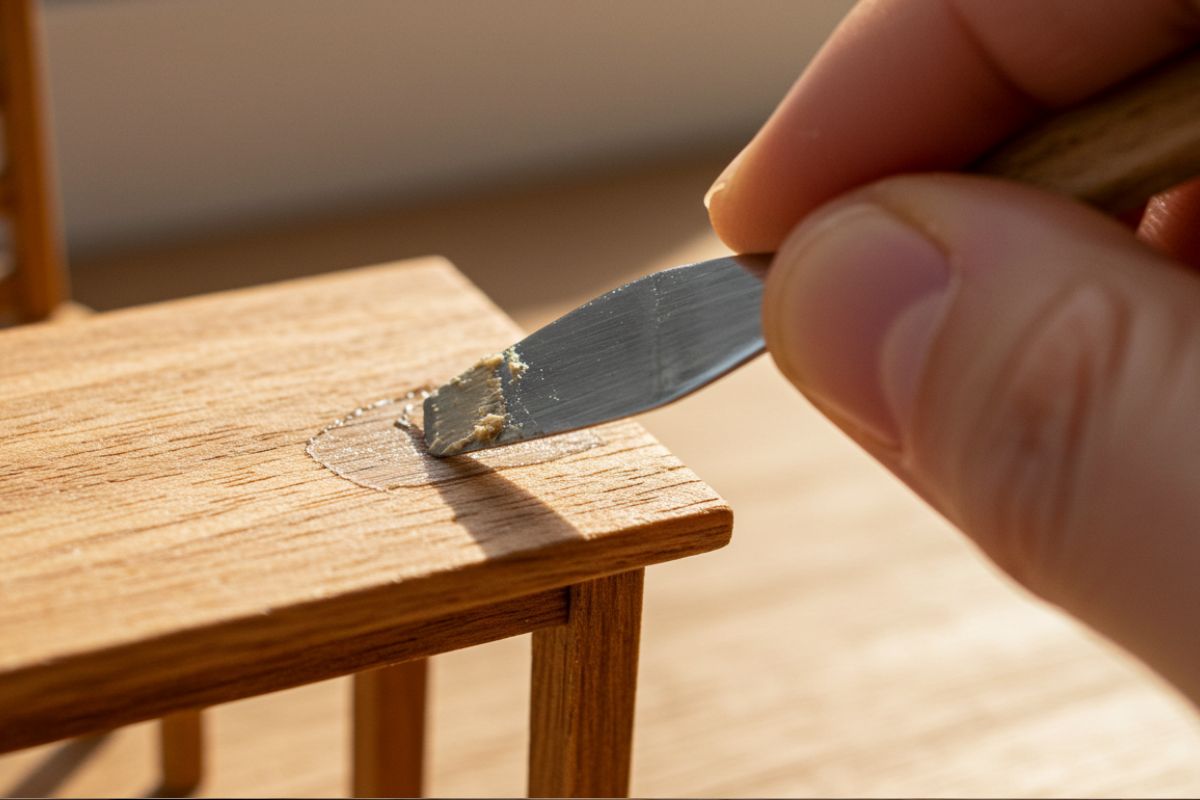
If you plan to use a clear varnish, avoid fillers that can leave visible color differences. Instead, use sawdust mixed with white glue—especially the sawdust that naturally falls while sanding your miniature. This mixture perfectly matches the color of your wood, making the repair nearly invisible after drying.
To apply:
- Mix a small amount of sawdust with white glue until you get a thick paste.
- Fill the crack with the mixture using a fine tool or toothpick.
- Let it dry completely, then sand the area gently before applying the varnish.
This method works best for projects where you want to preserve the natural wood grain and transparency.
3. Use Wall Putty and White Glue for Watercolor Projects
When painting your miniature with watercolors, use a mix of wall putty and white glue instead. The wall putty helps the paint spread evenly and hides the cracks effectively. After filling the gaps and letting it dry, sand lightly to create a smooth surface before painting.
This method provides a solid, paint-ready base and helps you achieve a professional finish, even on delicate miniature surfaces.
4. Final Touch for a Seamless Look
Once the filler is dry and sanded, apply your chosen paint, stain, or varnish. Check under good lighting to ensure there are no visible seams. Finishing your miniature this way makes it look cleaner, stronger, and more realistic.
By following these techniques, you can easily close cracks between wood and elevate the quality of your miniature work—turning every piece into a small masterpiece.


