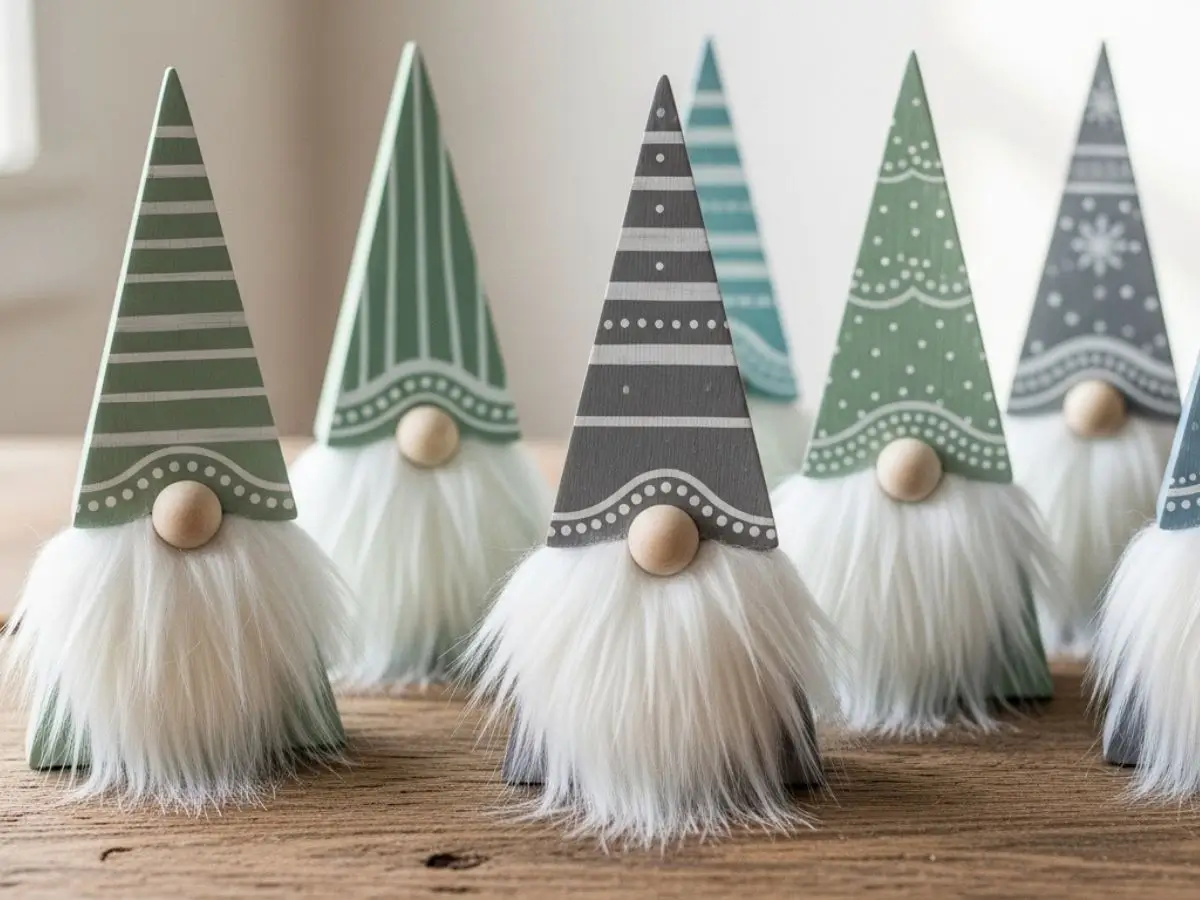
Wooden gnome figurines are among the most charming and cozy decorative pieces you can add to your home, especially during winter and holiday seasons. Their simple shapes, warm colors, and fluffy beards give them a delightful rustic charm that appeals to all ages. One of the great things about this craft is that it’s easy enough for beginners, yet customizable enough for skilled crafters who enjoy adding personal touches.
In this detailed guide, we’ll walk through each step of transforming plain wooden triangles into adorable gnome decorations with painted hats, soft beards, and wooden noses—just like the ones shown in your image. By following these steps, you’ll be able to create a beautiful, cohesive set of wooden gnomes perfect for decorating shelves, tables, or festive displays.
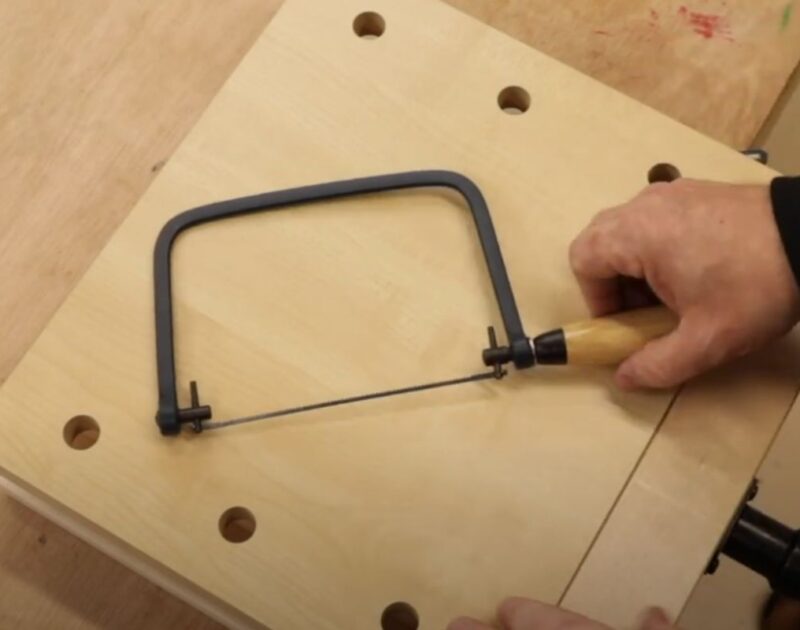
Step One: Gather Materials and Tools
Before starting, it’s best to gather everything you need. You’ll need wooden pieces cut into triangular shapes, acrylic paints in various colors, fine sandpaper, a strong glue (such as a glue gun), small wooden balls for the noses, and white faux fur for the beards. Having all materials ready makes the crafting process smoother and more enjoyable.
Step Two: Prepare the Wood
Begin by cutting your wood into triangle shapes. You may choose to make them all the same size or create a variety of heights for a more visually interesting display. Ideally, the wood should be about 2–3 cm thick to ensure each gnome stands firmly. After cutting, sand all surfaces and edges with fine-grit sandpaper. This ensures a clean, smooth finish that will help the paint adhere better and give the final result a professional look.
Step Three: Painting the Gnomes
Paint the surface of each wooden triangle using acrylic paint. Choose winter-themed colors such as soft greens, blues, grays, or even pastel tones. Once the base layer dries completely, use a thin detail brush to add decorative patterns like stripes, dots, small squares, or snowflake designs. These tiny details add personality and charm to each gnome. The more precise and creative the patterns, the more attractive the final result will be.
Step Four: Making the Beard
Using a piece of soft faux fur, cut out a small beard shape—either triangular or rounded—to fit the bottom part of the wooden shape. Apply a small amount of hot glue or strong adhesive to the wood, then carefully press the fur in place. The beard is one of the most eye-catching features of the gnome, so choose fur that is fluffy and thick enough to create a cute, cozy look.
Step Five: Adding the Wooden Nose
Place a small dot of glue just above the beard and attach the small wooden ball. This creates the classic gnome nose, which is essential for giving each figure its recognizable charm. Make sure the nose is centered and well-secured.
With just a few simple steps, you can create beautiful wooden gnome decorations that bring warmth and personality to your home. You can customize the colors, patterns, and sizes to create a unique set that reflects your style. These gnomes also make wonderful handmade gifts or festive decorations for winter displays. With a bit of creativity, you can craft a delightful collection of wooden gnomes that feels both personal and artistic.