Miniature making is one of the most rewarding crafts you can pick up — you get to build tiny, detailed worlds using materials you probably already have at home. But if you’ve never made a miniature before, the sheer number of scales, tools, and techniques out there can feel overwhelming. Where do you even begin?
The good news is that starting a miniature project doesn’t have to be complicated. With a clear plan, the right basic tools, and a little patience, you can go from “I have an idea” to “I made this” in a single afternoon. This guide walks you through every step of starting your first (or next) miniature project, from choosing what to build to putting on the finishing touches.
If you’re looking for more step-by-step tutorials, visit the DIY Furniture category to discover a variety of helpful videos and creative ideas for making your own furniture.
Step 1: Choose a Simple, Small Project First
The biggest mistake beginners make is starting with something too ambitious — a full dollhouse, a detailed diorama, or a multi-room miniature scene. Instead, pick something small and self-contained for your first project:
- A single piece of furniture (a chair, a small table, a bookshelf)
- A miniature food item (a cake, a stack of pancakes, a bowl of fruit)
- A tiny planter or terrarium
- One room box instead of a full house
Small projects let you learn the basic techniques — cutting, gluing, painting, finishing — without the pressure of a huge, unfinished project staring back at you. You’ll also finish faster, which keeps you motivated to start the next one.
Step 2: Decide on a Scale
Scale determines how big or small your miniature will be relative to the real object it represents. The most common scales are:
- 1:12 scale — the standard for traditional dollhouses; 1 inch equals 1 foot
- 1:6 scale — larger and more detailed, popular for fashion dolls and display pieces
- 1:24 or 1:48 scale — smaller and more compact, good for tiny room boxes or shelf displays
If you’re just starting out, 1:12 scale is usually the easiest to work with. It’s large enough that small hands and beginner tools can handle it comfortably, and there’s a huge amount of reference material, templates, and printable patterns available in this scale.
Step 3: Gather Basic Materials and Tools
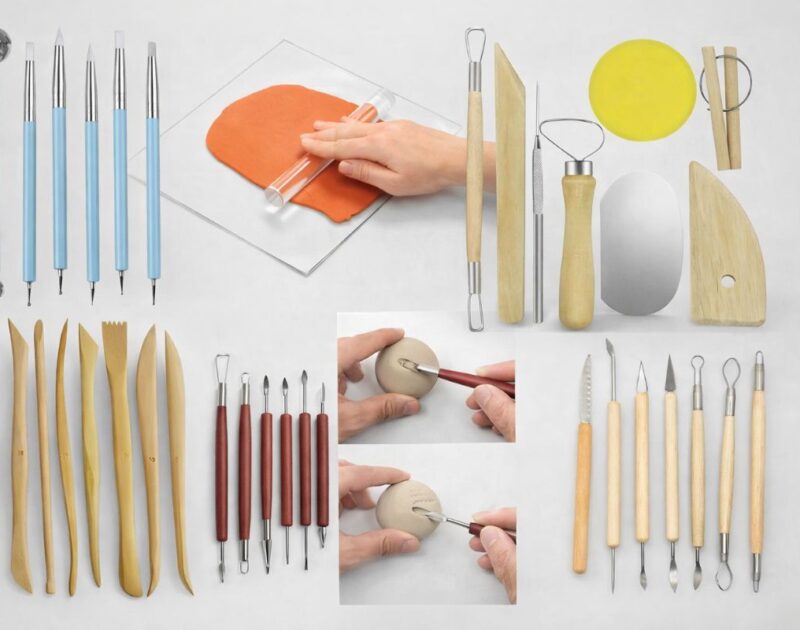
You don’t need a fully stocked workshop to start your first miniature. A simple beginner toolkit usually includes:
- A cutting tool — a craft knife or small scissors, depending on your material
- Glue — wood glue for wood projects, or a strong multipurpose glue for mixed materials
- A cutting mat and ruler — for clean, straight, accurate cuts
- Sandpaper — to smooth rough edges
- Paint and small brushes — for color and detail
- Your chosen material — thin wood (like 3mm plywood), polymer clay, cardboard, or paper, depending on the project
Polymer clay and paper crafts are especially beginner-friendly because they require very few tools and are forgiving of small mistakes — you can reshape clay before baking, and paper crafts are inexpensive to redo.
Step 4: Find or Create a Template
Many beginner miniature projects — especially wood furniture — start with a printable template or cut pattern. These templates show you the exact shapes and measurements you need, which you then trace or glue onto your material before cutting. Using a template removes the guesswork of measuring everything from scratch and helps ensure your finished piece looks proportional and clean.
If you can’t find a template for the exact item you want to make, look for something similar and adjust the measurements, or start by sketching your own simple shapes on paper first.
Step 5: Work in Small, Careful Steps
Miniature work rewards patience more than speed. Rushing through cutting or gluing is the most common cause of uneven, lopsided results. A few tips to keep in mind:
- Dry-fit pieces together before gluing to make sure they actually line up
- Let glue fully dry before moving on to the next step
- Sand edges lightly between steps rather than only at the end
- Work in good lighting so you can catch small mistakes early
Step 6: Add the Finishing Touches
This is the step that turns a “craft” into a miniature that actually looks real. Finishing touches might include:
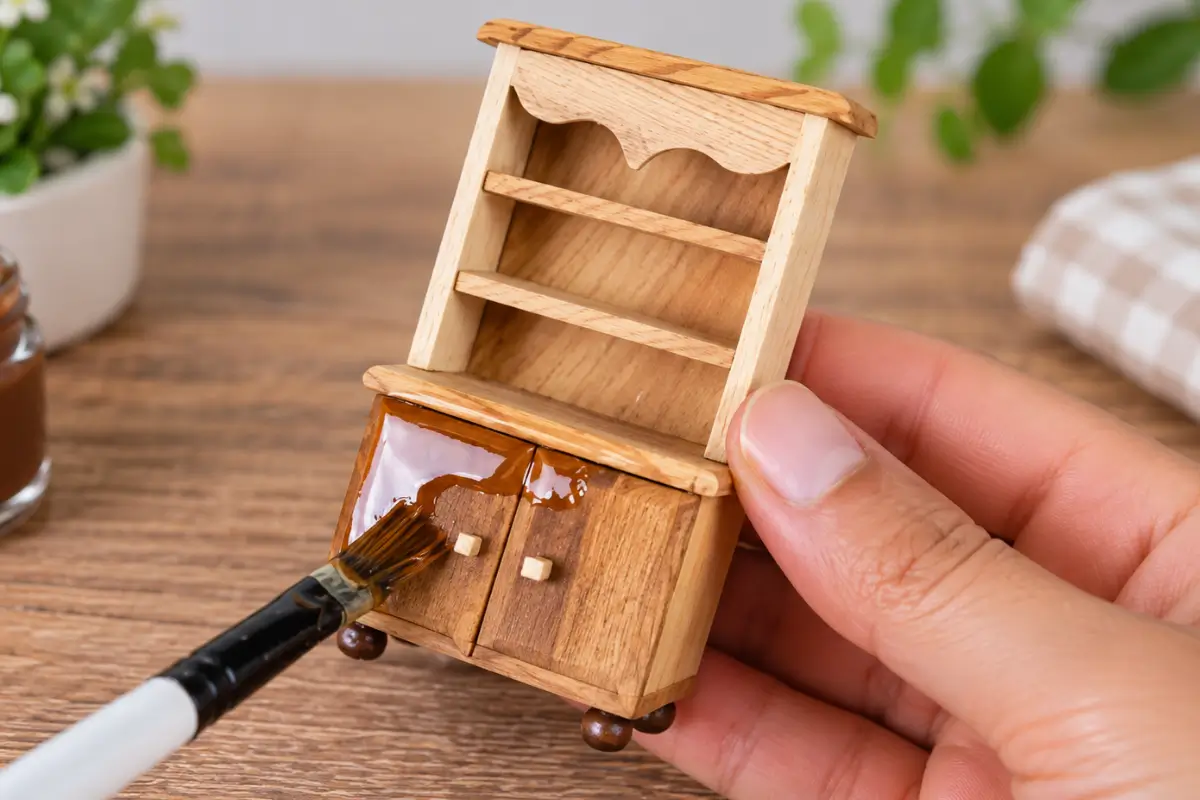
- A coat of paint or wood stain
- A light varnish or sealant for durability
- Tiny details like handles, knobs, or fabric
- Placing the finished piece in a scene with other miniatures to see how it looks in context
A Word of Caution
Even beginner miniature tools can be sharp — craft knives, small saws, and scissors especially. Always cut away from your body, keep your fingers clear of the blade path, and work on a stable, non-slip surface. If you’re crafting with kids, choose blunt or child-safe tools and supervise any cutting steps closely.
Final Thoughts
Starting a miniature project is really about starting small, choosing the right scale, and giving yourself permission to learn as you go. Your first piece won’t be perfect — and that’s exactly the point. Every small chair, tiny bowl, or miniature cabinet you finish teaches you something you’ll use in the next one. Pick one simple idea today, gather a few basic tools, and start building your first miniature world one tiny piece at a time.