Polymer clay is one of the most popular materials used by artists, DIY enthusiasts, and miniature creators. Whether you are making jewelry, decorative magnets, or miniature food, knowing how long to bake polymer clay is essential to achieving durable and professional-looking results.
| Product | Buy |
|---|---|
| Air Dry Clay |

|
| Clay Tools |
|
| Clay Shaper Tool |
|
| Magnets |
|
| Jewellery Materials |
|
| Acrylic Colours |
|
| Paint Brushes |
|
Many beginners struggle with polymer clay baking because they either underbake it or expose it to too much heat. Both mistakes can ruin hours of careful work. In this guide, you will learn exactly how long to bake polymer clay, the correct temperature, and useful tips to ensure your creations turn out perfectly every time.
Why Baking Polymer Clay Correctly Matters
Unlike air-dry clay, polymer clay must be cured in an oven to harden properly. Baking allows the plastic particles in the clay to bond together, creating a strong and flexible finished piece.
If polymer clay is underbaked, it will remain weak and may break easily. On the other hand, if it is overheated, it can burn, discolor, or produce unpleasant fumes.
This is why understanding how long to bake polymer clay is a crucial step in the crafting process.
The Standard Baking Time for Polymer Clay
Most polymer clay brands follow a general rule for baking time:
Bake polymer clay for about 15 to 30 minutes for every 1/4 inch (6 mm) of thickness.
The recommended temperature for most brands is:
275°F (130°C)
For example:
- A thin charm or miniature piece (1/4 inch thick): Bake for 15–20 minutes
- A medium sculpture (1/2 inch thick): Bake for 30–40 minutes
- A thicker piece (3/4 inch thick): Bake for 45–60 minutes
Always check the packaging of your polymer clay brand because some brands may have slightly different instructions.
Step-by-Step Guide to Baking Polymer Clay
Following a simple process will help you achieve better and more consistent results.
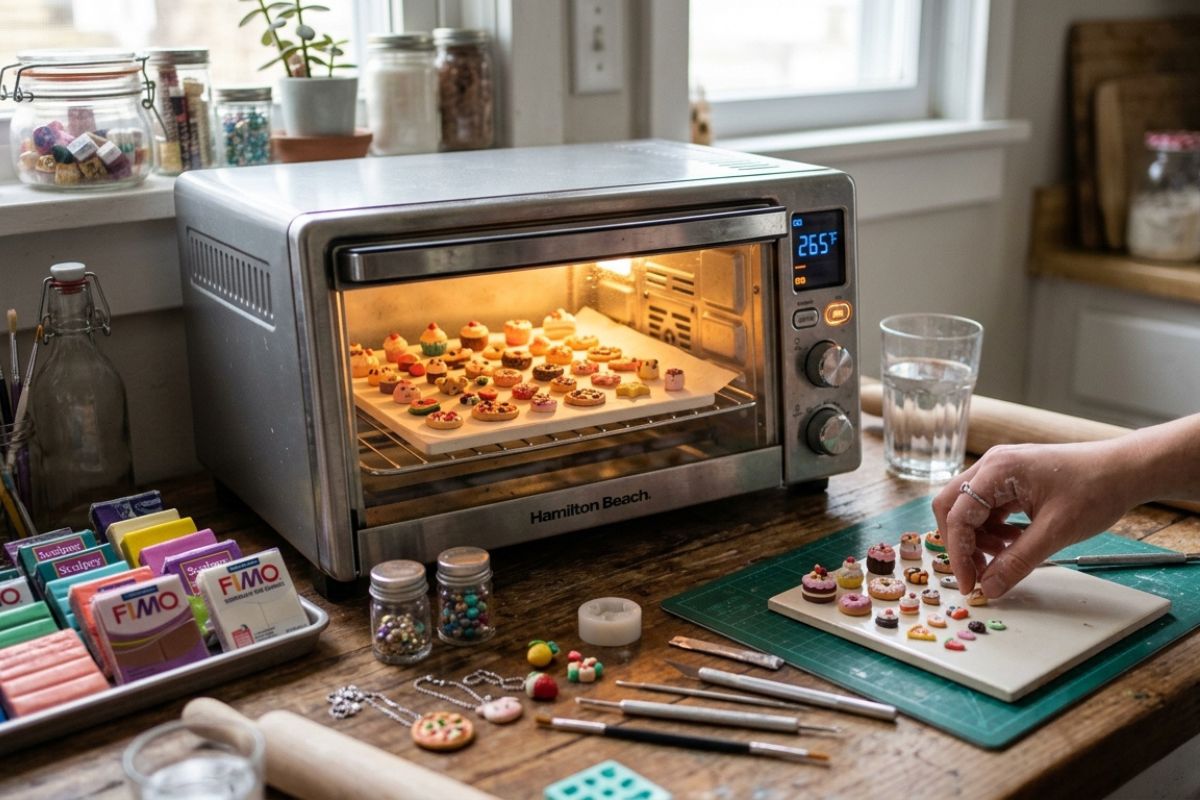
1. Preheat Your Oven
Before placing your clay inside, preheat the oven to 275°F (130°C). Using an oven thermometer is highly recommended because many ovens are not perfectly accurate.
2. Prepare a Baking Surface
Place your polymer clay pieces on:
- Parchment paper
- A ceramic tile
- A baking tray covered with aluminum foil
These surfaces help distribute heat evenly and prevent the clay from sticking.
3. Bake According to Thickness
Remember the rule: 15–30 minutes per 1/4 inch of thickness.
Do not rush the process. Longer baking at the correct temperature usually makes polymer clay stronger.
4. Allow the Clay to Cool
Once baking is complete, remove the tray from the oven and allow the clay to cool completely. Polymer clay becomes fully firm only after it cools down.
Common Mistakes When Baking Polymer Clay
Even experienced crafters sometimes make mistakes when working with polymer clay. Here are some common issues to avoid.
Baking at Too High Temperature
Many people increase the oven temperature to speed up curing. This can burn the clay and ruin the color.
Not Baking Long Enough
Underbaking is one of the most frequent problems. If the clay breaks easily after baking, it likely needs more time in the oven.
Uneven Heating
Some ovens have hot spots. Rotating the tray halfway through baking can help ensure even curing.
Tips for Perfect Polymer Clay Baking
To get the best results when working with polymer clay, keep these helpful tips in mind:
Use an oven thermometer.
Oven temperatures are often inaccurate, and a thermometer helps maintain the correct heat.
Cover delicate pieces.
You can place a sheet of aluminum foil over the clay to prevent browning.
Bake longer rather than hotter.
Polymer clay becomes stronger when baked longer at the correct temperature.
Test small pieces first.
If you’re unsure about baking time, test with a small sample before baking your final project.
How to Tell If Polymer Clay Is Fully Baked
After cooling, properly baked polymer clay should:
- Feel solid and durable
- Slightly bend before breaking (for thin pieces)
- Maintain its original color without dark spots
If the clay snaps easily, it may not have been baked long enough.
Final Thoughts
Understanding how long to bake polymer clay is the key to creating durable and professional-quality crafts. By baking at 275°F (130°C) and following the rule of 15–30 minutes per 1/4 inch of thickness, you can ensure your projects cure properly.
Patience and temperature control are the most important factors when working with polymer clay. With the right baking technique, your creations—whether jewelry, miniatures, or decorative items—will become stronger, more beautiful, and long-lasting.
Mastering the baking process will quickly improve your polymer clay skills and help you produce crafts that look polished and professional.