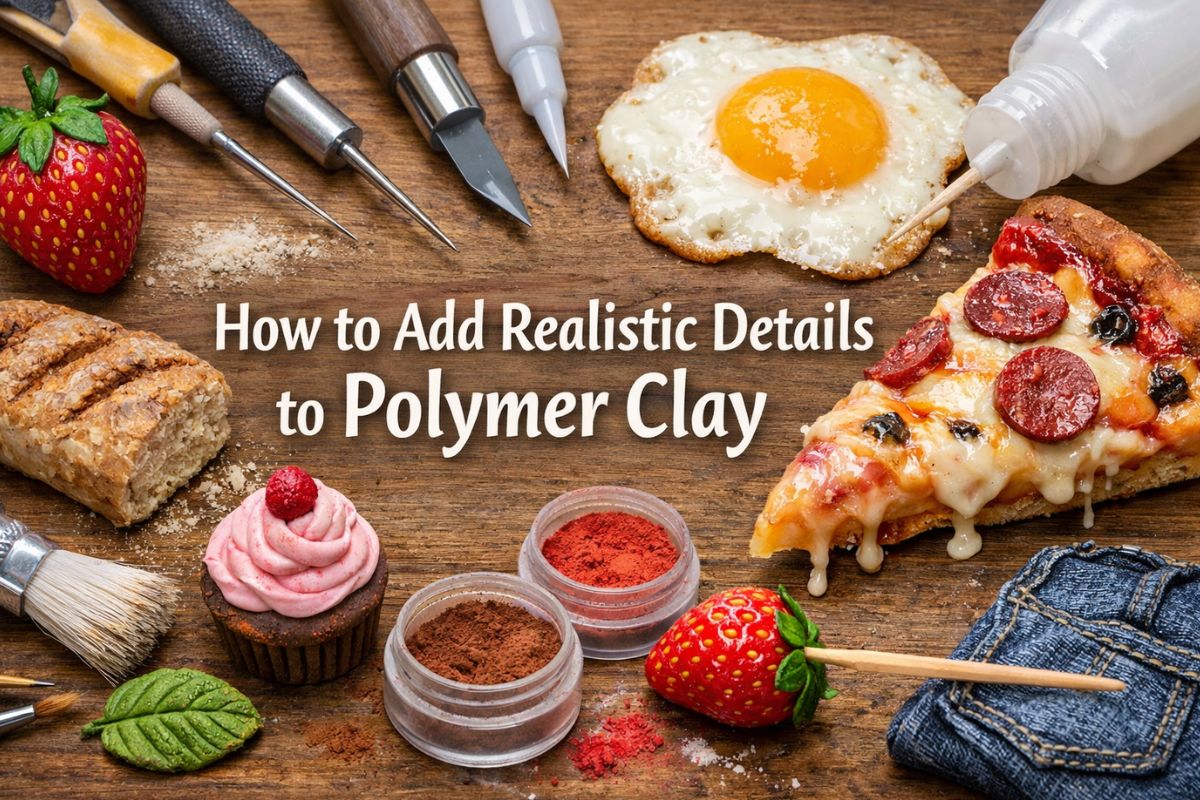
Adding realistic details to polymer clay creations is what transforms a simple piece into something truly eye-catching and professional. Whether you’re crafting miniature food, jewelry, or dollhouse décor, mastering the art of realism can significantly elevate your work and even increase its value if you sell your creations. In this guide, you’ll learn practical techniques to bring your polymer clay projects to life.
Start with Observation
Realism begins with careful observation. Before you even touch your clay, take time to study the object you want to recreate. Look at photos or real-life references and pay attention to textures, colors, shadows, and imperfections. For example, if you’re making a miniature cupcake, notice how the frosting isn’t perfectly smooth and how colors subtly blend rather than remain flat.
The more details you observe, the more convincing your final piece will be.
Use the Right Tools
You don’t need expensive tools to create realistic effects, but having a few basics makes a big difference. Toothpicks, needles, old toothbrushes, and small brushes can all help create texture. For example:
- A toothbrush can mimic rough surfaces like bread or cake.
- A needle tool is perfect for fine lines and cracks.
- Silicone brushes help smooth and blend surfaces naturally.
Experiment with everyday items—you’ll be surprised how effective they can be.
Master Texture Techniques
Texture is one of the most important aspects of realism. Smooth clay often looks artificial, so adding subtle irregularities is key.
For food miniatures, try techniques like:
- Tapping the surface lightly for a baked effect
- Creating tiny holes for bread or sponge cake
- Adding cracks to simulate crisp edges
For non-food items like wood or fabric, use tools to carve grain lines or soft folds. Always keep textures subtle—too much can look exaggerated.
Blend Colors Naturally
Real objects rarely have a single flat color. To achieve realism, you should blend multiple shades of clay or use surface coloring techniques.
You can:
- Mix different clay colors slightly without fully blending them
- Add chalk pastels or soft pigments after shaping
- Layer thin colors to create depth
For example, when making a miniature strawberry, use red as a base but add darker tones in some areas and a hint of lighter pink or orange elsewhere.
Add Fine Details
Small details make a big impact. Think about the tiny features that define your subject:
- Seeds on fruits
- Crumbs on baked goods
- Veins on leaves
- Stitch lines on fabric
Use a fine needle or blade to create these elements carefully. Precision is important, but don’t aim for perfection—slight irregularities actually enhance realism.
Work in Layers
Instead of trying to finish everything at once, build your piece step by step. Start with a base shape, then gradually add details.
For instance:
- Shape the base form
- Add primary textures
- Apply color variations
- Finish with tiny details
Layering helps you maintain control and avoid overworking the clay.
Use Liquid Clay and Glaze
Liquid polymer clay is excellent for adding realistic finishes. It can simulate melted cheese, sauces, or glossy surfaces. Apply it carefully with a brush or toothpick.
After baking, you can also use varnish or glaze to enhance realism:
- Gloss glaze for wet or shiny surfaces (like fruit or icing)
- Matte glaze for natural finishes (like bread or fabric)
Be selective—too much shine can ruin the effect.
Pay Attention to Scale
If you’re making miniatures, scale accuracy is crucial. Oversized details can make your piece look unrealistic. Always compare your work to real-life proportions and adjust accordingly.
For example, crumbs or textures should be extremely fine in dollhouse-scale items.
Practice Patience
Realistic detailing takes time. Rushing often leads to mistakes or overly rough textures. Work slowly, refine as you go, and don’t hesitate to redo parts if needed.
Over time, your skills will improve, and adding details will become more natural.
Final Thoughts
Creating realistic polymer clay pieces is a blend of observation, technique, and patience. By focusing on texture, color variation, and fine details, you can turn simple designs into stunning, lifelike creations. Keep experimenting, learn from real-life references, and most importantly—enjoy the process.
With consistent practice, your polymer clay art will not only look more realistic but also stand out in a competitive handmade market.