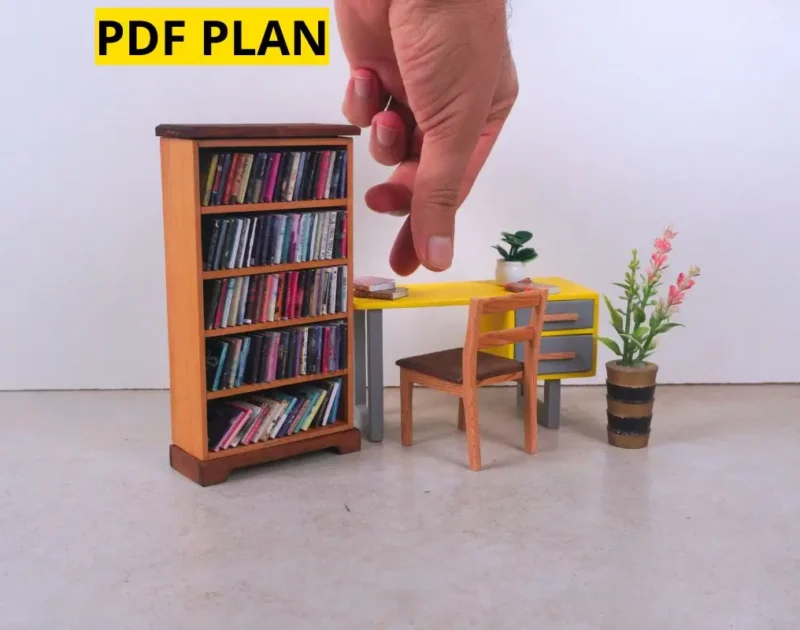
Wooden snowman décor pieces are among the most charming additions you can use to decorate your home, garden, or entryway during winter and holiday seasons. They combine warmth, simplicity, and a handcrafted rustic touch that elevates any space. In this detailed guide, you’ll learn exactly how to recreate the wooden snowman shown in the image — from cutting the wooden shapes to painting, assembling, and decorating the final piece.
Materials and Tools Needed
- Wooden boards (pine or MDF, 1.5–2 cm thick)
- Table saw or small circular saw
- Sandpaper (120 and 220 grit)
- White, black, orange, and red acrylic paint
- Wood glue
- Small nails
- Paintbrushes
- Burlap fabric (for the scarf)
- Pine branches (real or artificial)
- Red berries and small pinecones
- Pencil and measuring tape
- Optional: drill
- Clear matte varnish
Step 1: Cutting the Wooden Circles
The snowman is made of three wooden circles representing the head, middle body, and bottom.
Use a saw to cut three circles of different diameters:
- 25 cm for the head
- 35 cm for the middle
- 45 cm for the bottom
After cutting, sand the edges thoroughly to smooth any roughness and prepare the wood for painting.
Step 2: Assembling the Body
Arrange the circles vertically to form the classic snowman shape.
Use strong wood glue to fix them together, then reinforce the structure by adding a few small nails from the back.
Allow the glue to dry completely before painting.
Step 3: Painting the Snowman Body
Cover the three circles with white acrylic paint.
Apply 2–3 layers until you achieve a clean and even finish.
Once the paint is dry, seal it with a light coat of clear varnish to protect the surface.
Step 4: Painting the Face
Using a small brush:
- Paint two small black circles for the eyes
- Add a curved black line for the smile
- Cut a small wooden triangle for the carrot nose, paint it orange, and glue it onto the face
This gives your snowman the cheerful expression shown in the image.
Step 5: Making the Hat
Cut two small wooden pieces:
- A rectangle for the top of the hat
- A longer horizontal strip for the brim
Paint both pieces black.
Add a red strip across the hat using paint or a piece of fabric.
Finish by gluing small pine sprigs and red berries on one side of the hat for a festive touch.
Step 6: Adding the Scarf
Cut a strip of burlap long enough to wrap around the snowman’s neck area.
Tie it loosely to create a natural, rustic scarf just like the one in the image.
Burlap adds a warm, country-style charm that enhances the entire look.
Step 7: Buttons and Bottom Decorations
Paint three black buttons on the middle circle or glue small wooden circles for a 3D look.
For the bottom section, glue small pine branches, red berries, and pinecones to recreate the decorative elements seen in the image.
These details give your snowman richness, balance, and holiday spirit.
Step 8: Final Finishing
Once all decorations are in place, spray a final thin layer of clear varnish to protect the paint and preserve the colors — especially if you plan to display the snowman outdoors.
Let the piece dry for at least 24 hours.
By following these steps, you can create a beautiful wooden snowman décor piece that closely matches the one in the image. This project is easy, enjoyable, and highly customizable. You can add lights, extra accessories, or unique patterns to make your snowman even more personal. It’s a wonderful handmade decoration that brings warmth, joy, and creativity into your home.