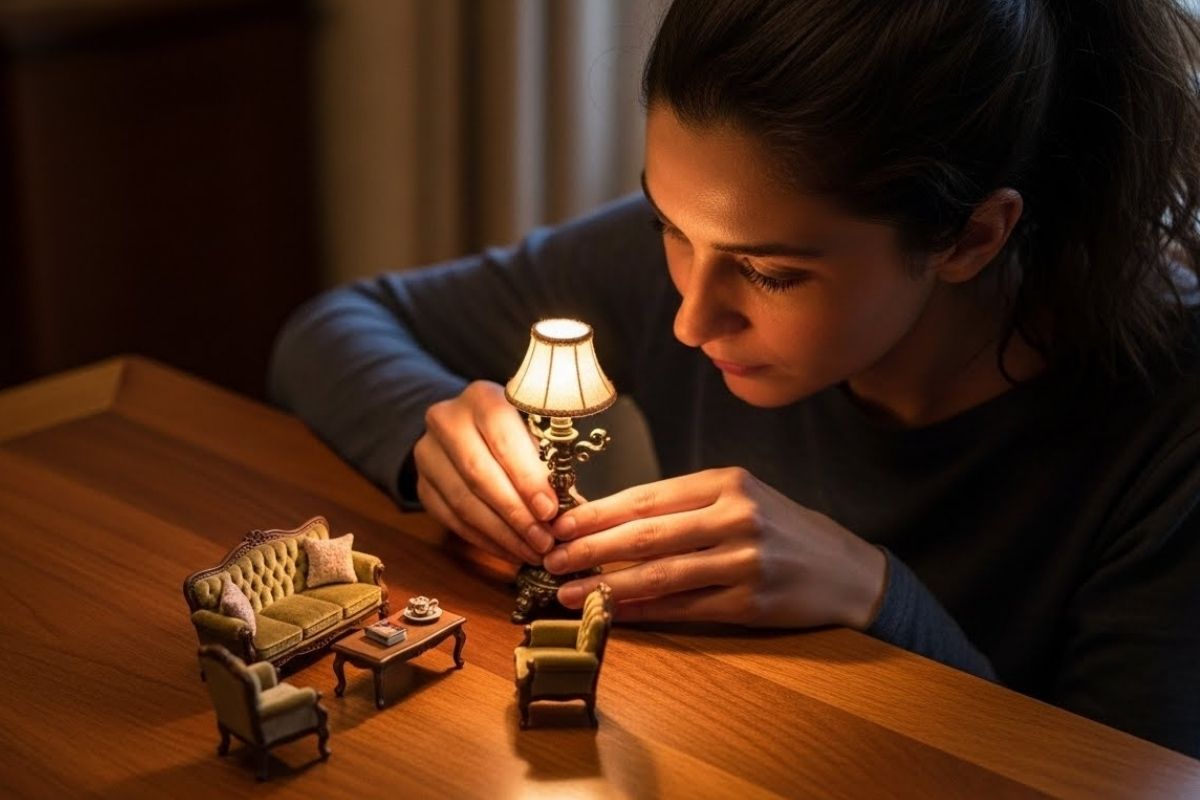
Lighting is one of the most powerful tools in the world of miniature crafting. Whether you are creating miniature rooms, tiny furniture, scale models, or diorama scenes, lighting determines how viewers emotionally connect with your work. A well-crafted miniature with poor lighting may look flat or lifeless, while a simple scene with strong lighting can suddenly appear cinematic, dramatic, and full of depth.
I rely on a set of trusted tools that help achieve professional-looking results in miniature woodworking:
- Sandpaper – to smooth edges and prepare surfaces.
- Transparent brown stain – to bring out the natural beauty of the wood grain.
- Wood oil – to protect and enhance the finish.
- Jeweler’s saw – for delicate and precise cuts.
- Small table saw – to speed up straight cuts.
- 12V mini sander – for quick, clean smoothing.
In miniature photography, display, and craftsmanship, mastering light and shadow is what separates ordinary work from breathtaking, professional-level art. In this long and detailed guide, you’ll learn how to use lighting to add realism, create mood, and build depth inside your miniature creations.
1. Why Lighting Matters in Miniature Art
Miniatures are small, and because of their scale, they depend heavily on visual tricks to look realistic. Real-life objects naturally interact with light—creating reflections, shadows, highlights, and gradients. When miniatures lack these elements, they appear artificial.
Good lighting helps you:
- Emphasize textures and details
- Create dramatic shadows and depth
- Build a sense of atmosphere
- Make colors more vibrant
- Direct the viewer’s attention
- Add realism that mimics life-sized scenes
In essence, lighting transforms your miniature from a “small object” into a “tiny world.”
2. Understanding the Basics of Light
Before applying lighting techniques, it’s important to understand how light behaves in real environments. The same rules apply to miniatures—but on a smaller scale.
a. Direction of Light
The direction determines where shadows fall:
- Front light: Reduces shadows, gives a soft and clear look
- Side light: Creates strong shadows and depth
- Backlight: Adds drama and a glowing outline
- Top light: Mimics sunlight or indoor ceiling lamps
Experimenting with direction helps you control the mood of your miniature.
b. Intensity of Light
Bright light makes details sharp and clear, while softer light adds a dreamy feeling.
You can control intensity by:
- Moving the light closer or farther
- Diffusing it through paper, fabric, or plastic
- Reducing the power of the bulb
c. Color Temperature
Light has color. Warm light (yellow) creates a cozy mood. Cool light (white or blue) adds modern or dramatic energy.
Typical temperatures:
- Warm light: 2700K–3500K
- Neutral light: 4000K–4500K
- Cool light: 5000K–6500K
Matching the light color to your miniature’s theme enhances realism.
3. Choosing the Right Lighting Equipment
You do not need expensive gear. The best lighting for miniatures is often simple.
a. LED Lamps
Small LED studio lights, desk lamps, or photography LEDs allow full control of brightness and color.
b. Ring Lights
They provide even lighting and reduce harsh shadows—great for product-style miniature photos.
c. Miniature LED Strips
Perfect for lighting tiny rooms, windows, shelves, and display cases.
d. Flashlights and Phone Lights
Easy to use and surprisingly effective for controlled side lighting or dramatic effects.
e. Natural Light
Soft daylight near a window provides beautiful, diffused light—especially during morning or golden hour.
4. Building Realistic Shadow Effects
Shadows are essential for creating depth. Without shadows, your miniature appears flat.
a. Hard Shadows vs. Soft Shadows
- Hard shadows: Created by strong, direct light.
- Good for dramatic scenes or nighttime settings.
- Soft shadows: Created by diffused, gentle light.
- Good for realistic daylight scenes.
To create soft shadows, place tissue paper or tracing paper in front of your light source.
b. Shadow Placement
Shadows must match the direction of your light. Incorrect shadows immediately break the realism.
Make sure:
- Shadows fall in the same direction
- Shadow size matches the distance of the light
- There are no double shadows unless you use multiple light sources
c. Using Painted Shadows
Even without actual lights, you can “fake” shadows using paint or airbrushing.
Techniques include:
- Darkening corners of rooms
- Adding soft gradients behind objects
- Painting subtle shadows under furniture
This method is common in professional dioramas.
5. Creating Depth in Miniature Scenes
Depth is what makes your miniature look like a real space rather than a small object.
a. Use Side Lighting
Side lighting enhances texture on wood, fabric, or clay details. It also creates realistic gradients.
b. Add Layers of Light
Using multiple light sources creates dimension:
- Key light: main source
- Fill light: softens shadows
- Backlight: creates separation
The three-light setup is widely used in photography and works perfectly for miniatures.
c. Control the Background
A darker background adds depth and contrast. A lighter background brightens the scene.
d. Create Atmospheric Perspective
In nature, objects farther away look softer or dimmer. You can mimic this by:
- Using a weaker light on background elements
- Applying light fog effects with diffusion
- Softening details in the back layer
6. Mood and Emotion Through Lighting
Lighting is not just technical—it’s emotional. It sets the tone of the entire miniature.
a. Warm and Cozy Mood
Use:
- Warm yellow light
- Soft shadows
- Corner lighting
- Small point lights in lamps, windows, or fireplaces
This works beautifully for miniature bedrooms, tiny kitchens, or holiday scenes.
b. Dramatic and Cinematic Mood
Use:
- Strong side or backlight
- Cooler or neutral white
- Sharp shadows and contrast
- Single-direction lighting
This transforms a simple miniature into a movie-like set.
c. Mysterious or Night Mood
Use:
- Very low-intensity light
- Blue tones
- Light focused on one object
- Darkness around the edges
Perfect for storytelling or emotional scenes.
7. Practical Techniques for Better Miniature Lighting
a. Diffusion Is Your Best Friend
Place anything translucent in front of the light:
- Baking paper
- Frosted plastic
- Cloth
- White paper
This removes harsh brightness and creates soft, natural shadows.
b. Use Reflectors to Control Light
Even small objects like white cardboard can reflect light back into your miniature.
Reflectors help:
- Light dark areas
- Reduce strong shadows
- Balance both sides of the miniature
You can also use black paper to absorb light and increase contrast.
c. Use Props to Block Light
Sometimes you want stronger shadows. Use:
- Books
- Foam boards
- Small wooden blocks
These act like walls to direct light exactly where you want it.
d. Add Miniature Light Sources
Realistic lamps inside your miniature instantly elevate the scene:
- Tiny LEDs
- Tea lights
- Micro fairy lights
These create natural, internal shadows.
8. Lighting for Miniature Photography
Lighting your miniature is one part—the other part is photographing it correctly.
a. Keep the Camera Steady
Use a tripod or place your camera on a solid surface.
b. Change Angles
Move around your scene to find:
- Stronger shadows
- Better depth
- More dramatic framing
c. Control Exposure
If your scene is too bright, lower exposure. If too dark, increase it or add a small fill light.
d. Use Macro Mode or Manual Focus
Sharp focus makes tiny details stand out and keeps your lighting effects clear.
9. Common Lighting Mistakes and How to Avoid Them
a. Using Light That Is Too Strong
Bright, direct light washes out textures. Always soften your light.
b. Ignoring Shadow Logic
Shadows must match your light direction—or realism collapses.
c. Mixing Too Many Color Temperatures
Warm + cold light = unnatural miniature scene.
Choose one temperature unless you intentionally want contrast.
d. Relying Only on Ceiling Lights
Overhead home lights flatten everything. Always use side or angled lighting.
10. Developing Your Own Lighting Style
As you experiment, you will naturally create your unique lighting signature. Here’s how to develop it:
- Try different light heights and angles
- Use one light only, then two, then three
- Compare warm vs. cold setups
- Recreate movie lighting in your miniatures
- Keep notes of what worked best
Lighting is a skill that grows with practice, and each miniature is an opportunity to explore new techniques.
Conclusion
Lighting is more than an accessory—it is the soul of miniature art. With the right techniques, even the simplest miniature can look alive, emotional, and beautifully realistic. By understanding light direction, shadow creation, color temperature, and multi-layer lighting setups, you can transform your tiny creations into immersive worlds.
Experiment, observe, adjust, and enjoy the process. Every improvement in lighting will bring your miniatures closer to true realism, storytelling, and artistic expression.