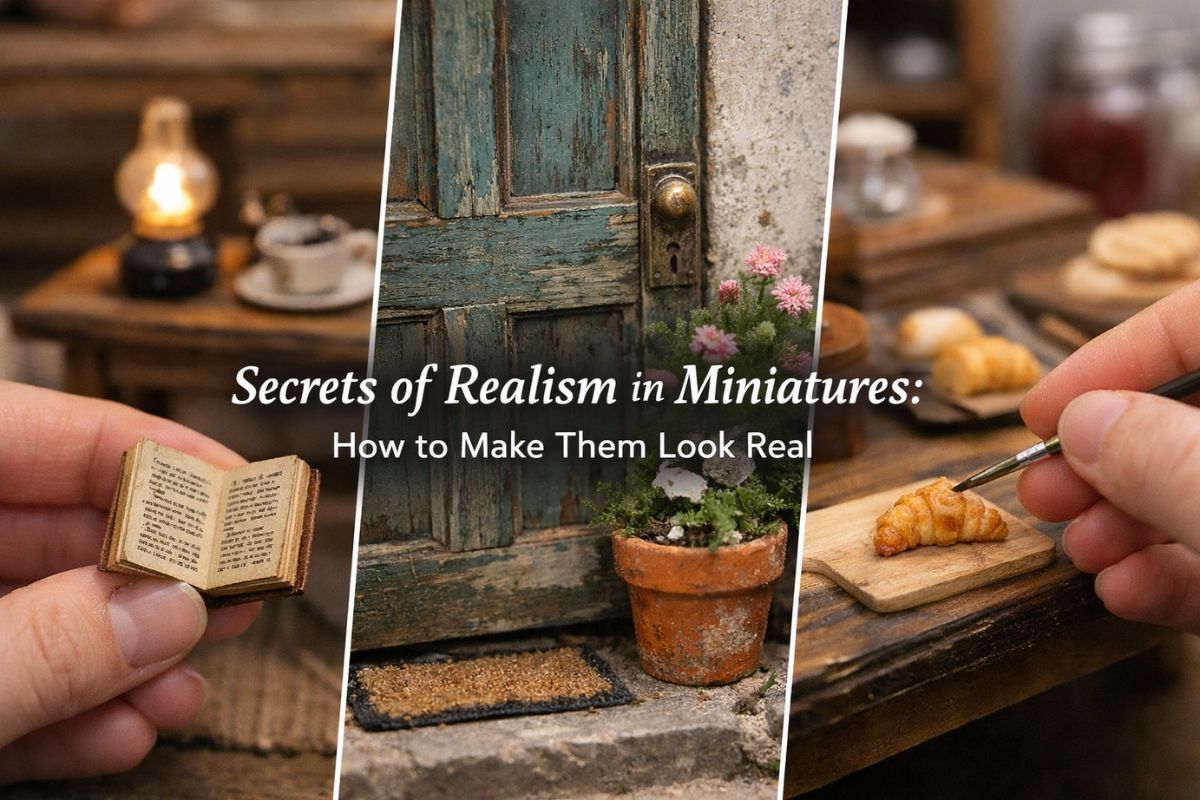
Miniatures have a unique charm that captures attention instantly. Whether it’s a tiny wooden chair, a miniature kitchen, or a small handcrafted plant, the magic lies in how real they look. Achieving realism in miniatures is not just about scaling things down—it’s about understanding details, textures, lighting, and storytelling.
In this article, we’ll explore the key secrets that can transform your miniature creations from simple crafts into lifelike masterpieces.
1. Focus on Real-Life References
The first step to creating realistic miniatures is observation. Look closely at real objects. Study how materials behave in the real world.
- How does wood grain look?
- How do fabrics fold?
- Where does dust naturally gather?
Take photos or collect references before starting your project. The more you understand the real object, the easier it becomes to replicate it in miniature form.
👉 Tip: Never rely only on imagination—realism comes from accurate observation.
2. Master the Art of Scale
Scale is everything in miniatures. If one element is even slightly off, the illusion breaks.
Common scales include:
- 1:12 (most popular)
- 1:24
- 1:48
To maintain realism:
- Keep proportions consistent
- Avoid mixing scales unless intentional
- Use precise measurements
👉 Pro Tip: Even tiny details like door handles or book thickness must match the chosen scale.
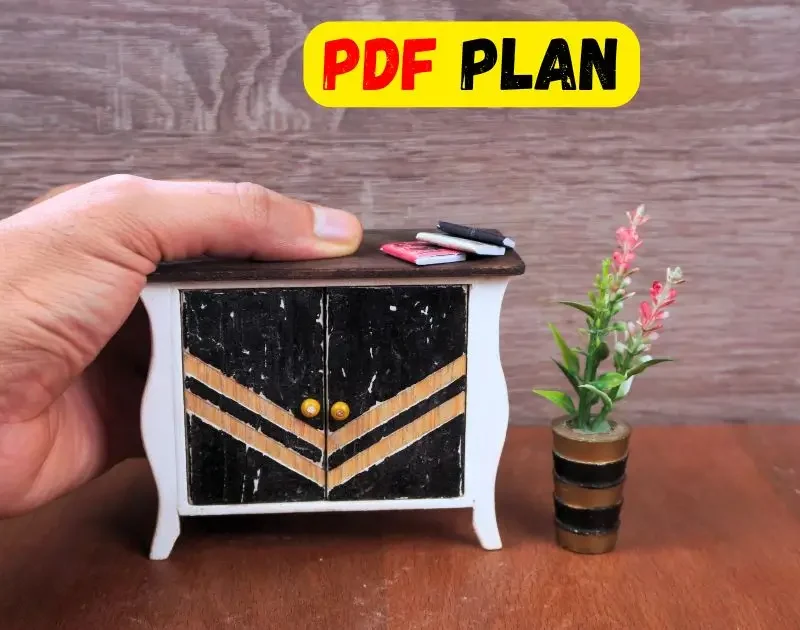
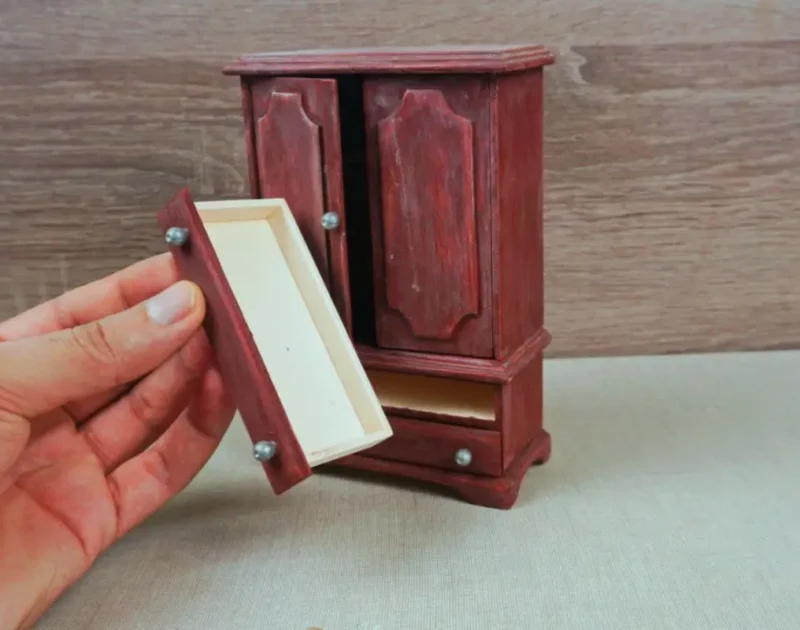
3. Use Realistic Materials (or Fake Them Well)
Choosing the right materials can make or break your miniature.
Best materials for realism:
- Wood → for furniture
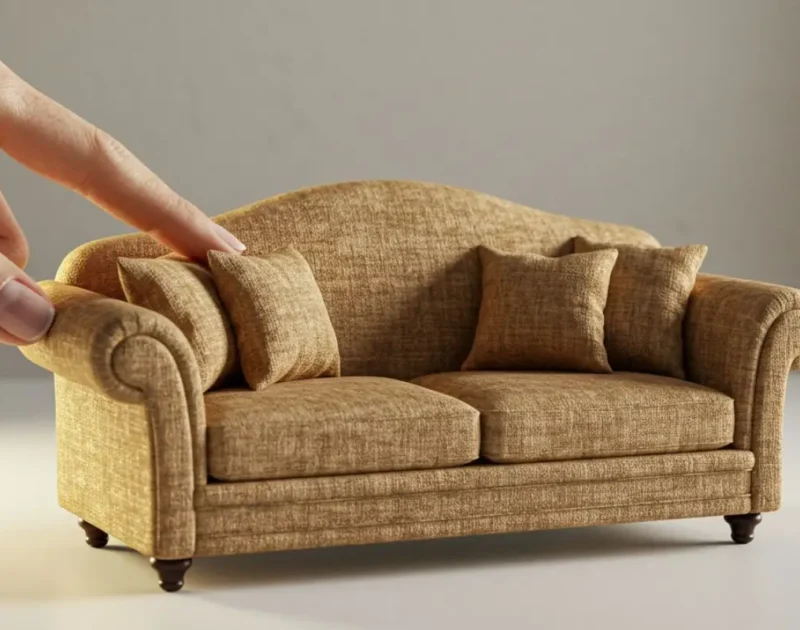
- Fabric → for curtains, bedding
- Clay → for food, plants, decor
- Paper → for books, labels
But sometimes, you need to fake materials creatively:
- Use painted foam to imitate stone
- Use textured paper to mimic leather
- Use glue + paint to create glass effects
👉 The goal is not to use real materials—but to make them look real.
4. Add Texture and Imperfections
Real objects are never perfect. That’s why adding imperfections is one of the biggest secrets to realism.
Examples:
- Slight scratches on furniture
- Uneven paint edges
- Dust or wear marks
- Small cracks or chips
These tiny flaws make your miniature believable.
👉 Golden Rule: Perfection looks fake. Imperfection looks real.
5. Pay Attention to Painting Techniques
Painting is where realism truly comes to life.
Key techniques:
- Dry brushing → highlights edges
- Washing → adds shadows and depth
- Layering → creates realistic surfaces
Use multiple shades instead of one flat color.
Example:
Instead of painting a table brown:
- Start with dark brown
- Add lighter tones
- Finish with subtle highlights
👉 This creates depth and realism.
6. Lighting Makes a Huge Difference
Lighting can completely transform how your miniature looks.
Use lighting to:
- Create shadows
- Highlight textures
- Add mood
Tips:
- Warm lighting = cozy, realistic interiors
- Directional light = stronger depth
- Soft light = natural look
If you’re photographing miniatures (especially for Pinterest or social media), lighting is critical.
👉 Good lighting can make a simple miniature look professional.
7. Create a Story
Realism is not just visual—it’s emotional.
Ask yourself:
- Who lives here?
- What just happened in this scene?
- Why are objects placed this way?
Example:
Instead of placing random items:
- Add an open book
- A cup of coffee
- A slightly messy table
Now your miniature tells a story.
👉 Storytelling makes viewers believe the scene is real.
8. Use Depth of Field (for Photos)
If you’re showcasing your miniatures online, photography plays a big role.
Use:
- Blurred backgrounds (bokeh effect)
- Focus on the main subject
- Close-up shots
This mimics how real-life photography works and enhances realism.
👉 A good photo can double the perceived quality of your work.
9. Work on Small Details
Details are what separate average miniatures from stunning ones.
Don’t skip:
- Tiny labels
- Book covers
- Stitching on fabric
- Wood grain lines
- Mini screws or hinges
Even if people don’t notice consciously, their brain will feel the realism.
👉 “Small details create big impact.”
10. Be Patient and Layer Your Work
Realism takes time.
Instead of rushing:
- Build in layers
- Let paint dry properly
- Refine details step by step
Each layer adds more depth and complexity.
👉 The best miniatures are never made in a hurry.
11. Use Realistic Colors
Avoid overly bright or artificial colors.
Real-life colors are:
- Slightly muted
- Mixed with subtle tones
- Affected by light and environment
👉 If your miniature looks too colorful, it probably looks less realistic.
12. Practice and Experiment
Finally, realism improves with practice.
Try:
- New materials
- Different styles
- Copying real-life objects
Each project teaches something new.
👉 Even mistakes help you grow as a miniature artist.
Conclusion
Creating realistic miniatures is a blend of art, observation, and patience. By focusing on scale, textures, lighting, and storytelling, you can turn simple handmade pieces into lifelike scenes that captivate anyone who sees them.
Remember:
Realism is not about perfection—it’s about believability.
If you apply these secrets consistently, your miniatures will not only look better but also stand out on platforms like Pinterest, Instagram, and your handmade store.