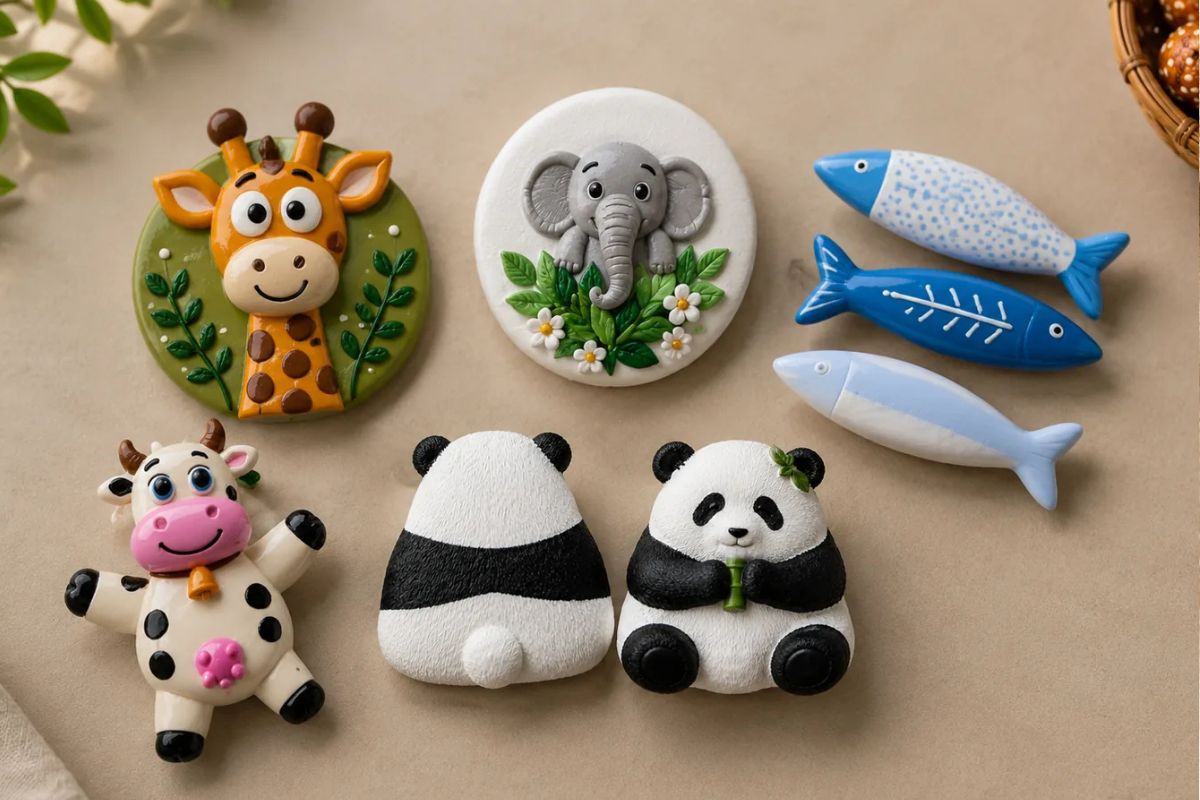
Polymer clay magnets are one of the easiest ways to turn a lump of clay into something genuinely useful — and irresistibly cute. They’re small enough to finish in an afternoon, forgiving enough for beginners, and endlessly customizable once you get the hang of basic shaping and painting. Whether you want to decorate your fridge, make handmade gifts, or start selling on Etsy, here are nine animal magnet ideas to inspire your next project.
| Product | Buy |
|---|---|
| Air Dry Clay |

|
| Clay Tools |
|
| Clay Shaper Tool |
|
| Magnets |
|
| Jewellery Materials |
|
| Acrylic Colours |
|
| Paint Brushes |
|
1. Chubby Sitting Pandas
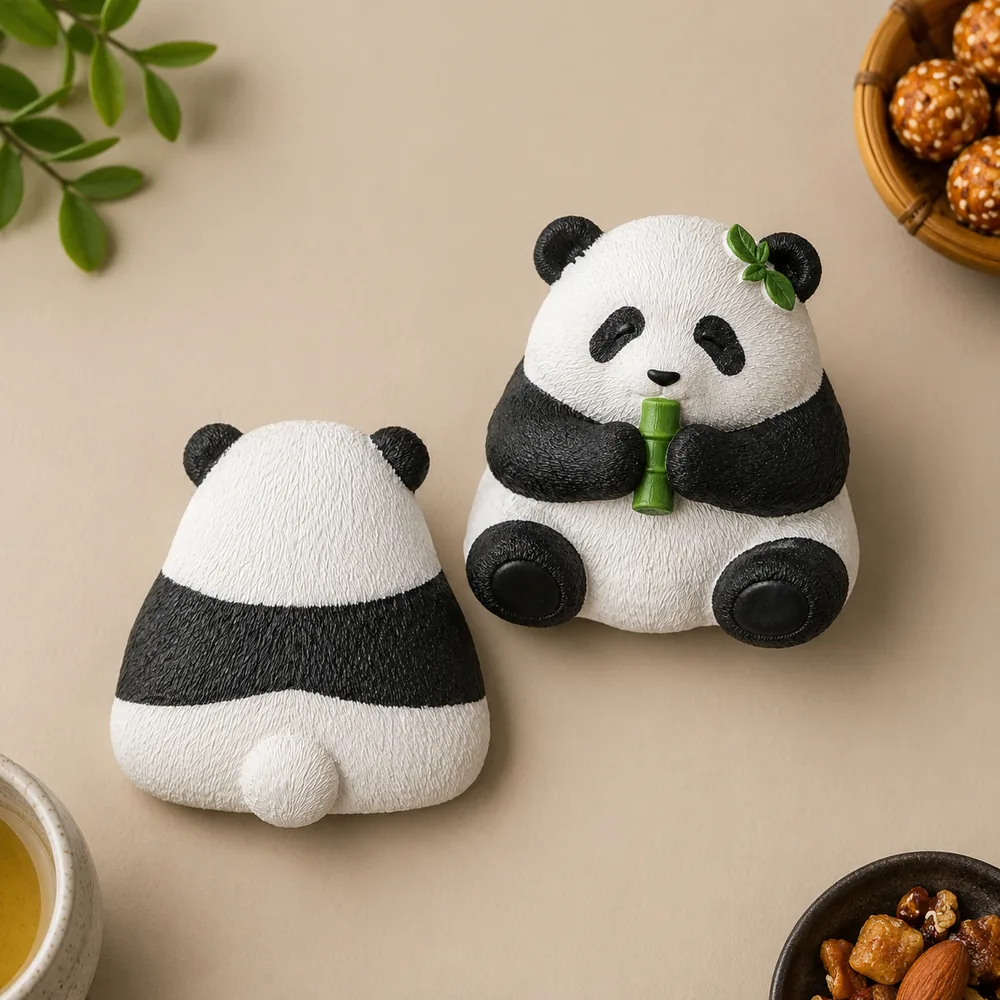
Few shapes are as satisfying to sculpt as a round, plump panda. Build the body from a single teardrop of white clay, then layer on black patches for the ears, eye patches, arms, and legs. A tiny bamboo stick tucked between the paws (and a couple of green leaves behind the ear) instantly brings the scene to life. Lightly texturing the surface with a needle tool before baking gives the fur a soft, fuzzy look instead of a flat, glossy one.
Tips to make it:
- Start with one ball of clay and pull it into a teardrop shape before flattening the base.
- Attach the black patches (ears, eye circles, arms, legs) while the clay is still soft so they fuse cleanly without cracks.
- Use a needle tool or an old toothbrush to add fine texture lines that mimic fur before baking.
- Add the bamboo stick and leaves last, as final details pressed into a slightly firm surface.
2. Playful Spotted Cow
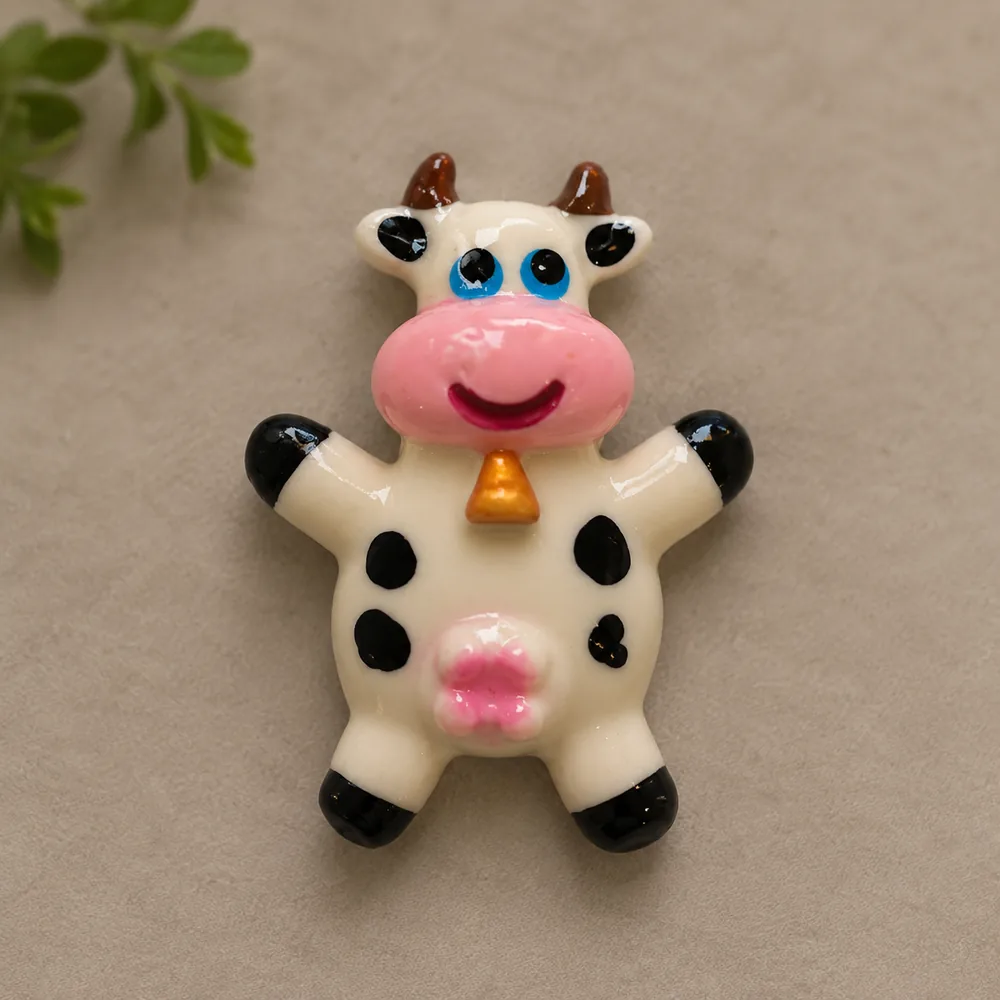
This one is all about personality. A cream-colored body with black splotches, tiny brown horns, and an oversized pink snout gives you an instant smile. The trick to making it “pop” is contrast: glossy black hooves and horns against a matte or semi-gloss body, plus a hand-painted smile on the muzzle. It’s a great project for practicing small facial details with a fine paintbrush or toothpick.
Tips to make it:
- Sculpt the head and body as one connected piece to avoid a visible seam line.
- Shape the arms and legs as small stubby fingers with black tips, angled slightly outward for a “welcoming” pose.
- Paint the blue eyes and smile right after baking, using acrylic paint and a very fine brush (size 0 or 1).
- Add a glossy varnish only to the snout and hooves for a nice contrast against the matte body.
3. Hand-Painted Sardine Trio
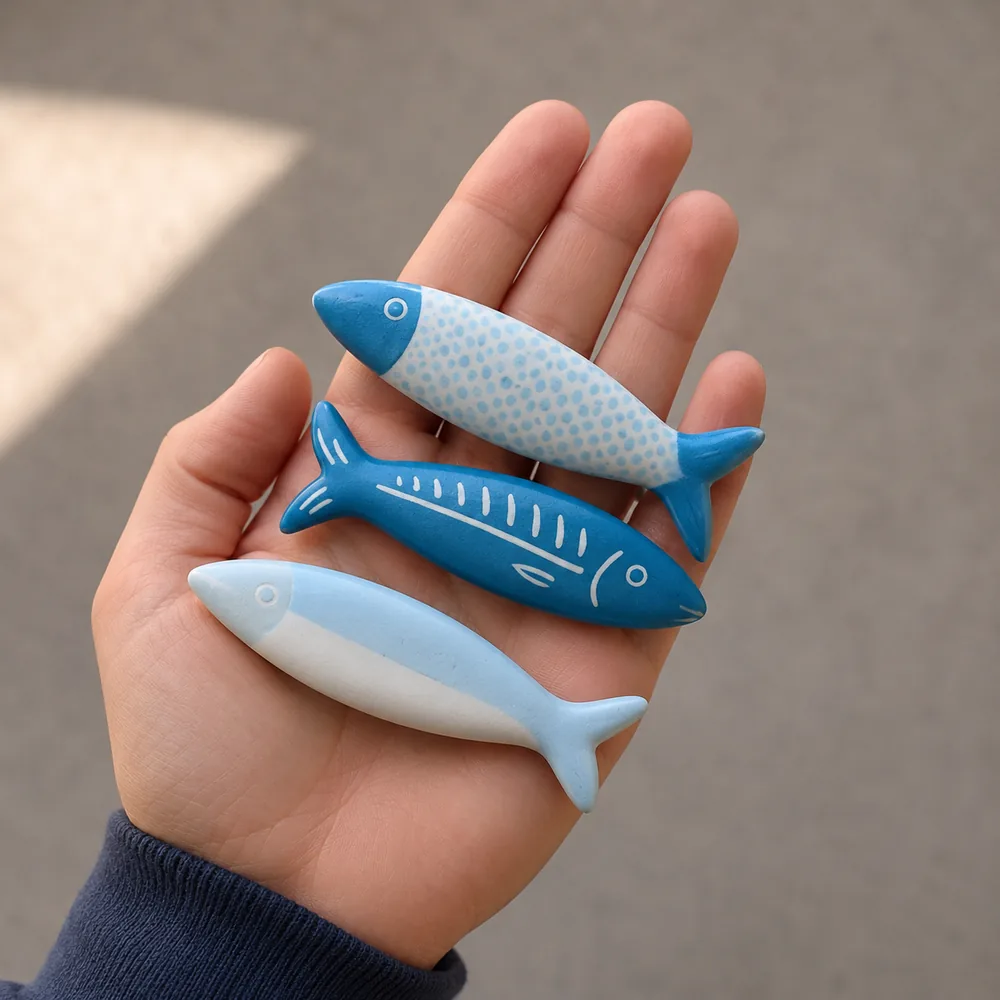
Not every clay charm needs to be round and huggable — sometimes sleek and graphic works just as well. These flattened fish shapes are sculpted first, then fully baked before the real magic happens: acrylic paint. Polka dots, mackerel stripes, or a simple two-tone gradient each give the same fish silhouette a completely different personality. This is an excellent set to make in batches, since the base shape stays identical while the painted patterns vary.
Tips to make it:
- Make a simple paper template of the fish shape and use it to cut several identical pieces with a craft knife.
- Bake the fish in one solid base color first — the painting happens after baking, not before.
- Use thin masking tape to create clean straight lines when painting geometric patterns.
- Let each color fully dry before adding the next one to avoid smudging or mixing colors.
4. Baby Elephant Medallion
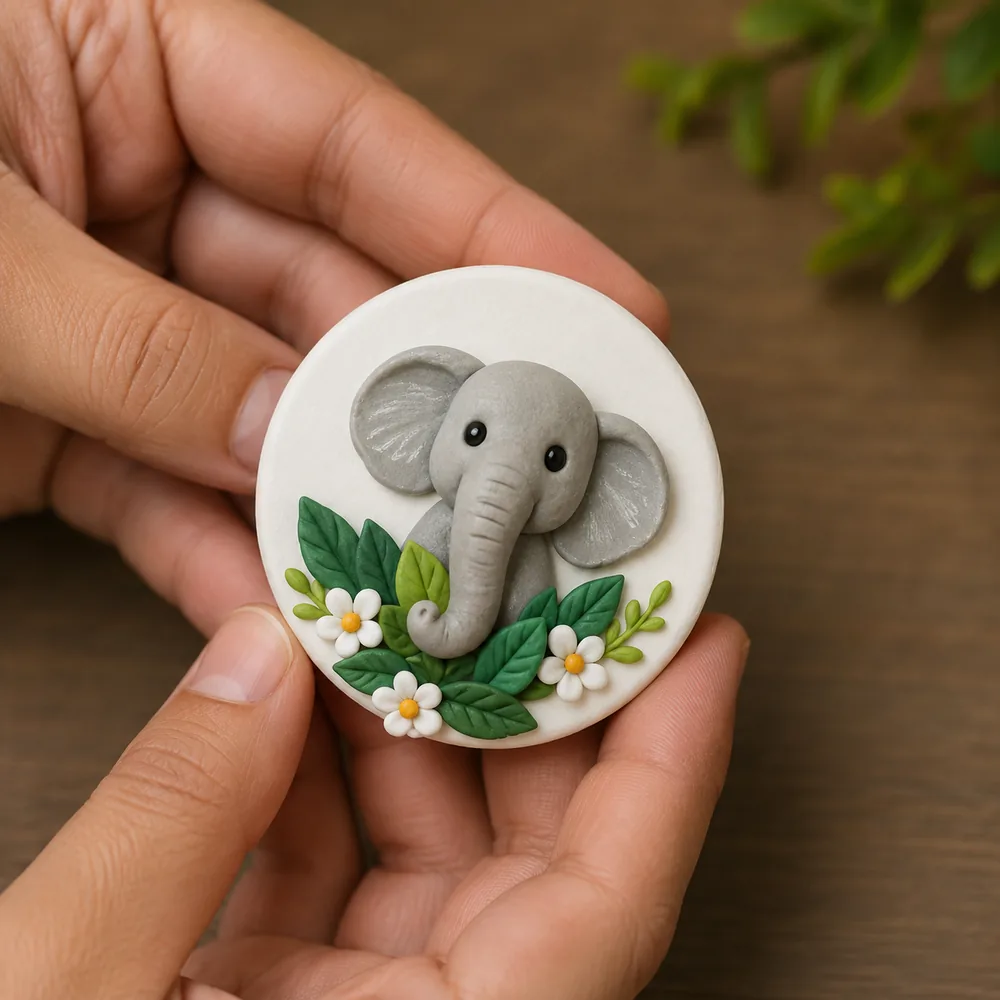
For a more decorative, wall-art feel, mount your animal on a flat clay disc instead of leaving it freestanding. This little elephant is built up in layers — a base disc, then ears, then a raised trunk and face — finished with a sculpted floral wreath along the bottom edge. The layered technique (adding pieces on top of a baked or firm base) is perfect for anyone who wants more dimension without the piece becoming too heavy for a magnet backing.
Tips to make it:
- Bake the base disc on its own first (partially or fully, depending on your clay) so it’s firm before adding layers on top.
- Attach new pieces to the baked surface with a bit of soft clay or clay-safe glue to make sure they hold.
- Curve the tip of the trunk slightly around a thin stick before baking for a natural bend.
- Save the flowers and leaves for last, and arrange them asymmetrically for a more natural look.
5. Cartoon Giraffe Portrait
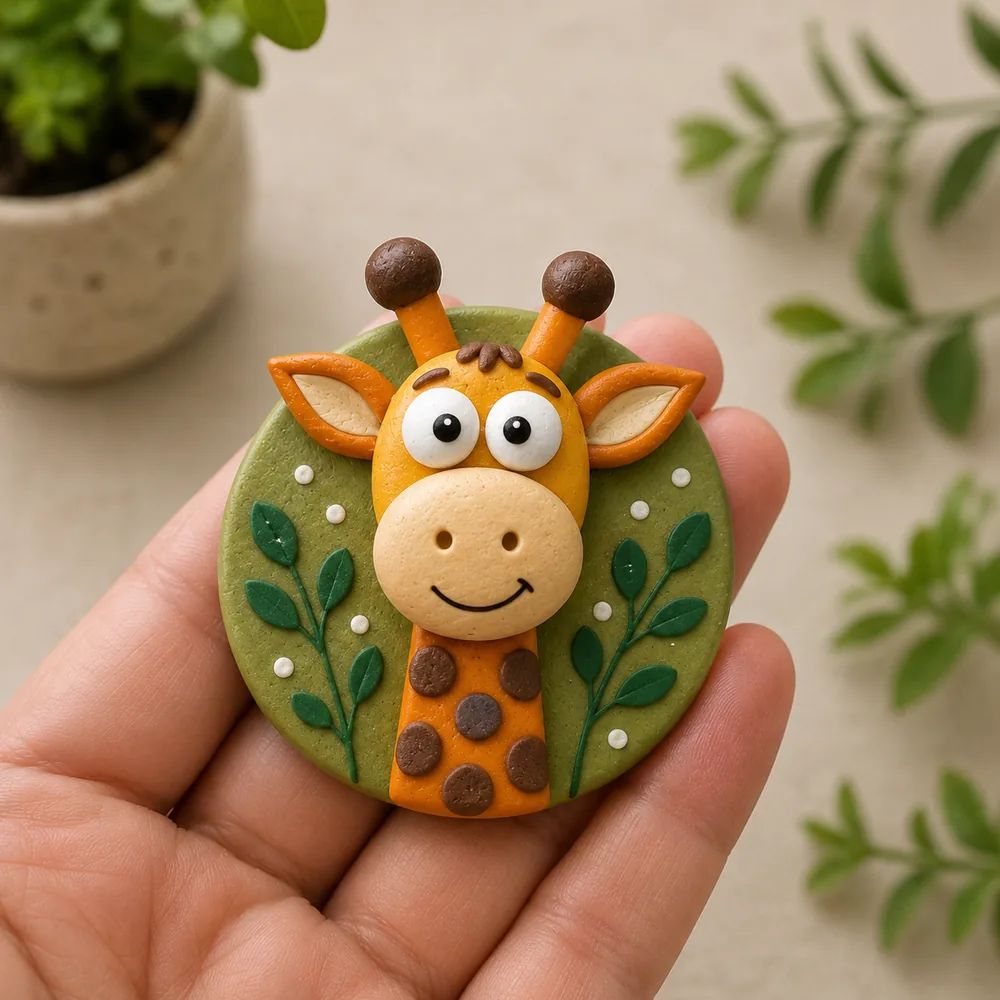
Big eyes and a rounded, oversized muzzle are what make this style read as “cute” rather than realistic — a good reminder that clay animals don’t need to be anatomically accurate to be charming. The spotted neck, tiny nubby horns, and leafy background on a colored disc make this a fun one for practicing proportion: exaggerate the head, shrink everything else.
Tips to make it:
- Decide the face-to-disc ratio first (roughly two-thirds of the disc) before adding any other details.
- Use tiny white clay balls as a base under the eyes before adding the black pupil, for a natural glossy look.
- Vary the size of the brown neck spots slightly so they don’t look repetitive or too uniform.
- Press in the nostrils and smile with a thin tool instead of painting them, for a more three-dimensional look.
6. Tiny Sleeping Whale
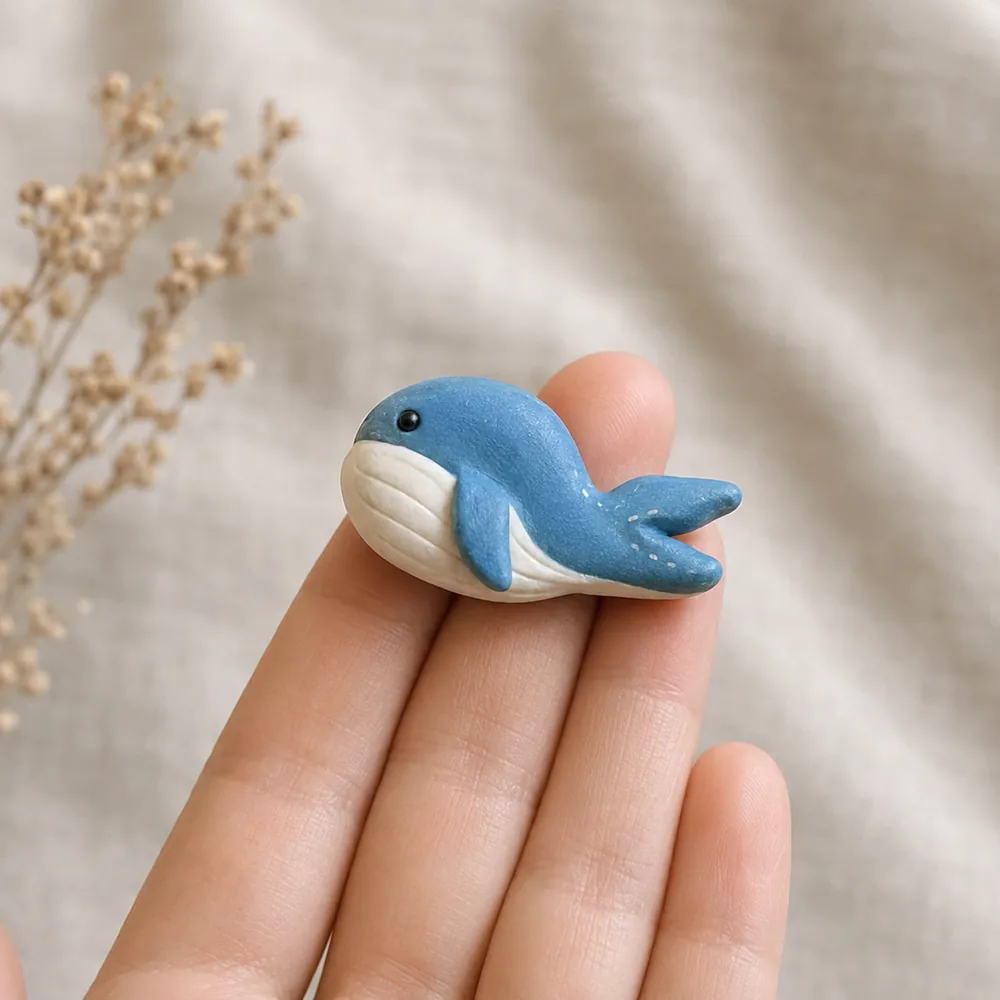
Sometimes the simplest shapes are the most charming. This whale is little more than a smooth, curved blob with a lighter belly and a delicately carved tail fin, but the soft color gradient and sprinkled white “sparkle” dots give it a dreamy, almost celestial feel. It’s an ideal beginner project since it requires minimal blending of separate pieces — just clean shaping and subtle shading.
Tips to make it:
- Gradually blend a bit of white into the blue while shaping the body for a smooth gradient instead of two separate zones.
- Press a flat tool along the underside to define the lighter “belly” softly, without a hard edge.
- Sculpt the tail as a separate flattened piece and attach it at a slight angle before baking.
- Use a fine, slightly damp brush to dot small white “sparkles” as a finishing touch after baking.
7. Constellation Sea Creatures
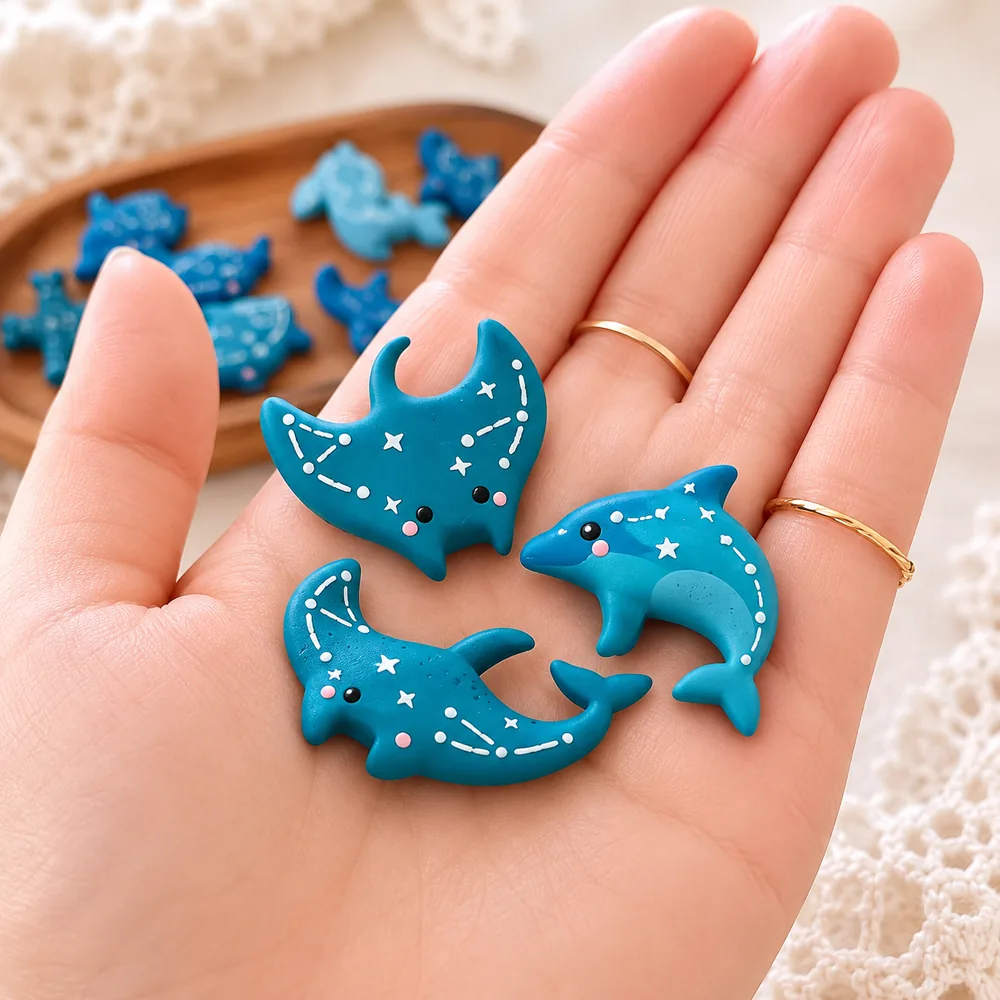
This idea takes ocean animals — a manta ray, a dolphin, a shark — and gives them a starry night twist by painting white dot-and-line “constellations” across a deep teal body. It’s a great way to make a themed set that still feels cohesive even though each animal has a different silhouette. Blushed cheeks and simple dot eyes keep the style consistent across the whole collection.
Tips to make it:
- Cut the base shapes with a fine craft knife for clean, sharp edges that suit the graphic style.
- Lightly sketch the “constellation” path with a pencil on the soft clay before painting it permanently.
- Use a small round-tipped dotting tool or a pin to keep the white dots a consistent size.
- Add the pink blush very lightly at the end so it doesn’t overpower the constellation pattern.
8. Jungle Animal Face Set
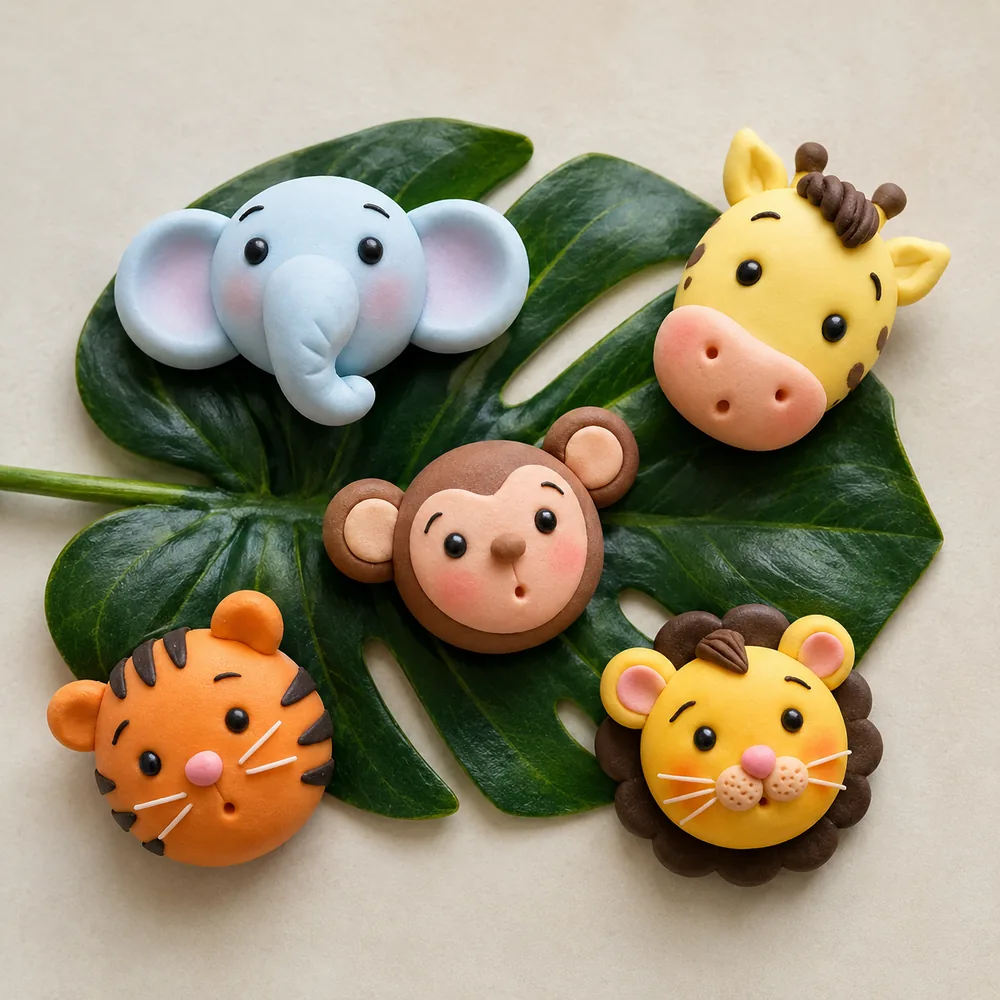
A matching set is often more appealing than a single piece, and this collection of elephant, giraffe, monkey, tiger, and lion faces shows why: displayed together, they read as a themed collection rather than random magnets. Each face uses the same basic construction — a rounded base with layered ears, muzzle, and simple painted features — which makes it efficient to produce several at once while still giving each animal its own distinct coloring and markings.
Tips to make it:
- Prepare five equal-sized clay balls as a shared base for all the faces before differentiating between them.
- Focus on the ear shape first — it’s the most distinctive element between animals (pointed, round, floppy).
- Use the same eye and blush technique across all faces to keep the set’s style consistent.
- Add each animal’s signature markings (tiger stripes, lion’s mane, giraffe spots) only in the final layer.
9. Custom Pet Portrait Magnets
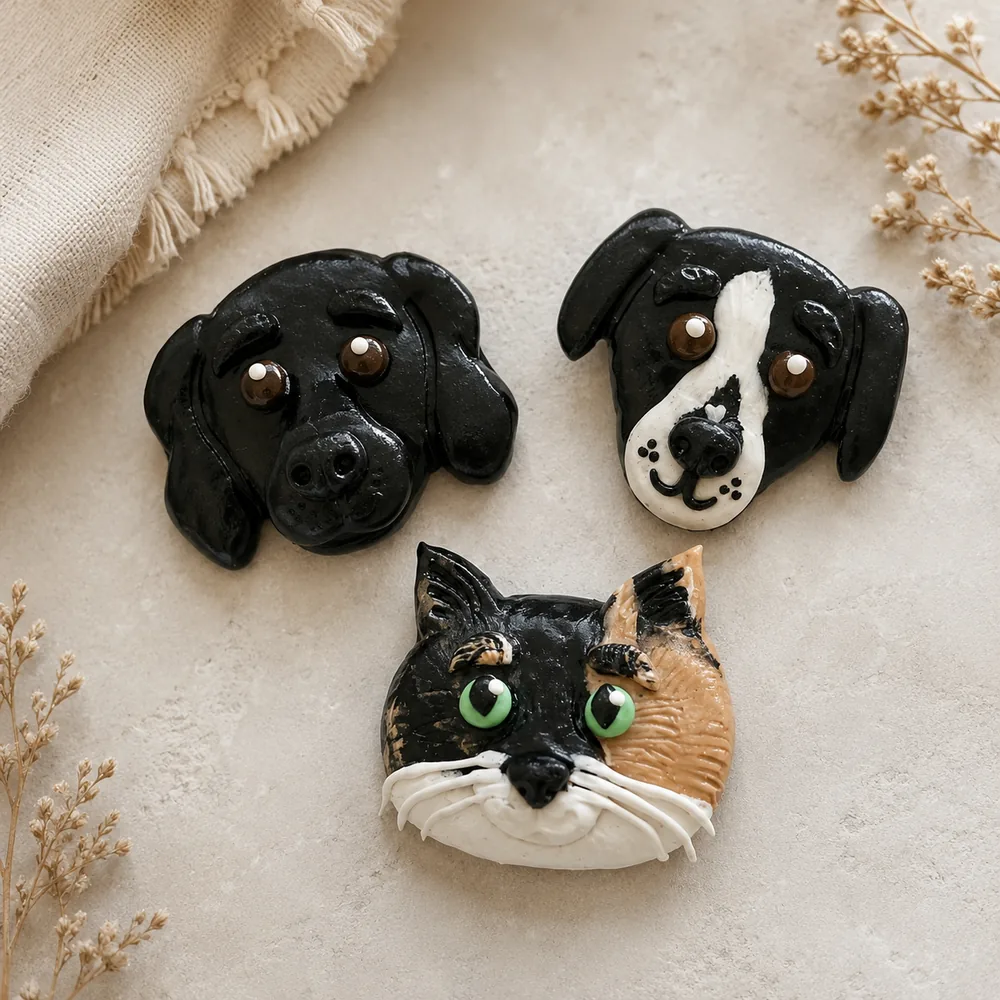
For a more personal (and highly giftable) project, sculpt a magnet based on an actual pet’s photo. These dog and cat portraits show how texture and shading do the heavy lifting: layered “fur” strokes, a glossy varnish for a wet-nose look, and carefully placed white highlights around the eyes and markings. This is a more advanced idea, but it’s also the kind of custom piece people are willing to pay well for, since it turns a beloved pet into a keepsake.
Tips to make it:
- Print or keep the pet’s photo in front of you while working, as a constant reference for shape and coloring.
- Start with the overall shape of the head and ears before moving on to any fine detail.
- Use a fine-tipped tool to make short consecutive strokes that mimic the direction of real fur growth.
- Save the nose and eyes for last, and apply a glossy varnish only there for a realistic “wet” shine.
A few general tips before you start:
- Bake pieces according to your clay brand’s instructions before gluing on magnets — attaching magnets to unbaked clay will ruin both.
- Use a strong two-part epoxy (not hot glue) to attach magnet backs for a bond that actually lasts.
- Acrylic paint plus a matte or gloss varnish sealer gives you the most control over fine details like eyes, spots, and constellations.
- Working in sets (like the sardines or jungle faces) is faster than it looks, since you can reuse the same base shape and just vary the color and details.
Whichever animal you start with, the core skills are the same: build simple shapes, layer for dimension, and finish with paint or texture to bring in personality. Once you’ve made one, you’ll likely find yourself wanting to make the whole set.