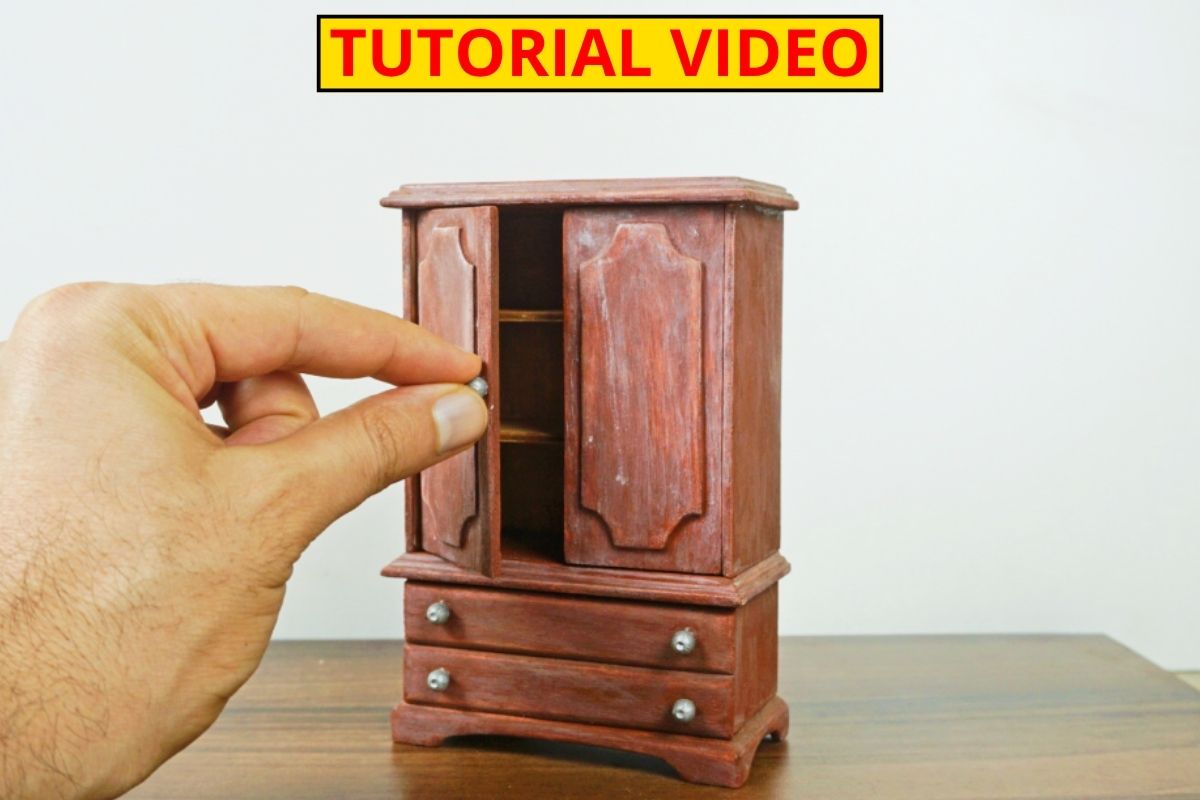
If you love miniatures and dollhouse furniture, this tutorial will guide you step by step to create a miniature wooden wardrobe in 1:12 scale. The design features two main doors and two drawers at the bottom, making it a stylish and functional piece for any dollhouse.
I rely on a set of trusted tools that help achieve professional-looking results in miniature woodworking:
- Sandpaper – to smooth edges and prepare surfaces.
- Transparent brown stain – to bring out the natural beauty of the wood grain.
- Wood oil – to protect and enhance the finish.
- Jeweler’s saw – for delicate and precise cuts.
- Small table saw – to speed up straight cuts.
- 12V mini sander – for quick, clean smoothing.
For this project, I used 3 mm plywood, which is perfect for detailed crafting. To cut the straight parts, I relied on a mini table saw, while the jeweler’s saw played a major role in shaping the curves and fine details of the wardrobe.
Before assembling the pieces, it’s very important to sand the wood thoroughly. This step ensures smooth surfaces and a more professional finish. For the final touch, I applied a brown putty/stain, which gave the wardrobe a beautiful and realistic look, resembling classic wooden furniture.
To make the process easier, I prepared a step-by-step video tutorial that demonstrates all the stages clearly, so even beginners can follow along and build their own wardrobe successfully.
On this website, you will also find many useful topics that can help you start creating your first miniature, from essential tools to painting and finishing tips.
Create it yourself, enjoy the tiny details, and make your dollhouse more realistic and charming