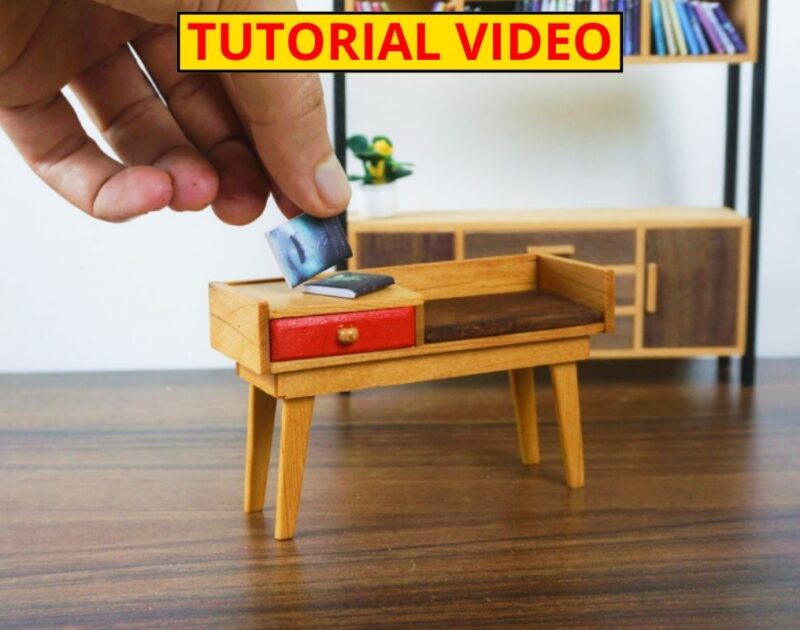
Creating miniature furniture is always exciting, especially when it comes to a bedside table that adds charm and realism to your dollhouse. In this project, we will be working with a 1:12 scale, the most popular and widely used size in dollhouse miniatures.
I rely on a set of trusted tools that help achieve professional-looking results in miniature woodworking:
- Sandpaper – to smooth edges and prepare surfaces.
- Transparent brown stain – to bring out the natural beauty of the wood grain.
- Wood oil – to protect and enhance the finish.
- Jeweler’s saw – for delicate and precise cuts.
- Small table saw – to speed up straight cuts.
- 12V mini sander – for quick, clean smoothing.
To start, I used cedar wood for the legs, as it provides strength and a natural look, while thin plywood was perfect for the tabletop and sides. One of the most important tools in this process was the jeweler’s saw. It played a key role in cutting fine curves and achieving precise details that would be difficult with larger tools.
Before assembly, make sure to sand all the wooden pieces carefully. Sanding not only smooths the surface but also ensures a professional finish once you paint or varnish your table. This small detail makes a big difference in the final result.
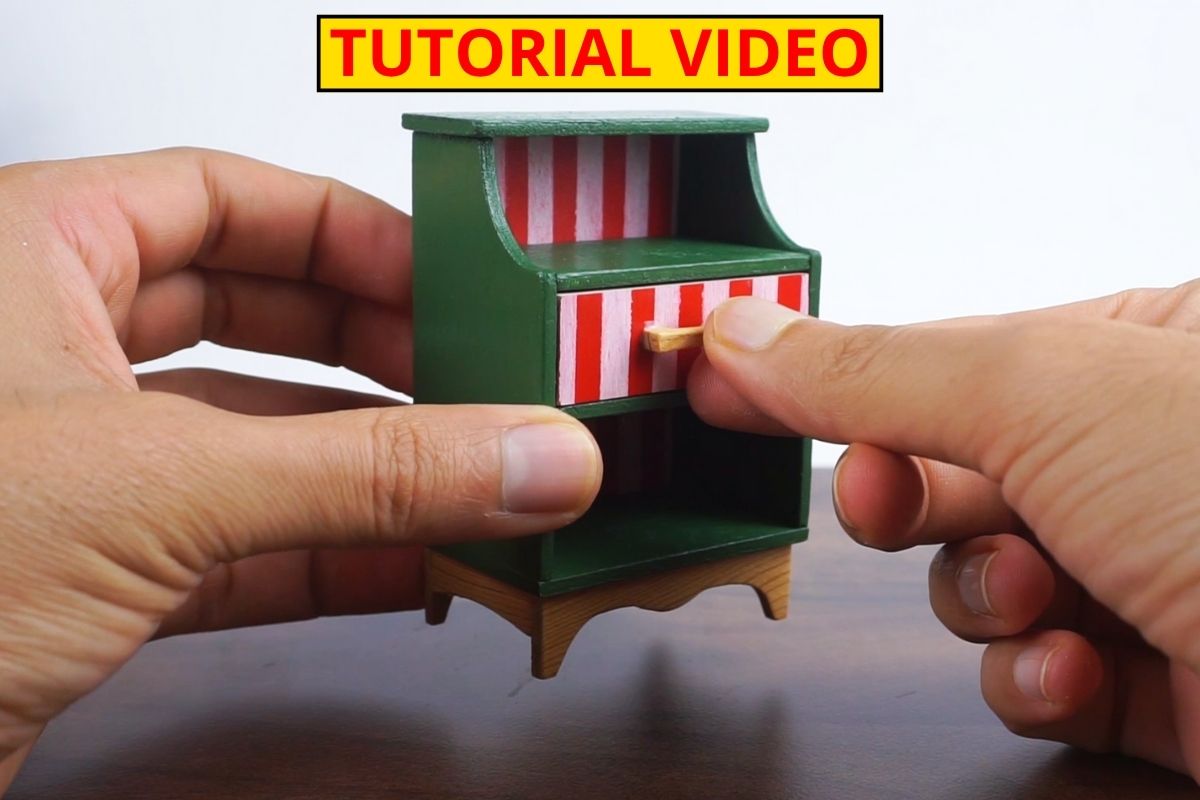
If you are a beginner, don’t worry! I have prepared a step-by-step video tutorial that explains the whole process in detail — from cutting the wood to assembling and finishing the bedside table. Watching the video will help you follow along easily and create your first miniature successfully.
On this website, I discuss all the essential topics that will guide you through making your very first miniature furniture. Whether you are new or already passionate about dollhouse miniatures, you’ll find useful resources here to improve your skills and get inspired.