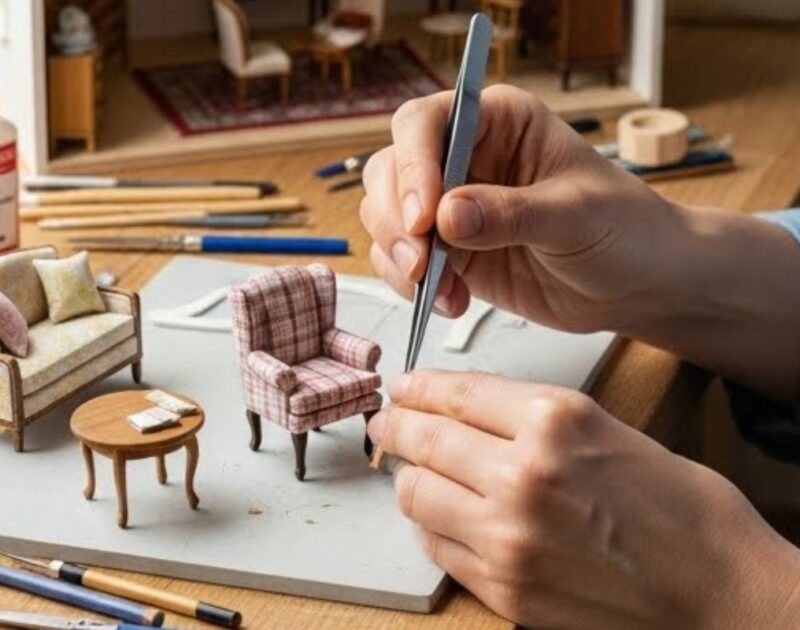
Handmade crafts have become increasingly popular, especially simple projects that allow creativity with minimal tools. One of the most enjoyable and beginner-friendly crafts is making clay magnets.
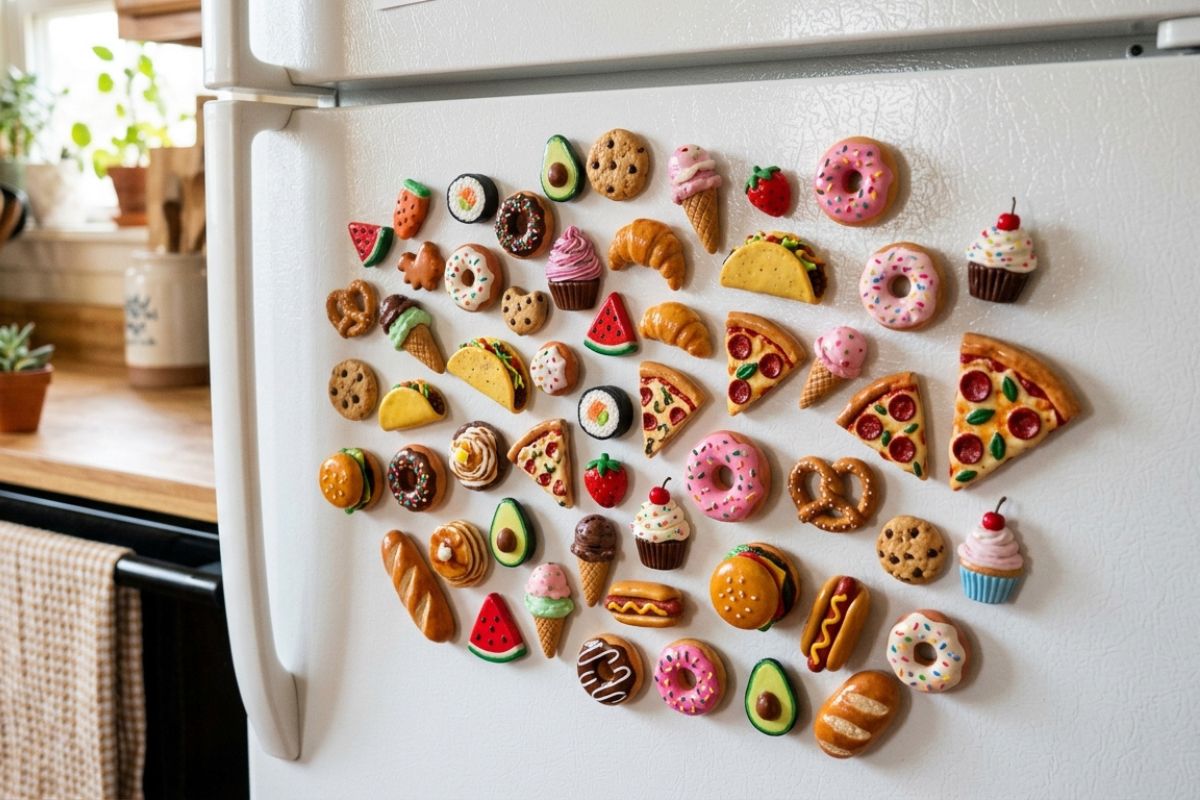
These small decorative magnets can be used on refrigerators, lockers, office boards, or as handmade gifts. With just a few materials and some imagination, anyone can start creating beautiful designs at home.
Learning how to make clay magnets is a great way to explore creativity, improve crafting skills, and even start a small handmade business. In this guide, we will explore the basics of making clay magnets, including materials, techniques, design ideas, and useful tips for beginners.
Why Clay Magnets Are a Great DIY Project
Clay magnets are popular among craft enthusiasts for several reasons. First, they are simple to make and require only basic materials. Even beginners who have never worked with clay before can quickly learn the process.
Another advantage is the creative freedom they offer. You can design almost anything—from cute animals and fruits to miniature foods, flowers, or inspirational shapes. Because clay magnets are small, they are also perfect for practicing sculpting techniques without using large amounts of material.
Additionally, handmade clay magnets can be sold online, given as personalized gifts, or used as decorations. Many people enjoy collecting unique magnets, which makes this craft both fun and potentially profitable.
Essential Materials for Making Clay Magnets
Before starting your project, it is important to gather the right materials. Fortunately, the supplies are easy to find in craft stores or online.
Here are the basic materials you will need:
1. Polymer Clay or Air-Dry Clay
Polymer clay is the most common choice because it is durable and easy to shape. It must be baked in an oven to harden. Air-dry clay is another option and hardens naturally without baking.
2. Small Magnets
You will need small round magnets that can be glued to the back of your clay design.
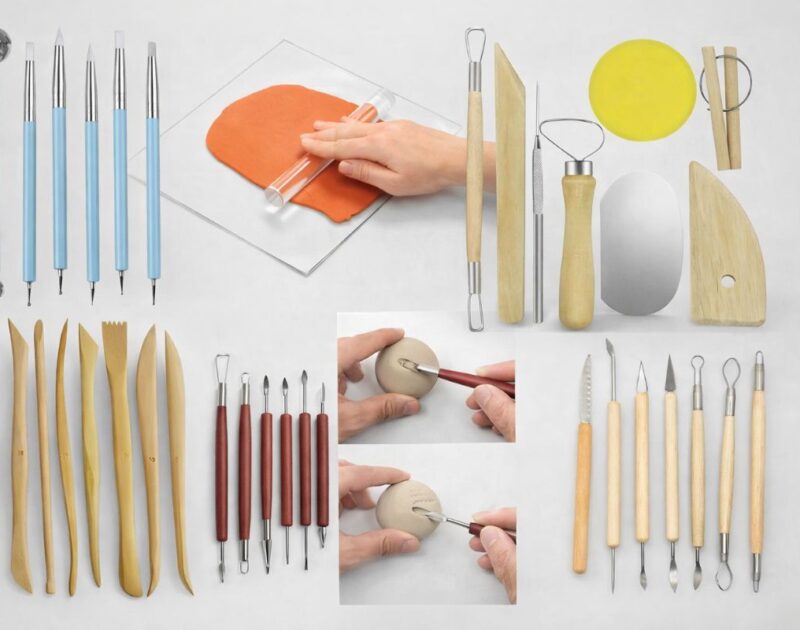
3. Sculpting Tools
Basic tools such as toothpicks, small knives, or sculpting tools help create details and textures.
4. Glue
Strong craft glue or super glue is necessary to attach the magnet securely to the clay piece.
5. Acrylic Paint (Optional)
Paint can add extra color and details to your clay magnets after they are baked or dried.
6. Varnish or Sealant (Optional)
A clear varnish can protect the design and give it a glossy finish.
Step-by-Step Process to Make Clay Magnets
Once you have your materials ready, you can start creating your first clay magnet. The process is simple and suitable for beginners.
Step 1: Prepare the Clay
Start by kneading the clay in your hands. This makes it soft and easier to shape.
Step 2: Shape Your Design
Create the desired shape. Popular beginner designs include hearts, stars, fruits, or small animals. Keep the design small and relatively flat so it attaches well to the magnet.
Step 3: Add Details
Use sculpting tools or toothpicks to add textures, patterns, or small decorative elements.
Step 4: Bake or Dry the Clay
If you are using polymer clay, bake it according to the instructions on the package. If you are using air-dry clay, allow it to dry completely.
Step 5: Paint and Decorate
After the clay hardens, you can paint it with acrylic colors to enhance the design.
Step 6: Attach the Magnet
Finally, glue the magnet to the back of the clay piece. Let the glue dry completely before using the magnet.
Creative Clay Magnet Ideas
Once you learn the basics, you can experiment with many creative designs. Here are some popular clay magnet ideas:
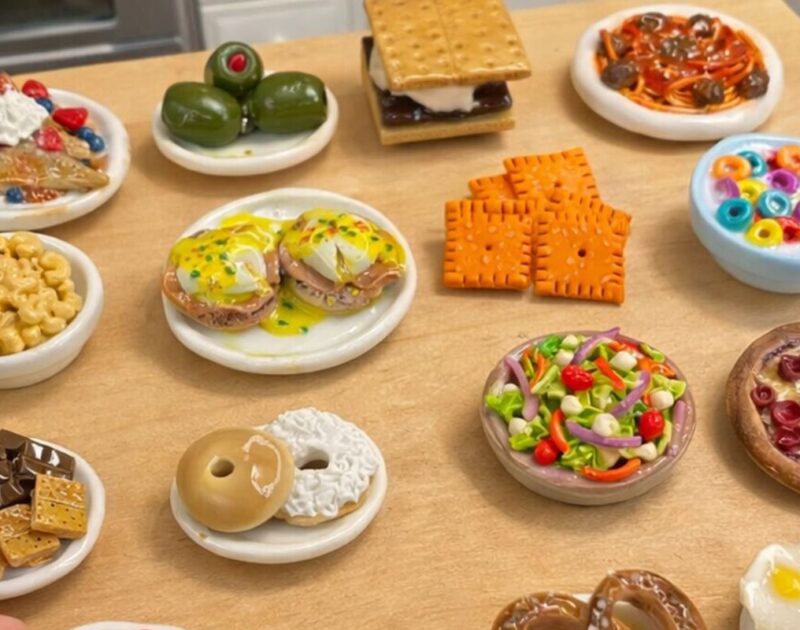
- Miniature fruits like strawberries, oranges, and lemons
- Cute animal faces such as cats, bears, or pandas
- Tiny food items like donuts, cupcakes, or pizza slices
- Flower shapes and nature themes
- Letters or inspirational words
These designs are perfect for decorating refrigerators or giving as handmade gifts.
Tips for Beginners
If you are new to clay crafting, a few simple tips can make the learning process easier.
Start with simple shapes. Complex designs can be challenging at first. Practice with basic shapes before trying detailed sculptures.
Use small amounts of clay. Clay magnets are small, so you don’t need large pieces of clay to create attractive designs.
Work on a clean surface. Dust or dirt can stick to the clay and affect the final result.
Be patient with drying or baking. Allow enough time for the clay to harden properly before attaching the magnet.
Practice regularly. Like any craft, your skills will improve with practice.
Can You Sell Clay Magnets?
Many handmade artists turn their clay magnet hobby into a small business. Platforms like Etsy, craft markets, and social media are great places to sell handmade magnets. Unique designs, creative themes, and high-quality finishing can make your products stand out.
Packaging also plays an important role. Attractive packaging can make your clay magnets more appealing to buyers and perfect for gifts.
Conclusion
Learning to make clay magnets is an enjoyable and creative craft that anyone can try. With simple materials, basic sculpting techniques, and a little imagination, you can create unique decorative pieces for your home or gifts for friends and family.
Whether you are crafting for fun or considering selling handmade items, clay magnets are an excellent project to start with. As you practice and experiment with new designs, you will discover endless possibilities for creativity in this small but exciting world of miniature crafts.