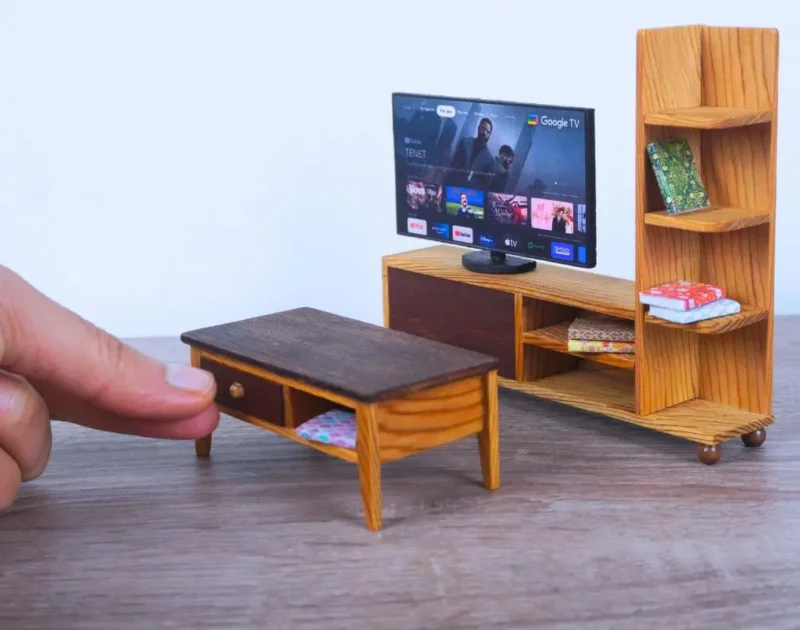
Creating miniature furniture is one of the most rewarding parts of the dollhouse hobby, and a bunk bed is a perfect project for both beginners and experienced crafters. Its structure is simple, yet it offers plenty of room for creativity and detail.
In this guide, we’ll walk through how to make a 1:12 scale wooden bunk bed, using thin wood sheets, precise cutting tools, and a smooth finishing method. Whether you’re building for a dollhouse bedroom, a diorama, or your miniature collection, this project will help you develop your woodworking skills on a small scale.
I rely on a set of trusted tools that help achieve professional-looking results in miniature woodworking:
- Sandpaper – to smooth edges and prepare surfaces.
- Transparent brown stain – to bring out the natural beauty of the wood grain.
- Wood oil – to protect and enhance the finish.
- Jeweler’s saw – for delicate and precise cuts.
- Small table saw – to speed up straight cuts.
- 12V mini sander – for quick, clean smoothing.
1. Choosing the Right Materials for the Miniature Bunk Bed
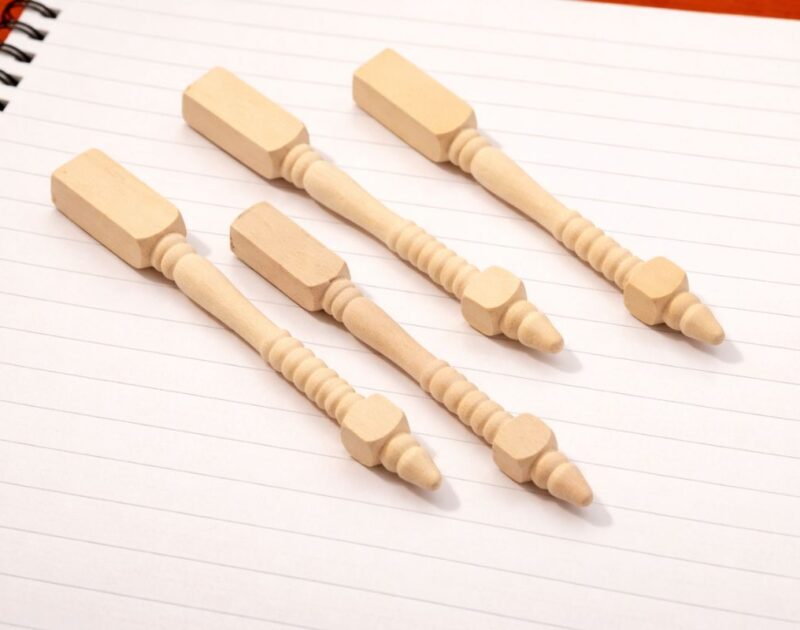
For this project, we rely on 2 mm wooden sheets, which are ideal for small-scale crafting. Wood of this thickness is easy to cut, bend, and shape without splitting. It also provides enough strength to support the structure of the bunk bed. Unlike thicker wood, the 2 mm sheets allow you to achieve clean curves and delicate details—important features when creating a realistic miniature.
You will also need wood glue, sandpaper, a measuring ruler, and a pencil for marking your cuts. The precision of miniature furniture depends heavily on accurate measurements, so take your time planning each piece before cutting.
2. Precision Cutting with a Jeweler’s Saw
One of the most important tools in this project is the jeweler’s saw, also known as a micro saw. This tool plays a huge role in cutting smooth curves, thin slats, and decorative edges. Its fine blade allows you to follow intricate lines without splintering the wood, making it perfect for crafting the curved headboards and footboards of the bunk bed.
When cutting curves, move slowly and let the saw guide itself. Avoid forcing the blade, as this can cause breakage or uneven edges. With a jeweler’s saw, even beginners can achieve professional-looking results by practicing steady, controlled movements.
3. Assembling the Frame and Ladder
Once all pieces are cut, start assembling the main frame. Glue the side panels to the headboards and footboards, making sure everything is square and aligned. For the bed supports, use thin wooden strips to create slats that hold the mattresses in place. The ladder can be built from small wooden sticks, with the rungs evenly spaced.
Let the glue dry fully before moving on to sanding. A light sanding with fine-grit paper smooths the edges and prepares the wood for finishing.
4. Finishing with Water-Based Varnish
To protect the wood and give your bunk bed a professional finish, apply water-based varnish. This type of varnish is perfect for miniatures because it dries quickly, has little odor, and gives a clean, natural look. It also enhances the color and grain of the wood without making it appear too glossy.
Apply thin layers using a small soft brush. Allow each layer to dry completely before adding the next. Two to three coats are usually enough to achieve a smooth, durable finish.
5. Safety Tips – Always Work Carefully
Miniature woodworking involves sharp tools such as the jeweler’s saw, craft knives, and sanding files. Always work slowly and keep your fingers away from the cutting line. Secure the wood while cutting, and wear protective glasses if needed. Remember: sharp tools require full attention, even when working on tiny pieces.
6. Follow the Step-By-Step Video Tutorial
To make this project even easier, a full step-by-step video tutorial is available. The video walks you through each stage—from cutting the pieces to assembling and finishing the bunk bed—making it simple to follow along and build your own miniature furniture with confidence.

7. A Final Thank You to the Community
I want to thank all my followers and miniature enthusiasts for their continuous support. Your encouragement inspires new ideas and motivates me to share more tutorials, designs, and woodworking techniques. I hope this miniature bunk bed project adds something special to your dollhouse creations.