In this fun and creative tutorial, Jen from Caketastic Cakes shows how to make Cakey Cat—one of the most adorable characters from Gabby’s Dollhouse—along with his colorful sprinkle cake. Using gum paste, fondant tools, and a little patience, she transforms simple shapes and colors into a cute edible figure that looks just like Cakey Cat from the show.
Step 1: Creating the Cupcake Base
The project begins with the cupcake body, which forms the foundation for Cakey Cat. Jen uses three colors of gum paste—pink, light blue, and purple—to achieve the blended cupcake look. She rolls out each color, stacks them, and uses a circular cutter to combine them into one multi-colored piece. Pressing and shaping the piece by hand, she forms the familiar cupcake shape: narrow at the bottom and rounded at the top.
To create the realistic cupcake folds, Jen uses a small swizzle straw to press wrinkles along the sides, later deepening them with a knife blade to keep the texture visible. Once satisfied with the shape, she sets it aside to dry.
Step 2: Building the Body and Arms
Next comes the body—a simple white gum paste ball. Jen cuts small notches using the same circle cutter to create the feet, keeping Cakey in a sitting position for better stability.
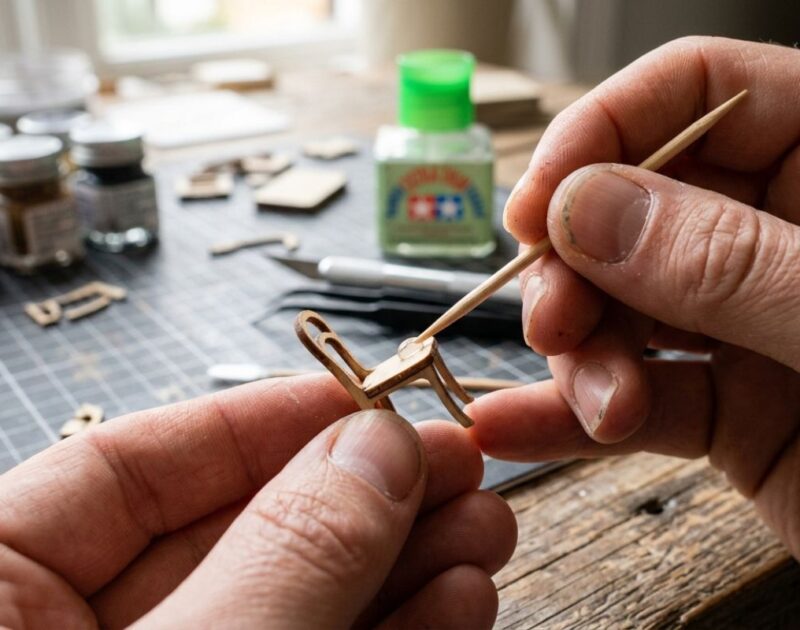
For the arms, she rolls out thin pieces, shaping the ends into little paws. Ensuring both arms are even in length and size, she uses dried spaghetti sticks as internal supports to attach them securely. She emphasizes the importance of making pilot holes first, to avoid poking through the soft gum paste—a common beginner’s mistake.
Step 3: Shaping the Head
Cakey’s head is the star of the piece. Jen starts with a large gum paste ball, shaping it into three levels: a rounded base, a slightly indented middle, and two small ear points on top. This layered form mimics Cakey’s frosting-like head.
Using a veining tool and ball tool, she smooths the surface and creates hollows for the eyes, placing them low and far apart—just like in the show. The eyes are filled with bright blue gum paste and topped with small black pupils that cover most of the blue. She also adds tiny gum paste pads to the paws in blue and pink.
Step 4: Adding Facial Features
For the mouth, Jen makes three small impressions using her veining tool, forming a tiny arrow shape. Inside the mouth, she carefully places a piece of red gum paste for the tongue, warning not to rush—red color can easily stain the white surface.
A small light pink oval becomes the nose, shaped like a sprinkle. She decorates the head with “sprinkles” made from colored gum paste—blue, pink, and gold pieces—and adds tiny white balls as highlights in the eyes.
Step 5: Finishing Details and Assembly
Cakey’s whiskers are another clever touch: Jen wraps thin gum paste around dried spaghetti sticks, cuts them to size, and inserts them into pre-made holes on each cheek. She paints a faint blush on Cakey’s cheeks using diluted pink food coloring, applying gently with a brush and blotting carefully to avoid smudging.
Finally, she attaches the head to the body, completing the adorable Cakey Cat figure.
Step 6: Making the Sprinkle Cake
To complement the character, Jen bakes and decorates a two-tier, 16-inch white vanilla cake. She smooths the surface with a spatula, refrigerates it briefly, and begins decorating with a mix of pink, blue, and purple sprinkles in different sizes and finishes.
The trick is to apply the sprinkles more heavily at the bottom edge and gradually lighten the coverage toward the top. Any extra sprinkles that fall off can be reused by tilting the cake plate gently—though she cautions not to tilt too much, or the cake could slide off!
Once the small sprinkles are applied, Jen adds larger decorative beads in hot pink and blue to fill in gaps and create a balanced, colorful effect. She finishes the top of the cake with a layer of mixed sprinkles pressed gently into the icing.
Step 7: Decorating the Top and Final Touches
Before placing Cakey Cat on the cake, Jen adds a semi-circle of swirled icing rosettes behind his sitting spot, making the scene more festive. She decorates these swirls with the same colorful beads used earlier.
Once Cakey Cat is positioned on top, she adds a few final sprinkles around him to complete the playful party look.