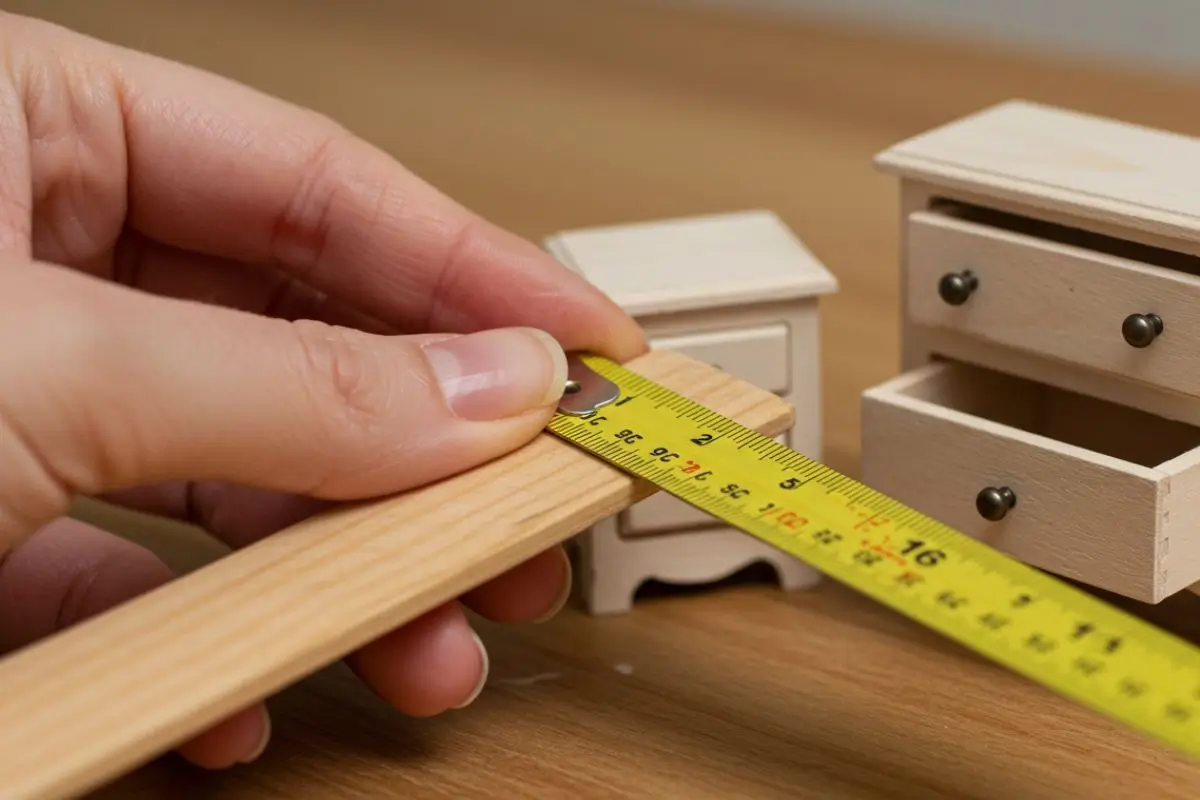
Creating miniature furniture is an art that lives in the details. As a professional miniature maker and DIY enthusiast, you already know that even a small measurement error can throw off the realism of an entire piece.
Whether you’re crafting for a dollhouse, a diorama, or handmade miniature displays, mastering measurements for miniature diy miniatures is essential for professional results.
In this guide, we’ll explore practical, accurate, and proven methods to measure miniature furniture correctly, avoid common mistakes, and elevate the quality of your miniature crafts.
Why Accurate Measurements Matter in Miniature Furniture
Accuracy is the foundation of realism. In full-size furniture, a few millimeters may go unnoticed, but in miniatures, those same millimeters can ruin proportions.
Precise measurements for miniature furniture help you:
- Maintain correct scale and proportion
- Ensure all pieces fit together seamlessly
- Create professional-looking handmade miniature items
- Save time, materials, and frustration
For DIY miniatures, measurement accuracy separates beginners from experienced miniature craftspeople.
Understand Miniature Scales First
Before taking any measurements, you must fully understand scale. Scale defines the ratio between real-life furniture and your miniature version.
Common miniature scales include:
- 1:12 scale (most popular for dollhouses): 1 inch = 1 foot
- 1:24 scale: Half the size of 1:12
- 1:48 scale: Often used for architectural models
For example, a real table that is 30 inches high would be:
- 2.5 inches tall in 1:12 scale
- 1.25 inches tall in 1:24 scale
Knowing your scale ensures your measurements for miniature diy miniatures stay consistent throughout the project.
Use the Right Measuring Tools
Using the correct tools is just as important as understanding scale. Avoid guessing or using oversized tools meant for full-scale woodworking.
Recommended tools for miniature crafts:
- Metal rulers with millimeter markings
- Digital calipers for ultra-precise measurements
- Miniature cutting mats with grid lines
- Scale rulers designed for dollhouse miniatures
Digital calipers are especially helpful when measuring thickness, small dowels, or repeated parts in handmade miniature furniture.
Convert Real-Life Measurements Accurately
One of the most reliable ways to get accurate measurements is converting real furniture dimensions into miniature scale.
Simple Conversion Formula:
Real measurement ÷ scale factor = miniature measurement
Example:
- Real chair seat height: 18 inches
- Scale: 1:12
- Miniature height: 18 ÷ 12 = 1.5 inches
Always write conversions down or use a scale calculator to avoid mistakes. Consistency is key in diy miniatures.
Create and Use Measurement Templates
Templates are a professional secret used by experienced miniature makers. Instead of measuring every piece individually, create templates for repeated components like legs, shelves, or panels.
Benefits of templates:
- Faster production
- Consistent sizing
- Reduced errors
Templates can be made from cardboard, thin plastic, or scrap wood. This technique is especially useful when producing multiple handmade miniature pieces for dollhouses.
Dry Fit Before Final Assembly
Dry fitting means assembling parts without glue to check proportions and alignment. This step is critical for accurate measurements for miniature furniture.
During dry fitting:
- Check height, width, and depth
- Ensure pieces align correctly
- Adjust measurements if needed
Dry fitting prevents irreversible mistakes and helps you visualize the final result before committing.
Pay Attention to Material Thickness
Many miniature makers overlook material thickness, which can significantly affect final dimensions.
For example:
- Wood thickness reduces interior space
- Paper layers add unexpected height
- Paint and glue can slightly alter size
Always factor material thickness into your measurements for miniature diy miniatures, especially when making drawers, cabinets, or fitted furniture.
Document Your Measurements
Professional miniature artists keep records. Writing down successful measurements allows you to replicate designs or improve them later.
Keep notes on:
- Scale used
- Final dimensions
- Material thickness
- Adjustments made
Over time, this habit builds a personal measurement library that improves speed and accuracy in future diy miniatures projects.
Common Measurement Mistakes to Avoid
Even experienced crafters make mistakes. Be aware of these common issues:
- Mixing different scales in one project
- Measuring after cutting instead of before
- Ignoring tool accuracy
- Rushing conversions
Patience and double-checking measurements are essential traits in miniature crafts.
Final Thoughts
Accurate measurements are the backbone of beautiful, realistic miniature furniture. By understanding scale, using proper tools, converting dimensions correctly, and paying attention to detail, you can dramatically improve the quality of your handmade miniature creations.
Mastering measurements for miniature diy miniatures takes practice, but the results are worth it. Precision transforms simple diy miniatures into professional miniature furniture that tells a story—one tiny detail at a time.
If you’re passionate about miniature crafts, remember: perfection isn’t about speed, it’s about accuracy.


